

Blog
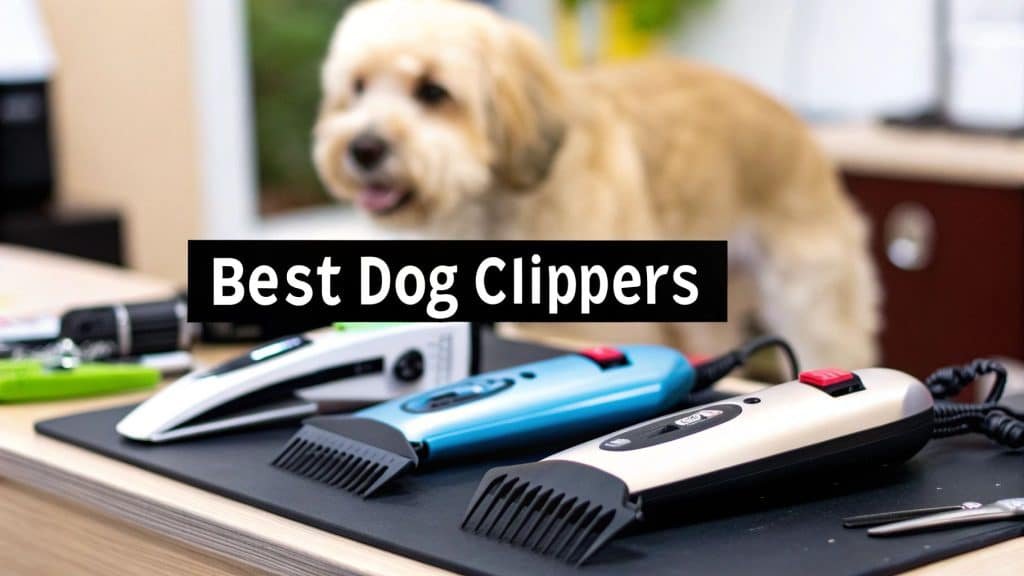
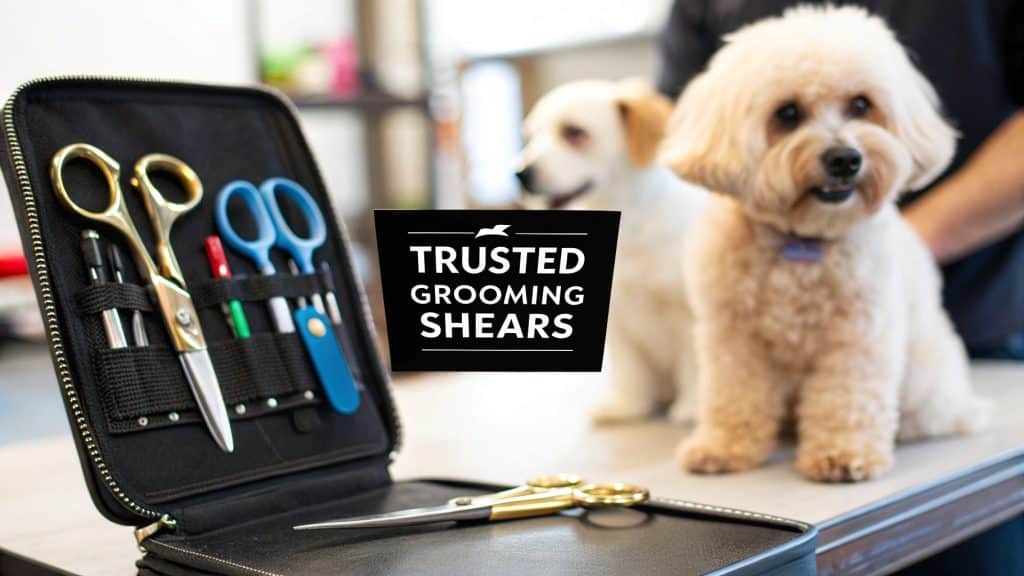
Your Guide to Grooming Scissors for Dog Grooming
Picking the right pair of grooming scissors for dog isn’t just about a good haircut—it’s about your dog’s safety and comfort. Using the wrong tool can quickly turn a simple trim into a stressful ordeal, full of choppy fur and potential nicks. The right shears, on the other hand, make the whole experience safe, smooth, and even enjoyable.
Why Your Choice of Scissors Really Matters
Grooming is so much more than just keeping your dog looking sharp. It’s a fundamental part of their health. Regular trims keep their coat free from painful mats, clear out trapped dirt, and give you a chance to check for skin issues before they become serious problems.
Think of a good pair of scissors as an investment in your dog’s well-being. When you have the right tool for the job, grooming becomes less of a chore and more of a bonding moment.
We’re seeing a huge shift in how people care for their pets. The professional pet grooming scissors market is taking off, with just the electric scissors segment valued at around $500 million. It’s projected to grow by about 7% each year. This tells us that more and more owners are realizing that professional-grade tools aren’t a luxury; they’re a necessity. You can dive deeper into this growing market trend at ArchiveMarketResearch.com.
The Real Advantages of Using Proper Scissors
You might be tempted to grab that pair of kitchen scissors, but trust me, it’s a bad idea. Scissors designed for dog fur offer a world of difference in safety and performance.
- Safety Comes First: Proper dog scissors often have blunted or rounded tips. This simple feature is a lifesaver, preventing accidental pokes when you’re trimming sensitive spots like around the eyes, ears, and paws.
- You’re in Control: Grooming shears come in specific designs—straight for general trimming, curved for shaping, and thinning for blending. This variety gives you the precision needed to achieve a clean, polished look instead of a jagged, uneven one.
- Comfort for You, Too: Grooming can take time, and a poorly designed handle will leave your hand cramping. Ergonomic handles are built to reduce strain on your hand and wrist, so you can focus on the groom without getting fatigued.
By the time you finish this guide, you’ll know exactly what to look for in a great pair of shears. You’ll be able to confidently choose the right grooming scissors to give your dog a beautiful, stress-free trim right at home. What was once a daunting task can become quality time spent with your best friend.
Matching Scissor Types to Your Dog’s Coat
Think of grooming scissors like a chef’s knife set—each blade has a specific purpose. You wouldn’t use a cleaver for delicate slicing, and the same principle applies here. Using the right tool for your dog’s coat is the secret to getting that polished, professional look instead of a choppy, uneven trim.
It’s no surprise that owners are investing more in getting that perfect look at home. The global dog grooming market, currently valued at $1.53 billion, is expected to jump to $2.61 billion by 2034. The fastest-growing part of that market? Shear and trimming tools. This tells us that more and more pet parents are realizing the value of having specialized scissors for different coat types.
To get started, this simple guide will help you match the right scissor to the right task.

As you can see, general trimming, contouring, and blending each call for a different tool to achieve the best results.
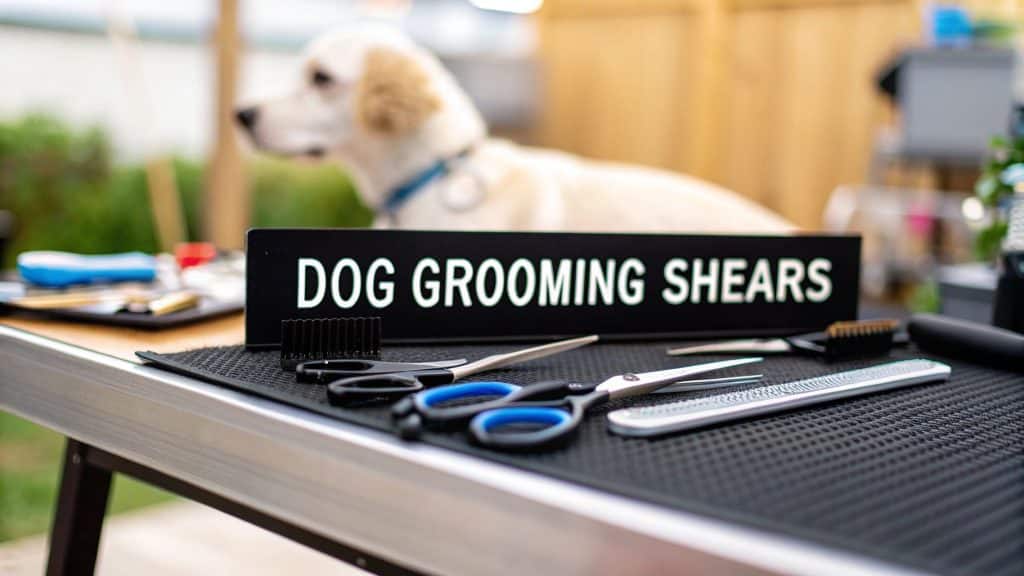
Straight Scissors: The Workhorse
Straight scissors are the foundation of any grooming kit. They’re your go-to for creating clean, straight lines and handling general trimming on the body and legs.
Picture yourself trimming the long hair on a Yorkshire Terrier’s back or shaping the “skirt” on a Schnauzer. Straight scissors give you the precision to set the main shape of the haircut. They come in various lengths; longer blades make quick work of large, flat areas, while shorter blades offer more control for tight spots.
Curved Scissors: For Precision Shaping
Next up are curved scissors. Their blades have a gentle arc, making them perfect for shaping and contouring the round areas of your dog’s body.
Think about the natural curves on your dog—their paws, the topknot on their head, or the arch of their ribcage. Curved scissors follow these contours beautifully, which is far safer and more effective than trying to fake a curve with a straight blade. They are absolutely essential for a polished finish, especially on breeds like Poodles and Bichons.
Key Takeaway: The curve in the blade lets you trim rounded areas like paws and faces with greater safety and precision. It helps you avoid the awkward, choppy lines that straight scissors often leave behind on contoured parts of the body.
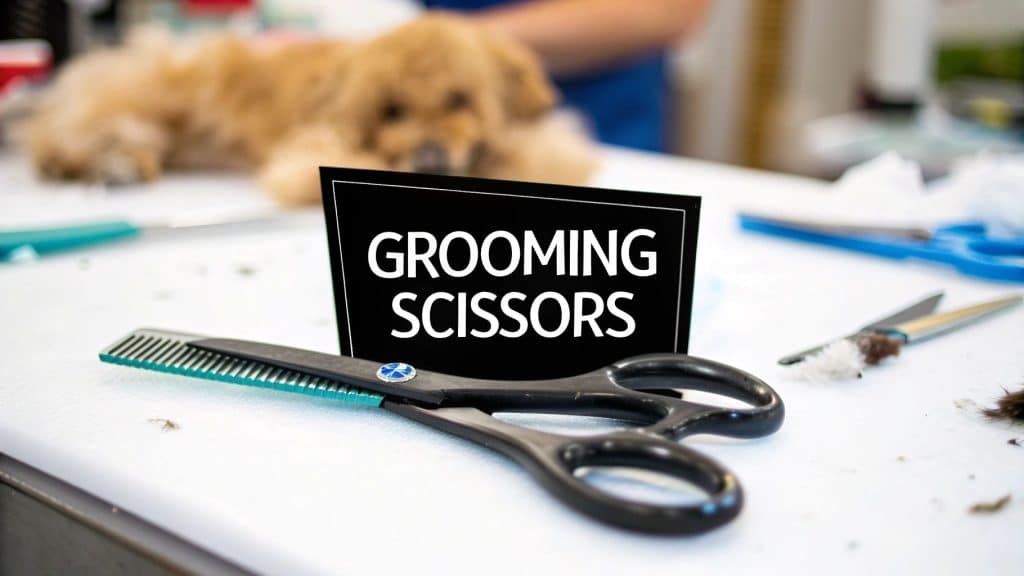
Thinning and Chunker Shears: For Blending and Texture
Finally, let’s talk about thinning shears and chunkers. These are your finishing tools, designed to add that final touch of professionalism. Though they look similar, they do slightly different jobs.
- Thinning Shears: These have one blade with fine teeth and one solid blade. They’re designed to remove bulk from a thick coat without chopping off length, making them perfect for softening harsh scissor lines and blending different coat lengths together seamlessly.
- Chunker Shears: Chunkers have wider teeth and take out more hair with each snip. They are fantastic for adding texture and dimension, especially on fluffy or double-coated breeds. Think of it this way: thinning shears are for subtle blending, while chunkers are for creating a more natural, layered look.
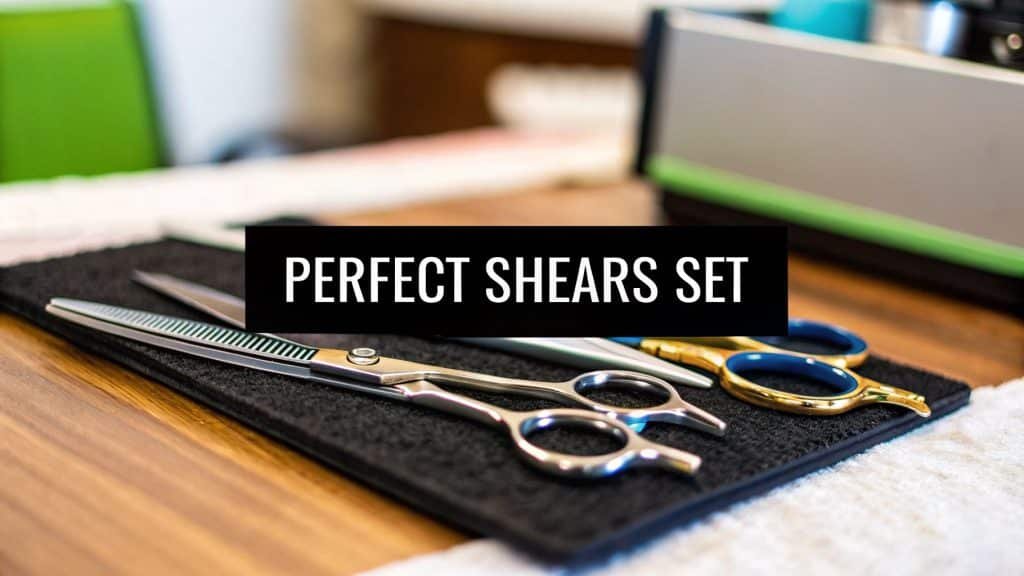
Using a few different types of scissors can make all the difference. To help you visualize which ones you might need, here’s a quick breakdown.
Choosing the Right Scissors for the Job
| Scissor Type | Primary Use | Best For Coat Types | Example Breeds |
|---|---|---|---|
| Straight | General trimming, creating straight lines, setting patterns | Fine, straight, or wiry coats | Yorkshire Terrier, Schnauzer, Maltese |
| Curved | Shaping rounded areas (paws, head, tail), contouring the body | Curly, wavy, or fluffy coats needing shape | Poodle, Bichon Frise, Cocker Spaniel |
| Thinning | Blending harsh lines, removing bulk without losing length | Thick, dense, or double coats | Golden Retriever, Pomeranian, Australian Shepherd |
| Chunker | Adding texture, creating a natural finish, heavy blending | Fluffy, drop, or double coats | Shih Tzu, Old English Sheepdog, Bernese Mountain Dog |
Mastering these specialized shears is what separates an amateur trim from a groom that looks like it was done by a pro. While these tools tackle the fur, remember that a great groom starts with a healthy coat. For breeds with dense undercoats, you might find our guide on the best brushes for Labrador Retrievers helpful for managing shedding before you even pick up the scissors.
When you’re shopping for grooming scissors, it’s easy to get overwhelmed. But what really separates a fantastic pair from a frustrating one?
A great pair of shears feels like a natural extension of your hand. They move through fur without a hitch. A bad pair, on the other hand, will snag and pull, making grooming a battle for both you and your dog. It all boils down to craftsmanship, specifically the two parts that matter most: the blades and the handles.It’s a lot like buying good kitchen knives. A chef doesn’t just grab any old knife; they invest in blades that stay sharp and handles that offer comfort and control for hours of prep work. The exact same thinking applies when you’re picking out the best grooming scissors for dog care. Once you understand the anatomy of the shears, you can look past the price and spot what makes for real quality.
This push for better tools is happening everywhere. The global pet grooming market is set to soar past $21 billion by 2030, and shears are the fastest-growing part of that boom. People want premium tools with features like rust-resistant blades and ergonomic handles that make the job safer and the results better. You can see the data behind this shift in the full industry report on Grand View Research.
The Heart of the Scissor: The Blade
The blade is where all the action is. Its performance comes down to the steel it’s made from and the type of edge it has. Top-notch scissors are an investment, and really, it’s the quality of the steel you’re paying for.
Keep an eye out for scissors made from high-carbon stainless steel, especially Japanese 440C. This stuff is famous for its hardness, which means it can hold a razor-sharp edge for a very long time. That translates to cleaner cuts and fewer trips to the sharpener for you.
But the steel is only half the story. The edge of the blade is just as crucial. You’ll mainly come across two types:
- Convex Edge: Picture the incredibly sharp blade on a sushi chef’s knife. A convex edge is honed to a super-fine point, letting it glide through fur with almost zero effort. This is the edge you want for the smoothest, most precise finish, which is why it’s the go-to for professional groomers.
- Beveled Edge: Now, think of a sturdy utility knife. A beveled edge is tougher and more forgiving. You’ll often find this on scissors for beginners or on heavy-duty “workhorse” shears. It might not give you that flawless, show-ring finish, but it’s incredibly durable and great for everyday trimming.
A superior blade cuts cleanly without folding or catching the hair. This not only produces a better-looking haircut but is also far more comfortable for your dog, preventing painful pulling on their coat.
Ergonomics and Control: The Handle
If the blade is the heart of the scissor, the handle is the brain—it directs every single cut. An uncomfortable handle is a recipe for disaster. It causes hand fatigue, makes you lose control, and can even lead to unsafe trimming. Ergonomics aren’t a luxury feature; they’re an absolute must for anyone who plans on grooming regularly.
The whole point of an ergonomic design is to keep your hand in a natural, relaxed position. Two common handle styles are designed to do just that:
- Offset Grip: With this design, one handle shank is shorter than the other. This small change lets you hold the scissors with a more open hand, taking a ton of strain off your thumb tendon.
- Crane Grip: This is basically a more extreme version of the offset grip. The top handle is angled way up, allowing you to drop your elbow and shoulder into a comfortable, low-stress posture. It’s a lifesaver during those extra-long grooming sessions.
Picking a handle that fits your hand and your grooming style is every bit as important as choosing the right blade. The right ergonomics give you the confidence and control you need to deliver a safe, beautiful groom every single time.
How to Use Grooming Scissors Safely
Let’s be honest, holding a pair of razor-sharp scissors next to your beloved dog can be nerve-wracking. But it doesn’t have to be. With the right techniques and a little patience, you can turn a potentially scary task into a safe and successful grooming session. The real secret isn’t just in the cutting—it’s in the prep work.

Before you even think about picking up the scissors, make sure you’re not trying to cut a dirty or matted coat. It’s a recipe for disaster. Dirt and tangles will catch in the blades, pulling on your dog’s skin and dulling your scissors. It also makes for a choppy, uneven finish and seriously increases the risk of nicks. Always start with a freshly bathed, completely dry, and thoroughly brushed-out dog.
Mastering the Right Hold and Technique
How you hold your scissors is everything. It dictates your control, precision, and even how long you can groom before your hand gets tired. For the most stable and professional grip, slide your thumb and ring finger into the finger holes. Your index and middle fingers can then rest comfortably on the shank (the metal part leading to the blade), giving you incredible stability and control. This grip prevents the shaky, uncontrolled cuts that can lead to accidents.
Once you’ve got the grip down, it’s time to learn the single most important safety trick in the book: the comb-and-cut method. Think of your comb as a guard rail, creating a physical barrier between the blades and your dog’s skin.
Here’s the simple process:
- Lift the Fur: Use a grooming comb to lift a section of hair straight out from your dog’s body.
- Set Your Scissors: Lay the scissors flat against the comb, parallel to it.
- Snip Above the Comb: Cut the hair that’s sticking out past the comb’s teeth. Never, ever cut between the comb and the skin.
This simple habit ensures you’re only cutting hair, which is exactly what you want. It also helps you get a beautifully even length with each snip.
Safety First: Your comb is your shield. By making it a non-negotiable part of your routine, you build a safety net that lets you groom with confidence, especially when you’re just getting the hang of it.
Navigating Sensitive Areas with Care
Some spots on your dog require a bit more finesse and a lot more caution. The skin is incredibly thin and loose around the eyes, ears, groin area, and between the paw pads. A sudden wiggle in these areas can easily turn into an injury if you’re not careful.
When you’re trimming these delicate zones, keep these rules in mind:
- Point Away: Always angle the scissor tips away from your dog’s body. If your dog moves unexpectedly, a small slip is far less likely to cause harm if the pointy ends aren’t aimed at their skin.
- Grab the Rounded-Tip Shears: For faces and paws, it’s a great idea to switch to grooming scissors for dog styling that have blunt or rounded safety tips. This design is a lifesaver, providing an extra layer of protection against accidental pokes.
- Read the Room: Pay close attention to your dog’s body language. Are they getting restless? Anxious? Stressed? If so, it’s time for a break. Pushing a dog past their comfort zone is when accidents happen.
At the end of the day, a safe grooming session is a successful one. When you take the time to prep the coat, use proper techniques, and work with patience, you transform scissoring from a stressful chore into a positive bonding experience for you both.
Keeping Your Grooming Scissors in Top Condition
Think of a good pair of grooming scissors like a chef’s knife—they’re a real investment. And just like a chef’s prized blade, their performance hinges entirely on how well you care for them. Protecting that investment isn’t complicated, but it does require a consistent routine to keep your shears sharp, smooth, and ready for anything.
If you let maintenance slide, you’ll end up with dull blades that pull hair, a stiff pivot that makes your hand ache, and even rust that can ruin the steel for good. A well-cared-for pair of scissors doesn’t just last longer; it makes the whole grooming process safer and a lot more pleasant for your dog.
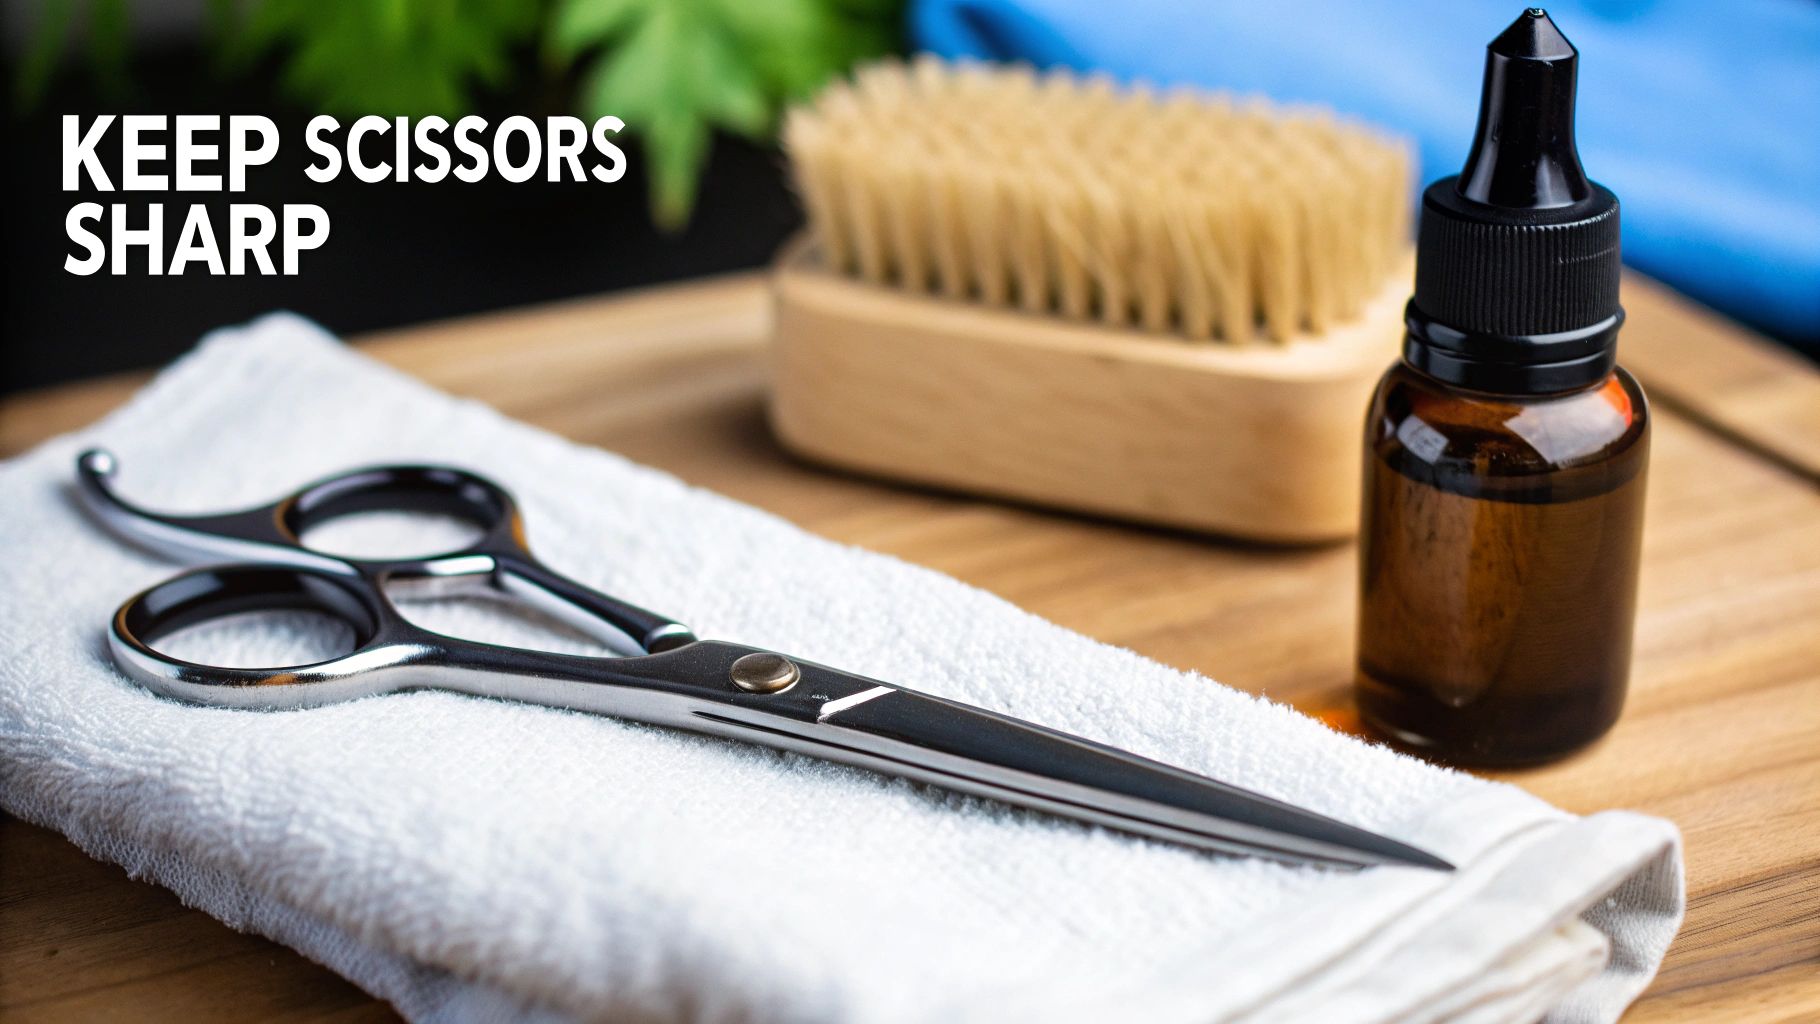
Daily Care and Proper Oiling
After every single grooming session, take just a minute to clean your scissors. Honestly, this is the single most important habit you can build to prevent long-term damage.
Grab a soft, dry cloth and wipe down the blades, getting rid of all the fur, dander, and styling product. It’s a simple step, but it stops gunk from building up, which can make the blades stick or even corrode. It’s just like wiping down your kitchen counter after making dinner—a little effort now saves you from a big mess later.
Next up is oiling. Put one small drop of high-quality scissor oil right at the pivot point where the two blades meet. Open and close the shears a few times to really work the oil into the joint. This keeps the cutting action silky-smooth and actually pushes out any tiny hairs that got trapped inside. Just be sure to wipe off any excess oil from the blades so you don’t get it on your dog’s coat next time.
Pro Tip: Regular oiling is the secret to a long and happy scissor life. It cuts down on friction, prevents the pivot screw from wearing out, and keeps your scissors cutting with that same flawless precision they had on day one.
Checking Tension and Professional Sharpening
The tension has to be just right for your scissors to work properly. Too loose, and they’ll just fold the hair instead of cutting it. Too tight, and you’ll wear down the blade edges and your own hand in no time.
Here’s a quick way to check:
- Hold one handle with the scissor tips pointing up.
- Lift the other blade until it’s horizontal and then let it go.
- It should close smoothly about two-thirds of the way. If it slams shut or barely budges, you need to adjust the tension screw.
No matter how well you care for them, all scissors will eventually need to be sharpened by a pro. Don’t ever try to do this yourself. Professional sharpeners have the right equipment to restore that incredibly fine, precise edge you need for grooming. You’ll know it’s time when your shears start snagging hair or you feel like you have to force them to cut. A yearly sharpening service is a small price to pay to keep your tools in prime condition for years.
Ultimately, taking care of your tools is just as vital as choosing the right shampoos and brushes from a quality grooming and cleaning collection.
Got Questions About Dog Grooming Scissors? We’ve Got Answers.
When you first decide to groom your dog at home, a million questions can pop into your head. Can I just grab the scissors from the kitchen drawer? Which pair is right for my Poodle’s fluffy coat? Don’t worry, you’re not the first to wonder.
We’ve rounded up the most common questions we hear about grooming scissors for dog care. Think of this as your personal grooming help desk, here to give you clear, direct answers so you can start grooming with confidence.
Can I Use Human Scissors on My Dog?
This is easily the most-asked question, and the answer is a hard no. It’s tempting, I get it, but human scissors and proper dog grooming shears are worlds apart in their design and purpose. Using human scissors on your dog is a bit like trying to chop a pile of carrots with a steak knife—it’s the wrong tool for the job, and the results will be messy and even dangerous.
Human hair scissors are made for cutting fine, individual strands. Your dog’s fur is a different beast entirely—it’s thicker, often much coarser, and can be curly or wiry. When you try to use standard scissors on a dog’s coat, the blades often just fold the hair over instead of cutting it. This pulls on your dog’s skin, which is not only painful but can quickly teach them to dread grooming time.
More importantly, professional grooming shears are built with your dog’s safety as the top priority.
- Rounded Safety Tips: You’ll notice many grooming scissors have blunted or rounded tips. This is a game-changer for preventing accidental pokes and cuts, especially when you’re working around delicate areas like the eyes, ears, and paws.
- Proper Blade Tension: Shears designed for dogs are specifically calibrated for the texture of fur, which guarantees a smooth, snag-free cut every time.
- Groomer-Friendly Ergonomics: The handles are shaped to fit your hand comfortably, reducing fatigue during what can sometimes be a long session. Better comfort means better control.
Using the wrong tool isn’t just about getting a bad haircut; it’s about risking injury to your dog. Investing in a real set of grooming scissors is the first and most important step for both their safety and the quality of your work.
How Often Do My Scissors Need to Be Sharpened?
How often you need to sharpen your shears really comes down to two things: how often you use them and the type of coat you’re cutting. For most pet owners who are just grooming their own dog every 4-6 weeks, a professional sharpening once a year is usually plenty. That’s enough to keep the blades in perfect shape for clean, easy cuts.
On the other hand, a professional groomer who uses their tools all day, every day might need them sharpened every 3-4 months. You’ll know it’s time when your scissors just don’t feel right anymore.
Keep an eye out for these tell-tale signs:
- The blades start to catch or pull the hair instead of slicing through it.
- You find yourself having to use more muscle to close the blades.
- You hear a “crunching” sound as you cut.
If you notice any of these, it’s time to find a reputable sharpening service. Whatever you do, don’t try to sharpen high-quality grooming scissors at home. It takes specialized equipment to get that precise edge back without ruining the blade.
What’s the Best Scissor Size for a Beginner?
If you’re just getting your feet wet, a 7-inch straight scissor is the perfect place to start. It’s the workhorse of the grooming world. This length hits the sweet spot between efficiency and control—it’s long enough to tackle the larger parts of the body, but not so long that it feels clumsy when you move to trickier spots.
For all the detail work, like trimming around the face, ears, and in between paw pads, you’ll want a much shorter pair. Something in the 4.5 to 5.5-inch range with rounded safety tips is an absolute must-have. The short blades give you incredible precision, and those safety tips give you priceless peace of mind.
Starting with these two—a versatile 7-inch straight and a small safety-tip shear—gives you a solid foundation to handle most grooming tasks safely and effectively as you build your skills.
Ready to find the perfect tools for a safe and beautiful groom? Explore the wide selection of high-quality grooming supplies at Ur Pet Store. We offer expertly crafted scissors and grooming kits designed for durability, comfort, and precision. Shop now and enjoy free shipping on all orders at https://urpetstore.com.