

Blog
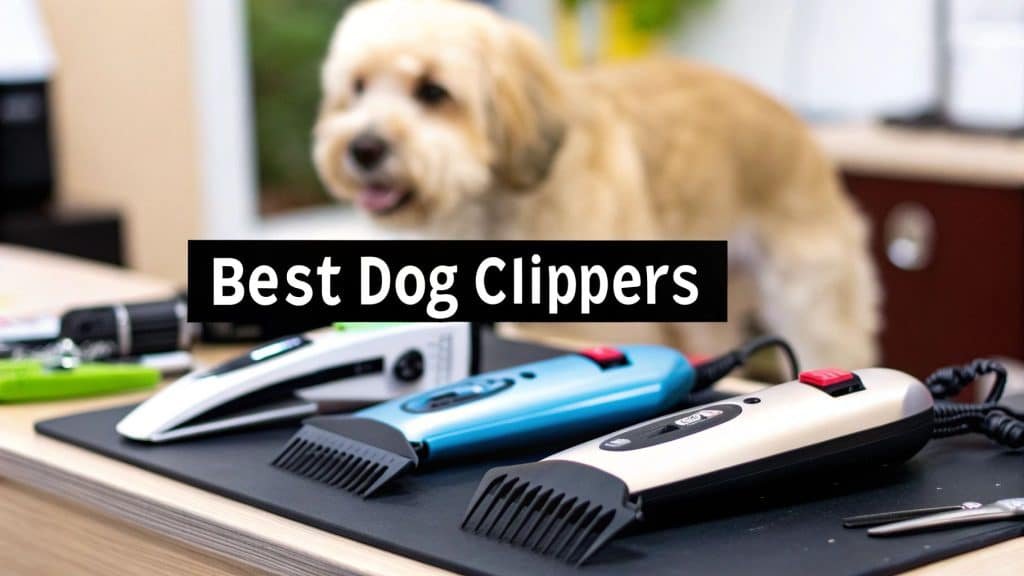
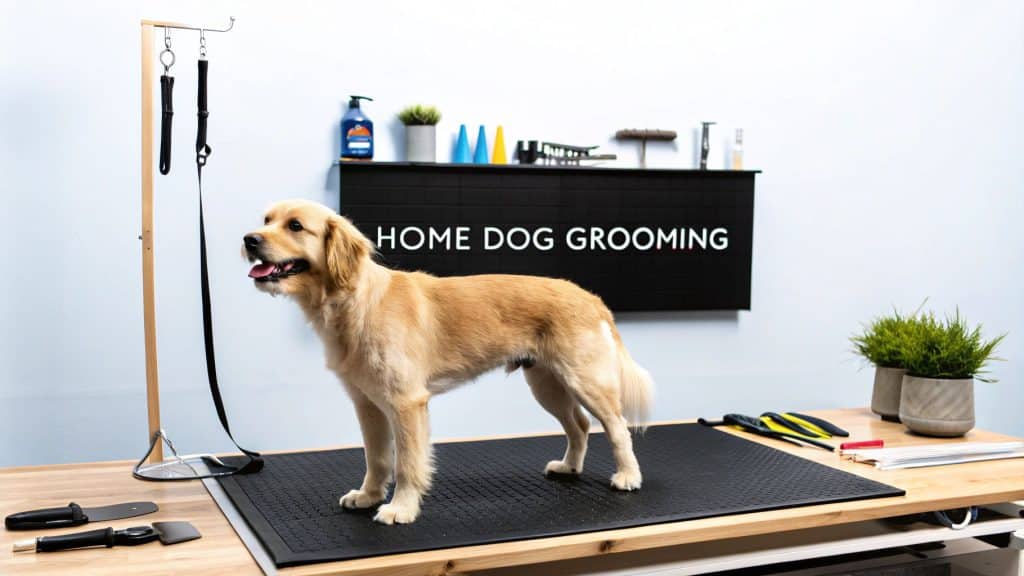
A Pet Owner’s Guide to Grooming Shears for Dogs

Choosing the right grooming shears for dogs is a huge deal. It’s not just about getting a clean, tidy look—it’s about keeping your dog safe and comfortable. The wrong tool can easily pull fur or even nick their skin, quickly turning what should be a bonding experience into a stressful one for both of you.
Why the Right Dog Grooming Shears Are Essential
Think about a professional chef. They wouldn’t use a butter knife to slice a tomato, right? The right tool makes the job easier, faster, and delivers better results. The same logic applies here.
Grabbing those kitchen scissors from the junk drawer is a bad idea. Their blades are almost never sharp enough for fur, which means they’ll snag and pull at your dog’s coat instead of cutting cleanly. Not only does this leave a choppy, uneven finish, but it’s genuinely uncomfortable for your pup and can make them dread grooming time.
On the other hand, professional-grade grooming shears for dogs are designed specifically for this job. They have razor-sharp edges, come in different blade styles for various tasks, and feature ergonomic handles to save your hands from cramping. Investing in a good pair is really an investment in your dog’s happiness and well-being.
More Than Just a Haircut
A solid grooming routine is a cornerstone of your pet’s overall health. Regular trims prevent painful mats from forming, clear out dead hair, and give you a chance to spot any skin problems, ticks, or fleas hiding in their coat.
This commitment to our pets’ health is a big reason why the global pet grooming product market is valued at a massive USD 14.7 billion. Shears and trimming tools are actually the fastest-growing part of that market, showing just how many owners understand that having the proper equipment is non-negotiable. You can explore more about these market trends and see how they tie into pet wellness.
“The difference between a stressful trim and a calm one often comes down to the tool in your hand. Sharp, appropriate shears glide through fur, making the experience quicker, safer, and more pleasant for the dog.”
This guide is here to walk you through all the options out there. We’ll break down everything from the different types of shears to the best materials, giving you the confidence to pick the perfect pair for you and your dog.
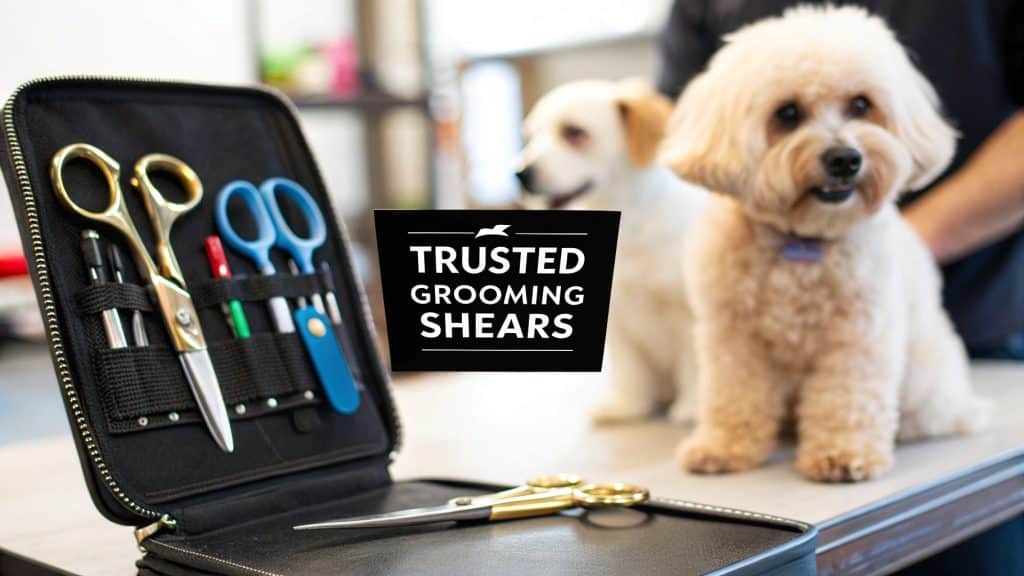
Your Guide to the Different Types of Grooming Shears
Just like a chef has more than one knife, a dog groomer needs a whole arsenal of shears. Using the right tool for the job isn’t just about getting that perfect, professional-looking cut—it’s about making the process safer and more efficient for both you and your dog. Each type of grooming shears for dogs has a very specific role to play in your toolkit.
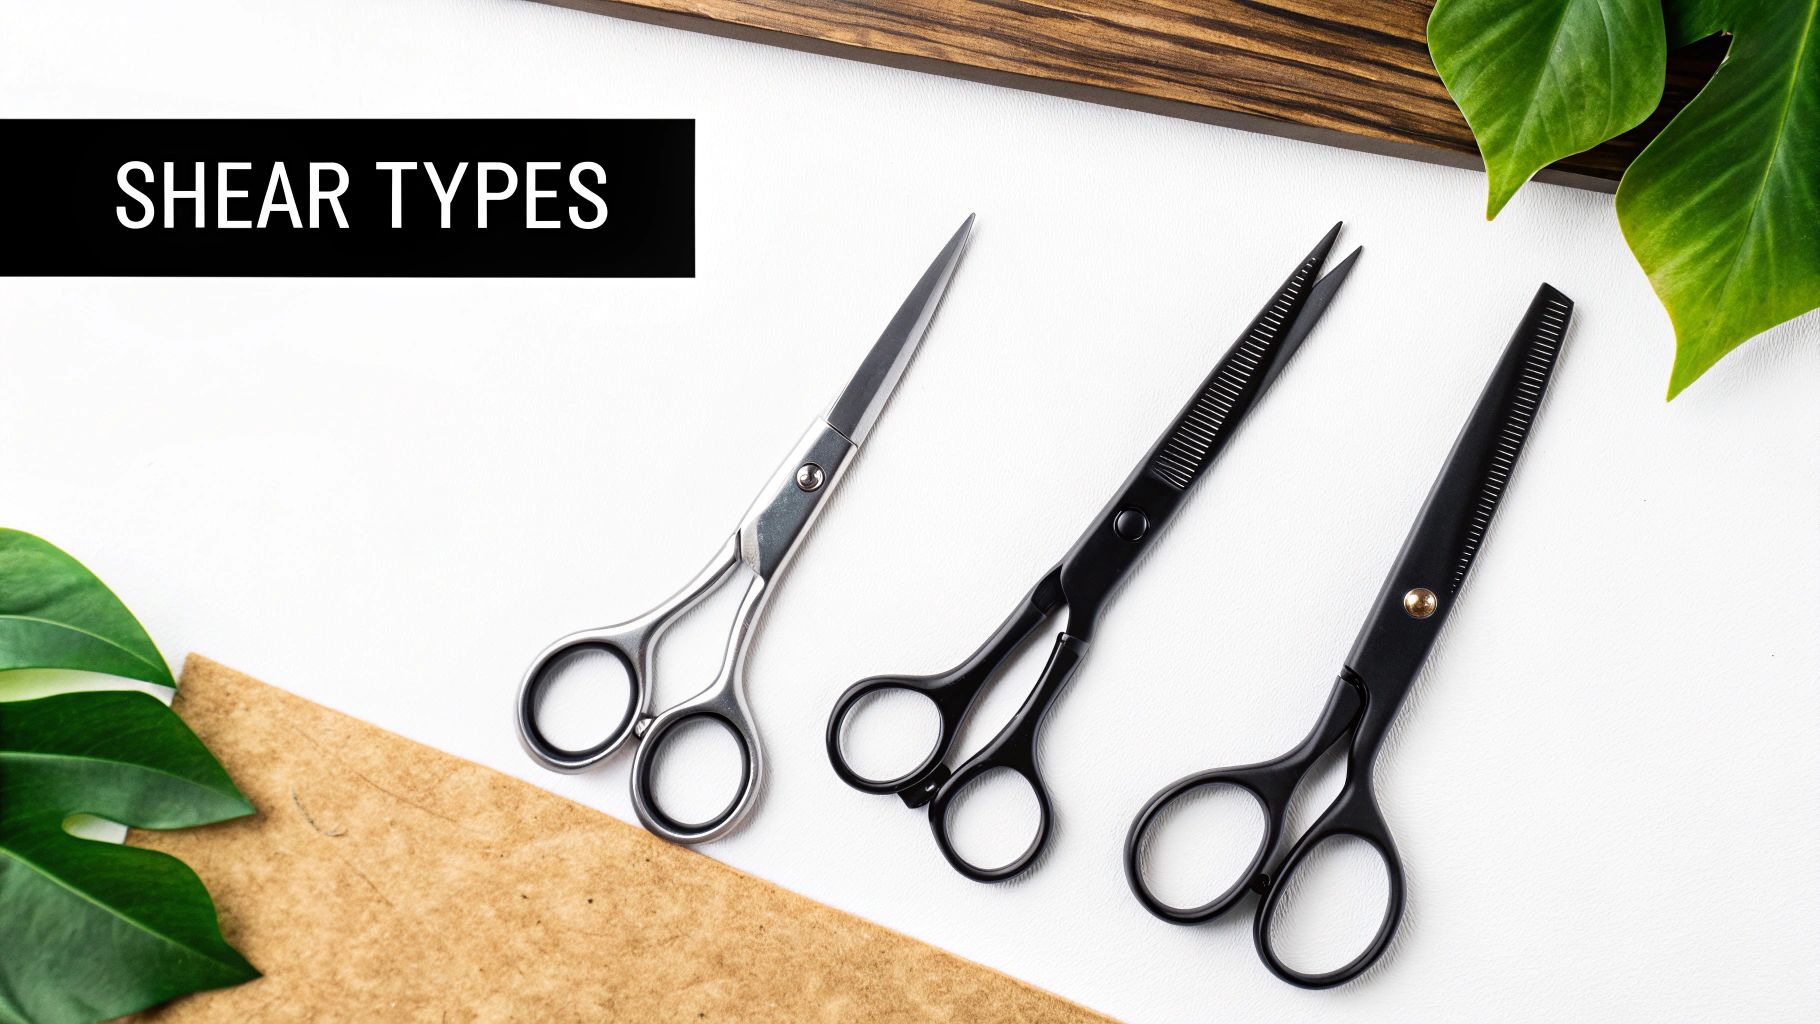
Once you understand what each pair is designed for, you’ll find your grooming sessions go from a simple trim to something more like artful sculpting. Let’s break down the four main types you’ll come across.
Straight Shears: The Workhorse
Think of straight shears as the all-purpose powerhouse of your grooming kit. They’re the foundation for almost every haircut, used for setting the overall length of the coat and creating clean, straight lines.
These are your go-to for covering large areas, like trimming the back and sides of a Golden Retriever or shaping the skirt on a Schnauzer. Their direct, no-nonsense cutting action is perfect for removing bulk and laying down the basic shape of the style. You simply can’t do most grooms without a solid pair of straight shears.
Curved Shears: The Contouring Specialist
Now, picture trying to trim around your dog’s paws or neatly shape the topknot on their head with a straight blade. It’s awkward, difficult, and can even be unsafe. This is exactly where curved shears come into play.
Their blades have a distinct arc, specifically designed to follow the natural curves of a dog’s body. They are absolutely essential for creating that soft, rounded, polished look that separates a good groom from a great one.
You’ll reach for curved shears when:
- Shaping a neat, rounded “cat paw” look.
- Trimming around the face and muzzle safely.
- Adding a beautiful, flowing arc to a plumed tail.
- Defining the angulation on the legs of breeds like Poodles.
Without them, achieving a fluid, seamless finish in these tricky spots is nearly impossible. They give you the finesse you need for those detailed, professional-level touches.
Thinning Shears: The Blender
Thinning shears, often called blenders, are easy to spot: they have one solid blade and one blade with lots of fine, V-shaped teeth. They don’t remove large chunks of hair. Instead, they subtly remove a small amount of fur with each snip.
Their main purpose is to soften harsh scissor lines and blend different coat lengths together seamlessly. For instance, after using straight shears on a terrier’s coat, you’d use thinning shears to erase any choppy marks and create a smooth, natural transition. They are also fantastic for thinning out bulky coats without losing overall length. Just remember to brush out any tangles first! A good double-sided pet grooming brush is perfect for this pre-trim prep.
Chunker Shears: The Texturizer
At first glance, chunkers look a lot like thinning shears. The key difference is that the teeth on a chunker are much wider and spaced further apart, which means they remove more hair than thinners but less than straight shears.
Their unique role is to add texture and create a more natural, “lived-in” style rather than a perfectly sculpted one. They work wonders for breaking up solid lines for a softer finish and adding dimension to fluffy or curly coats, making them a groomer’s secret weapon for breeds like doodles.
To help you decide which tool to grab, here’s a quick-reference table that breaks down what each shear does best.
| Choosing the Right Shear for the Job | ||
|---|---|---|
| Shear Type | Primary Function | Best Used For |
| Straight Shears | Bulk removal and creating straight lines | Establishing the base length on the body, legs, and skirts. |
| Curved Shears | Contouring and shaping | Rounding paws, shaping topknots, and defining curved areas like ribcages. |
| Thinning Shears | Blending and softening | Erasing scissor marks, blending short hair into long, and removing bulk. |
| Chunker Shears | Texturizing and styling | Creating a soft, natural finish on fluffy or curly coats (e.g., doodles). |
Having the right set of shears on hand makes all the difference, turning a daunting task into a creative and rewarding experience.
Getting to Grips with Blade Materials and Edges
When you get right down to it, what really separates a great pair of shears from a mediocre one is the steel. The quality of the metal and the type of edge ground onto the blade are everything. A chef wouldn’t use a flimsy knife for precision work, and a groomer needs shears that can take a sharp edge and keep it.
Almost all good shears are made from stainless steel, but that’s a broad category. The best stuff tends to come from Japan or Germany, countries known for their incredible steelwork.
It’s like comparing a basic kitchen knife to a high-end chef’s knife. Sure, they both cut, but the professional-grade steel offers sharpness, durability, and a feel that the cheaper one just can’t match. That same logic applies directly to grooming shears.
Investing in a better steel alloy means your shears stay sharp longer, fight off rust, and give you that satisfying, clean snip every time.
High-Performance Steel Alloys
As you shop around, you’ll see different steel grades listed, like “440C” or “VG-10.” These aren’t just marketing fluff; they tell you a lot about the tool’s potential performance.
- 440C Stainless Steel: This is the trusted workhorse of the grooming world. It’s tough, holds an edge well, and resists corrosion like a champ. For both pros and dedicated home groomers, 440C is a solid, reliable standard.
- Japanese VG-10 Steel: Think of this as the next level up. Often called a “super steel,” VG-10 can be honed to an unbelievably sharp edge and holds it for a long, long time. Shears made with it feel incredibly smooth as they cut.
Yes, shears made from these premium steels cost more, but the difference in how they perform and how long they last is something you’ll notice immediately.
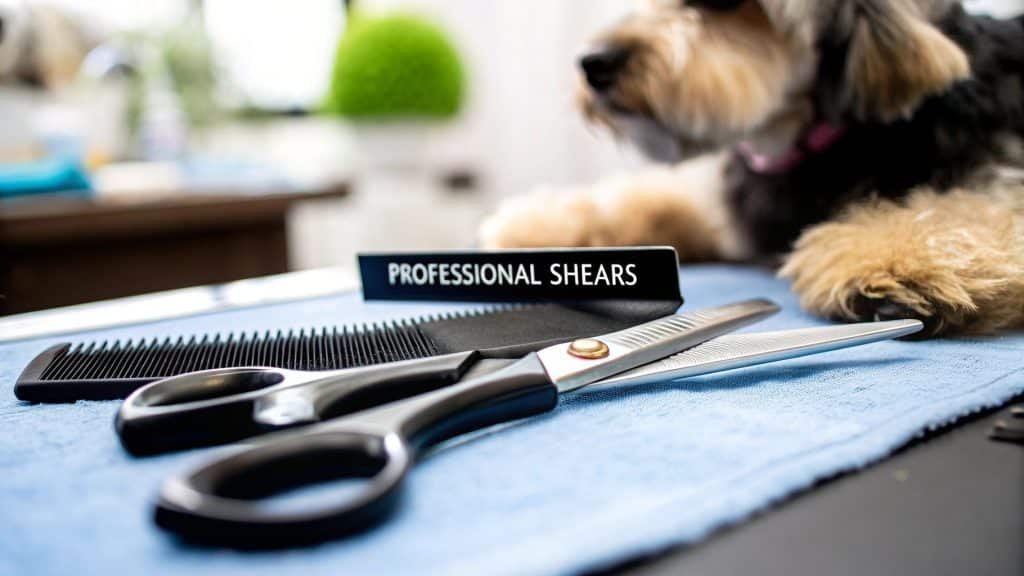
Beveled vs. Convex Edges
The steel is only half the story; the other half is the shape of the blade’s edge. This geometry dictates how the shear cuts through hair, and the two main styles are built for different jobs.
| Edge Type Comparison | |
|---|---|
| Beveled Edge | Convex Edge |
| More durable and forgiving. | Razor-sharp for a flawless finish. |
| Ideal for beginners and bulk work. | Preferred by professional groomers. |
| Has a distinct, flat-ground angle. | Features a smooth, curved blade face. |
| Excellent for tougher, thicker coats. | Perfect for precision and fine finishing work. |
A beveled edge is tough and dependable. You can see a distinct angle on the blade, which gives it strength. This makes it a great choice for beginners or for powering through thick, heavy coats without worrying about dulling the blade too quickly.
On the other hand, a convex edge is all about finesse. The blade curves smoothly down to an incredibly fine point. This design allows it to glide through hair, leaving a pristine, almost invisible cut line that’s perfect for scissoring and finish work. They are more delicate and require specialized sharpening, but for a truly polished look, nothing beats them.
Finding the Perfect Fit for Comfort and Control
Anyone who’s spent hours grooming knows the feeling—that ache in your hand, wrist, and thumb. Long grooming sessions are tough work. Think of it like a runner needing the right shoes; a groomer needs shears that fit well to avoid fatigue and keep their cuts precise. The goal is to find a pair of grooming shears for dogs that feel less like a tool and more like an extension of your own hand.
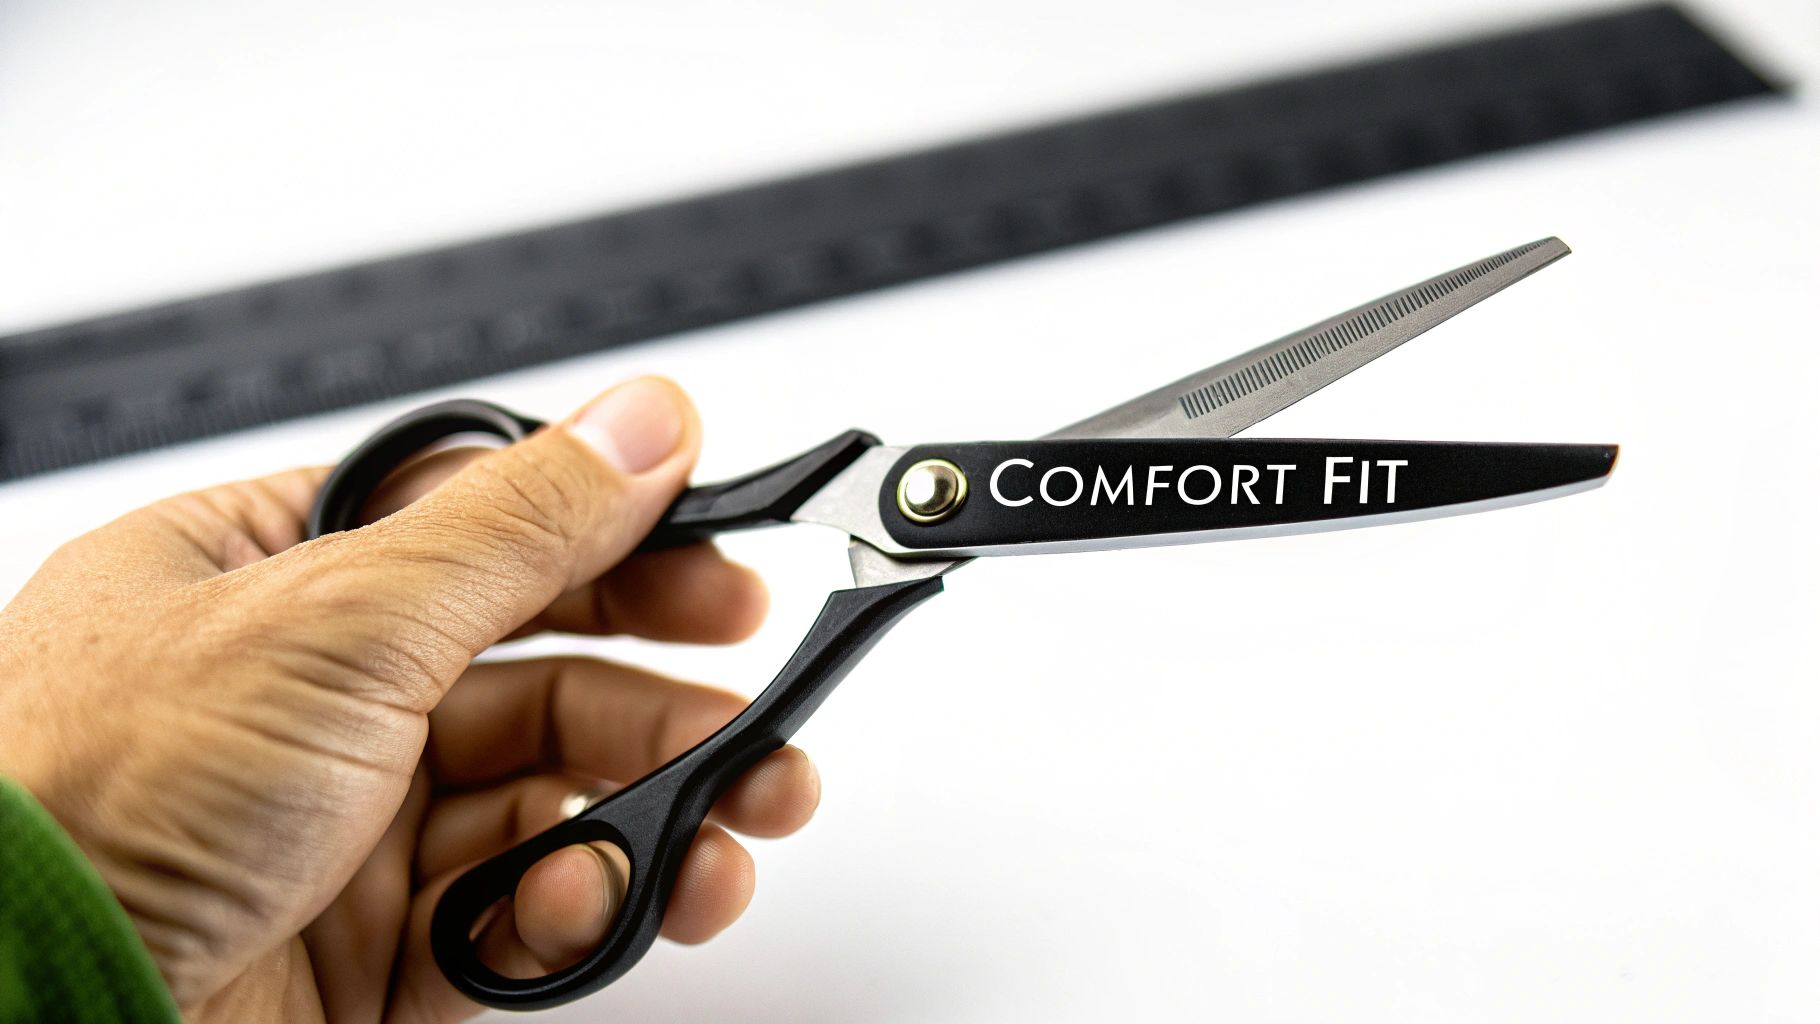
It really boils down to two things: the length of the shears and the style of the handle. If you get both of these right, you’ll be amazed at how much strain it takes off your body, letting you work longer and with more accuracy.
Choosing the Right Shear Size
Shear size, which is measured from the very tip of the blade down to the end of the finger ring, isn’t a one-size-fits-all deal. Different lengths are built for different jobs, and having a variety in your toolkit is a game-changer.
- Shorter Shears (Under 7 inches): These are your detail scissors. Think of them as a fine-point pen. Their smaller size gives you incredible control for all that tricky, intricate work around the face, ears, and paws. They’re a must-have for small breeds and finishing touches.
- Longer Shears (8 inches and up): When you’ve got a big job ahead, like shaping the body of a Standard Poodle, longer shears are your workhorse. They let you remove more coat with every snip, helping you create smooth, flowing lines much more efficiently.
Honestly, having at least one short pair and one long pair is the best way to be ready for whatever dog walks through your door.
Finding Your Ideal Handle Style
The handle is where ergonomics really matter. A handle that doesn’t fit right will force your hand into awkward positions, leading to tired muscles and, over time, could even cause repetitive strain injuries.
The right handle design isn’t a luxury; it’s a necessity for anyone serious about grooming. It aligns your hand, wrist, and arm, which not only prevents pain but also translates into a steadier, more confident cut.
Let’s break down the three most common handle designs you’ll see:
- Symmetric (Opposing) Handles: This is the old-school, classic design where both finger rings are perfectly aligned. They get the job done, but they often force you to raise your elbow, which can get tiring during a long day.
- Offset Handles: Here’s where comfort really improves. With an offset handle, one shank is shorter than the other. This simple change allows you to drop your elbow into a more natural, relaxed position, which takes a ton of stress off your wrist and shoulder.
- Swivel-Thumb Handles: For the ultimate ergonomic experience, swivel-thumb shears are in a class of their own. The thumb ring actually rotates, giving you total freedom to adjust your cutting angle without ever having to bend your wrist into an uncomfortable position.
As more and more people welcome dogs into their families, the demand for better grooming tools has exploded. This growth in the shears and trimming tools segment means manufacturers are stepping up, creating more specialized and ergonomic options than ever before. If you want to dive deeper, you can discover more insights about the dog grooming market and see just how much tool innovation is shaping the industry.
How to Maintain Your Shears for Lasting Performance
Think of a good pair of grooming shears like a chef’s favorite knife. It’s a serious investment, and with a little bit of consistent care, it will perform beautifully for years. If you neglect them, you’ll end up with dull blades that pull at the dog’s coat, turning a simple trim into a frustrating and uncomfortable experience.
The good news is that keeping your shears in top shape isn’t complicated. A simple daily routine is your best defense against wear and tear. It only takes a minute after each grooming session, but it makes all the difference in protecting your investment.
Your Daily Maintenance Routine
After you finish grooming, your shears are coated in tiny hairs, dander, and oils from the dog’s fur. If you just put them away like that, you’re inviting trouble. That residue traps moisture and can lead to rust and corrosion, even on high-quality stainless steel.
Here’s a simple three-step habit to get into:
- Clean Them Up: Grab a soft, dry cloth (microfiber works great) and give both blades a thorough wipe-down. Start at the pivot and wipe all the way to the tips to clear off every last bit of hair and gunk.
- Make Sure They’re Dry: Moisture is the enemy. Pay close attention to the pivot area around the screw, as water loves to hide there. Make sure your shears are 100% dry before you store them.
- Oil the Pivot Point: Add just one drop of quality shear oil right where the blades meet. Open and close the shears a few times to work it into the mechanism, then wipe off any excess. This simple step keeps the cutting action silky smooth and pushes out any lingering moisture.
Taking 60 seconds to clean, dry, and oil your shears after each groom is the single most effective thing you can do to prolong their life and maintain their cutting performance.
Checking and Adjusting Tension
The tension setting is what allows your shears to make a clean, crisp cut. If it’s too loose, the blades will just bend the hair over instead of snipping it. Too tight, and you’ll not only wear out the blade edges faster, but you’ll also put a serious strain on your hand.
Here’s a quick way to check it: Hold the shears by one of the finger rings, with the tips pointing to the ceiling. Lift the other handle to open the blades all the way, and then let it drop. A properly tensioned shear will close smoothly and stop about two-thirds of the way down. If it slams shut, it’s too loose. If it barely budges, it’s too tight. A few small turns of the tension knob should get it just right.
No matter how well you care for them, your shears will eventually need to be sharpened. And whatever you do, do not try to sharpen them yourself with a knife sharpener from your kitchen drawer. You’ll completely ruin the finely honed convex or beveled edge.
This is a job for a professional, period. They have specialized equipment to restore the exact angle needed for cutting fur. You’ll know it’s time when your shears start snagging, folding hair, or just not cutting cleanly. For most home groomers, this usually comes up every 12 to 18 months.
Your Ultimate Dog Grooming Shears Buying Checklist
Alright, you’ve made it this far. Feeling ready to finally pick out the perfect pair of grooming shears? Let’s tie everything together with a simple checklist. Think of this as your final walkthrough before you buy, making sure you choose a pair that feels like an extension of your hand and keeps your dog looking sharp.
This isn’t about finding the single “best” shear on the market. It’s about finding the best shear for you, your dog, and the specific jobs you need to tackle.
Your Personal Buying Criteria
Run through these quick questions to make sure you’re getting exactly what you need.
- What’s your dog’s coat like? Is it thick and wooly, or fine and wispy? Remember, a dense coat often requires a tougher beveled edge shear, while a silky coat will get that beautiful, crisp finish from a convex edge.
- How experienced are you? If you’re just starting, stick with the basics. A good pair of straight shears and some thinning shears are your best friends. More seasoned groomers can branch out into curved and chunker shears for that professional-level styling.
- What are you trying to accomplish? Are you doing full-body haircuts or just tidying up your dog’s face and paws? Grab longer shears (8+ inches) for bigger jobs and keep a shorter pair (under 7 inches) handy for all that delicate, detailed work.
- How do they feel in your hand? This is a big one. An offset or swivel-thumb handle can be a lifesaver, seriously cutting down on hand and wrist strain, especially if you’re grooming for more than a few minutes at a time.
This little chart is a great reminder of how to know when your shears just need a quick clean versus when it’s time to call in a professional sharpener.
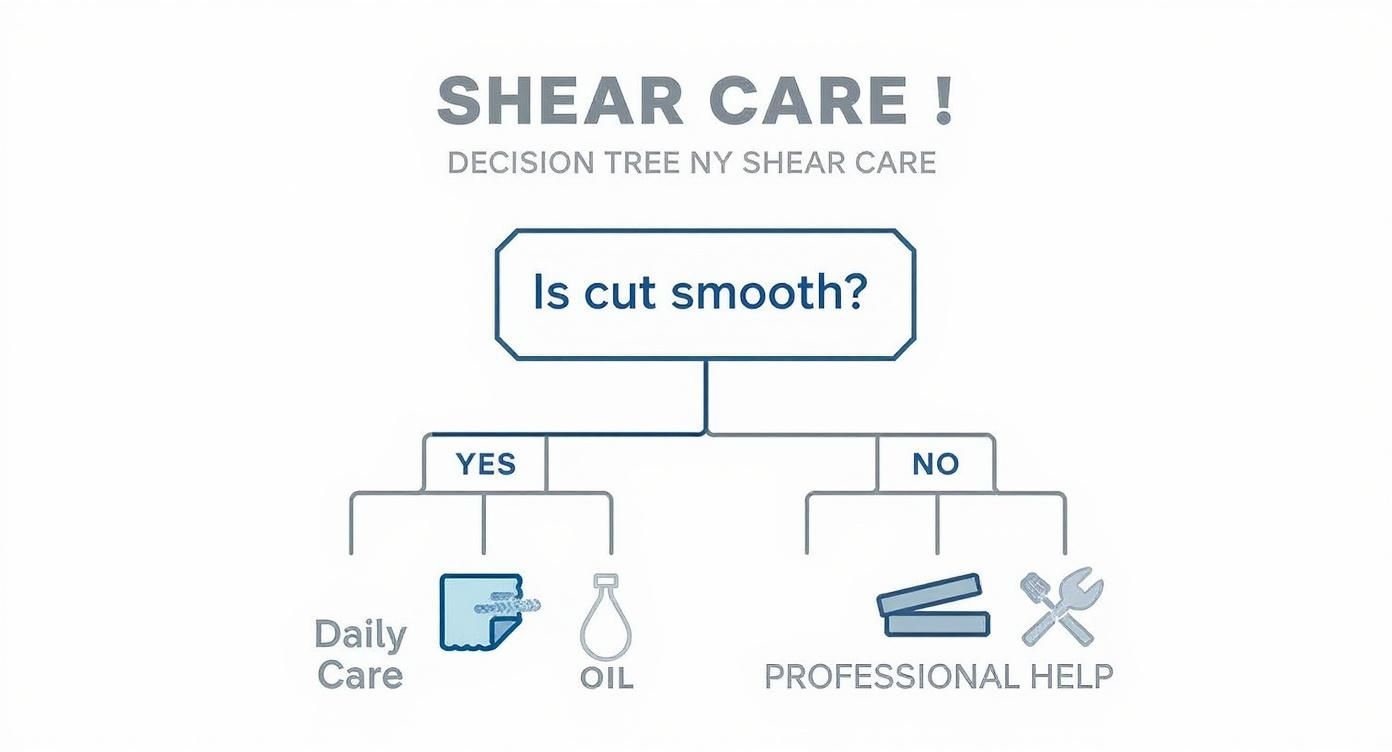
If your shears are gliding through the coat, you’re in the clear. But if you feel any pulling or snagging, it’s a sign they need some expert help to get their edge back.
Final Takeaway: The best grooming shears for dogs are a personalized choice. There is no single “best” pair—only the best pair for your dog, your hands, and your grooming goals.
More and more pet owners are taking grooming into their own hands, which is why the market for these tools has grown to over USD 425.7 million. It’s a testament to how much we care about our furry companions.
Once you’ve found your perfect shears, be sure to check out our full collection of grooming and cleaning supplies to get everything else you need. You might also find some other great items in a wide range of pet accessories to complete your dog’s pampering setup.
Your Top Questions About Dog Grooming Shears, Answered
Jumping into home grooming can feel like a big step, and it’s totally normal to have a few questions. Getting good, clear answers is the best way to build your confidence and make sure every trim is a safe and happy one for your dog.
Let’s dig into some of the most common things people wonder about when it comes to grooming shears for dogs.
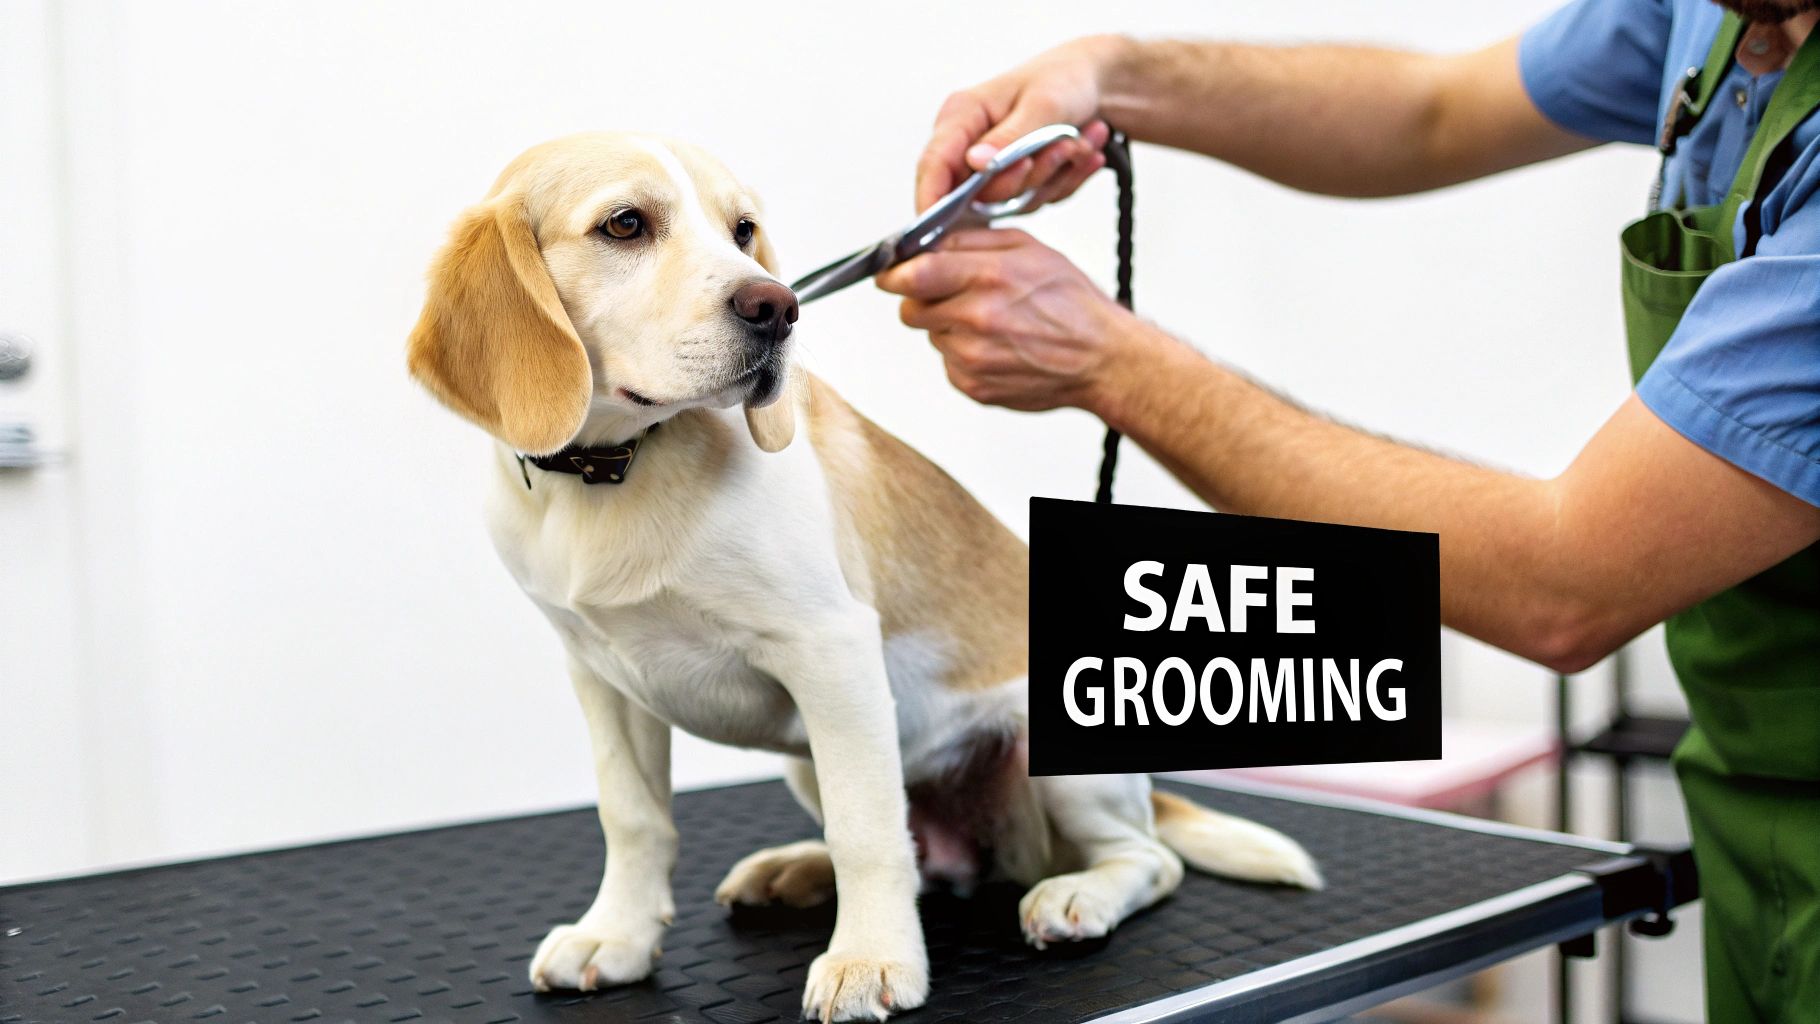
Can I Just Use Regular Scissors From My Kitchen Drawer?
I hear this one all the time, and the answer is a hard no. It might seem tempting to grab whatever you have on hand, but household scissors are built for cutting paper, not fur. Their blades are simply not sharp or precise enough for the job.
Instead of a clean snip, they’ll end up folding and pulling at your dog’s coat. This is not only painful for your pup, but it also leaves behind a choppy, uneven mess. Professional grooming shears are specifically designed with razor-sharp edges to glide right through hair, which is safer for your dog and gives you a much better result. Honestly, using the wrong tool is one of the fastest ways to make a dog hate being groomed.
The biggest mistake I see pet owners make is underestimating how much dull scissors can pull hair and injure the skin. Properly designed shears are your best defense against this, cutting cleanly every time.
What Shears Do I Absolutely Need to Start?
You don’t need to go out and buy a massive professional kit when you’re just starting out. You can get some fantastic results with just two key pairs of shears.
- A solid pair of straight shears: I’d recommend something in the 7-8 inch range. This will be your go-to tool for trimming the body and legs and setting the overall length of the cut.
- A pair of thinning or blending shears: These are your secret weapon. They’re perfect for softening any harsh lines your straight shears might leave and for blending different coat lengths together for a really natural, professional-looking finish.
With just these two types of grooming shears for dogs, you’ll be well-equipped to handle almost any basic grooming task that comes your way.
How Often Do I Need to Get My Shears Sharpened?
For most home groomers, having your shears professionally sharpened every 12 to 18 months is a pretty good rule of thumb.
But the real test is how they perform. If you start to feel your shears snagging or folding the hair instead of making that crisp, clean cut, that’s your cue. It’s time to send them to a professional sharpener to get that edge back.
Ready to find the perfect grooming tools for your furry best friend? Check out the full collection of high-quality grooming supplies at Ur Pet Store and get everything you need for a happy, healthy, and beautifully groomed dog. Visit us today at https://urpetstore.com.