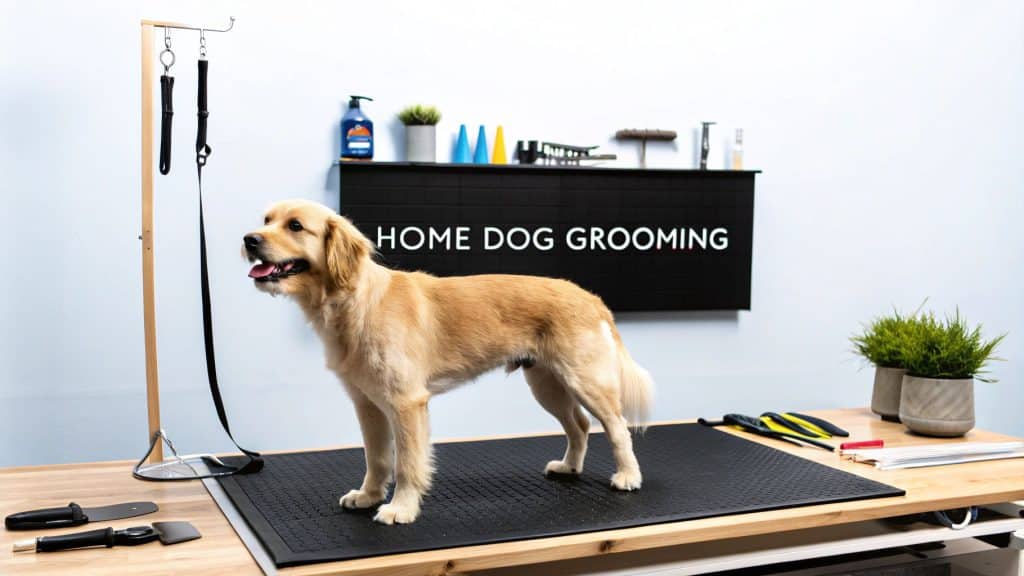


Blog
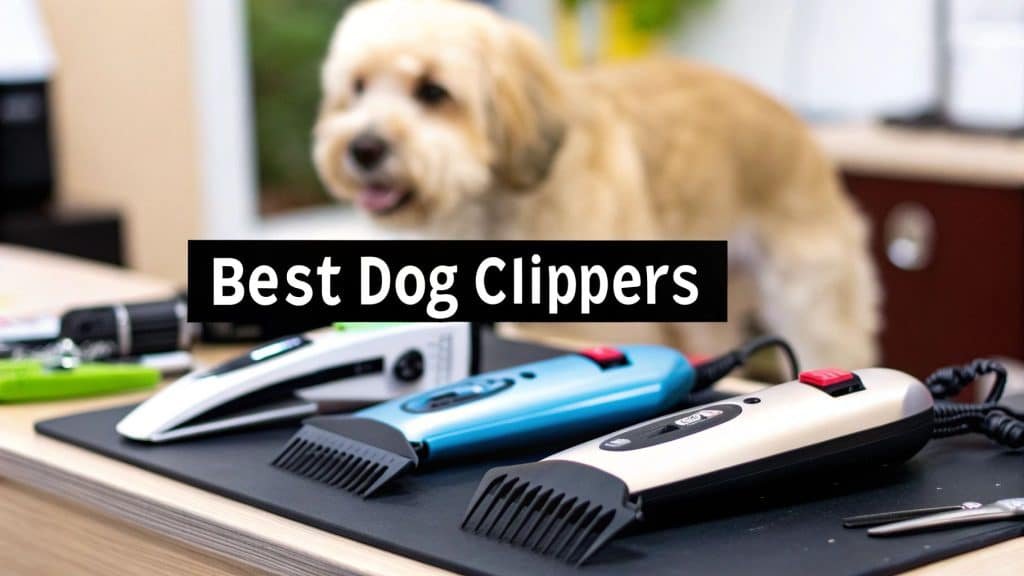
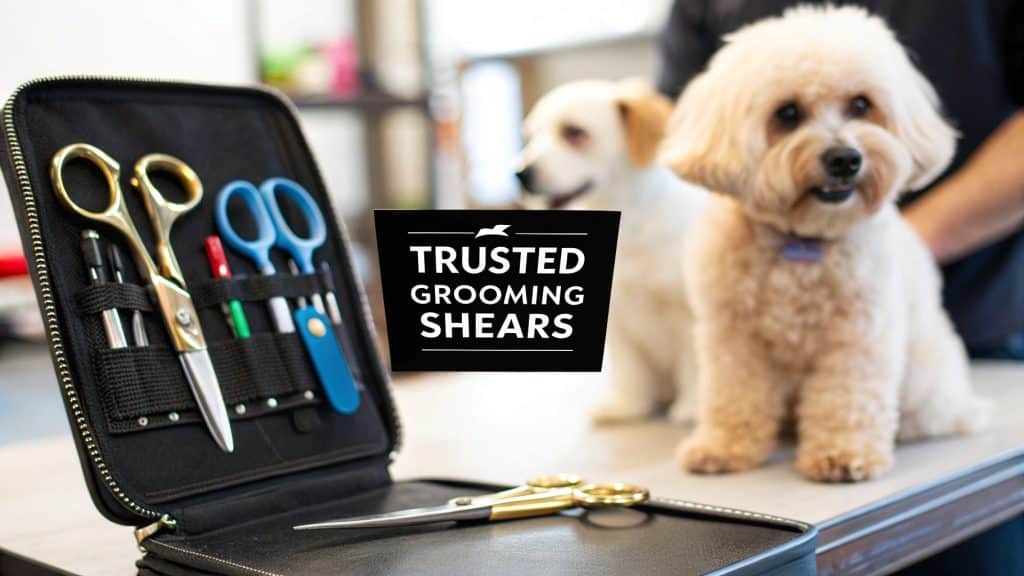
Finding the Best Dog Grooming Shears
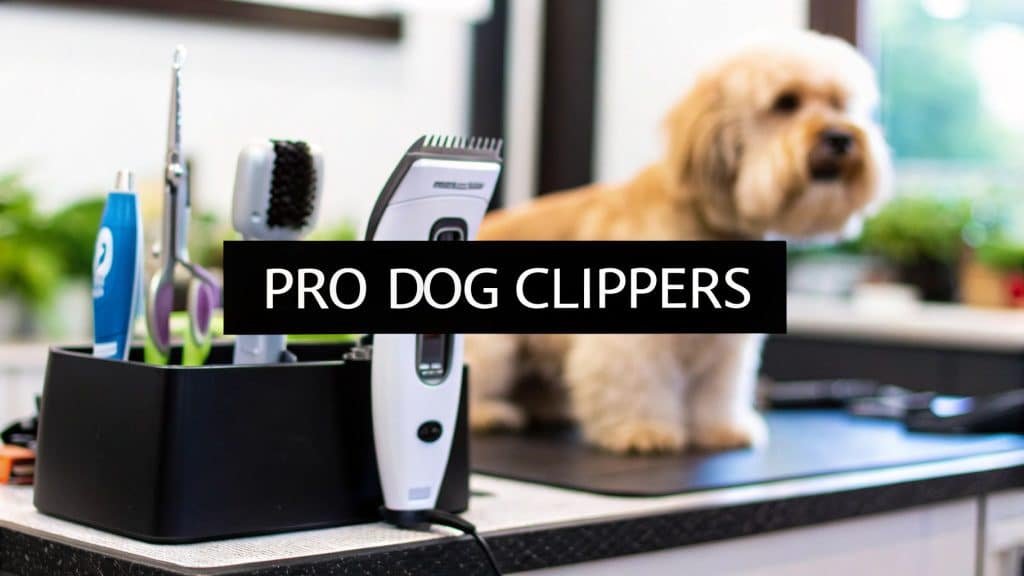
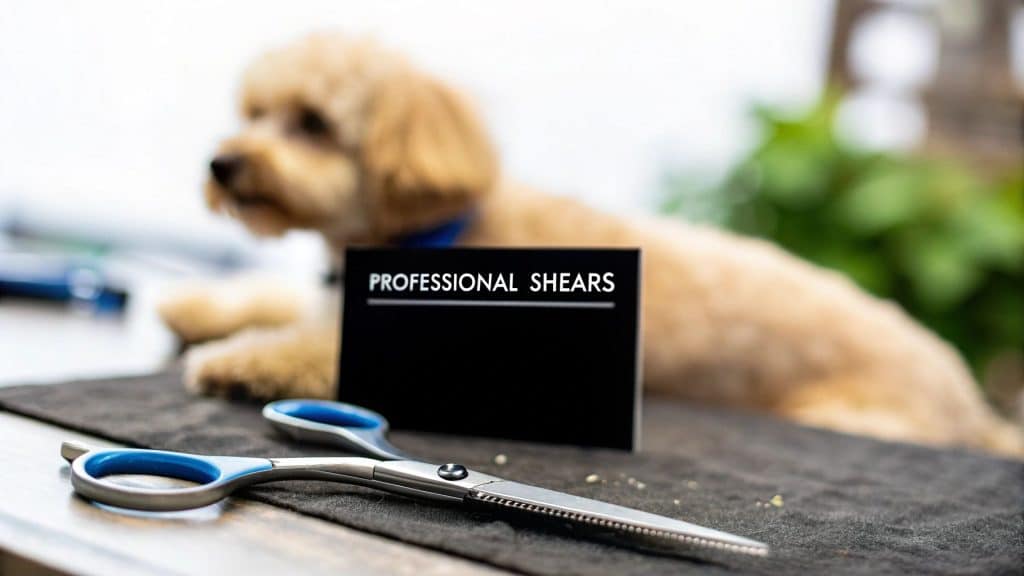
If you’re looking for the best dog grooming shears, you can’t go wrong with a high-quality pair made from Japanese 440C stainless steel paired with an ergonomic handle. For most at-home grooming, a versatile 7-inch straight or curved shear is the perfect place to start. It gives you the control you need for safe, professional-looking results.
Investing in a great tool from the get-go does more than just make the coat look good—it prevents painful fur pulling, making the whole experience way more enjoyable for you and your dog.
Why the Right Grooming Shears Matter
Walking into the world of dog grooming shears can feel a little overwhelming, but picking the right pair is the most important step you can take. It’s what separates a stressful, choppy haircut from a safe, professional-looking groom you can be proud of. This guide will cut through the noise and show you what really matters.
Think about it like this: you wouldn’t grab a pair of dull kitchen scissors to give yourself a haircut, would you? The same rule applies to your dog. Cheap, low-quality shears don’t just leave a bad finish; they snag, pull, and rip at the fur. That’s a surefire way to make your dog dread grooming time.
The Foundation of a Great Groom
On the other hand, a pair of professional-grade shears feels completely different. They glide through the coat effortlessly, giving you the precision you need for a beautiful, even trim and cutting your grooming time down significantly.
Think of this guide as your roadmap. We’re going to cover everything you need to know, including:
- The basic types of shears and what each one is used for.
- Why blade materials and handle designs are so important.
- How to choose a tool that not only performs beautifully but also keeps your dog comfortable.
The right pair of shears isn’t just a tool; it’s an investment in your pet’s comfort and well-being. A sharp, well-balanced shear makes grooming a bonding experience rather than a chore, preventing stress for both you and your furry companion.
Of course, a great haircut starts before you even pick up the shears. Regular brushing is key to preventing the mats and tangles that make trimming difficult and dangerous. A clean, well-brushed coat is a much easier canvas to work with. If you need help finding the right tools for daily maintenance, our guide on the best brushes for Labrador Retrievers has tips that can help with many different coat types.
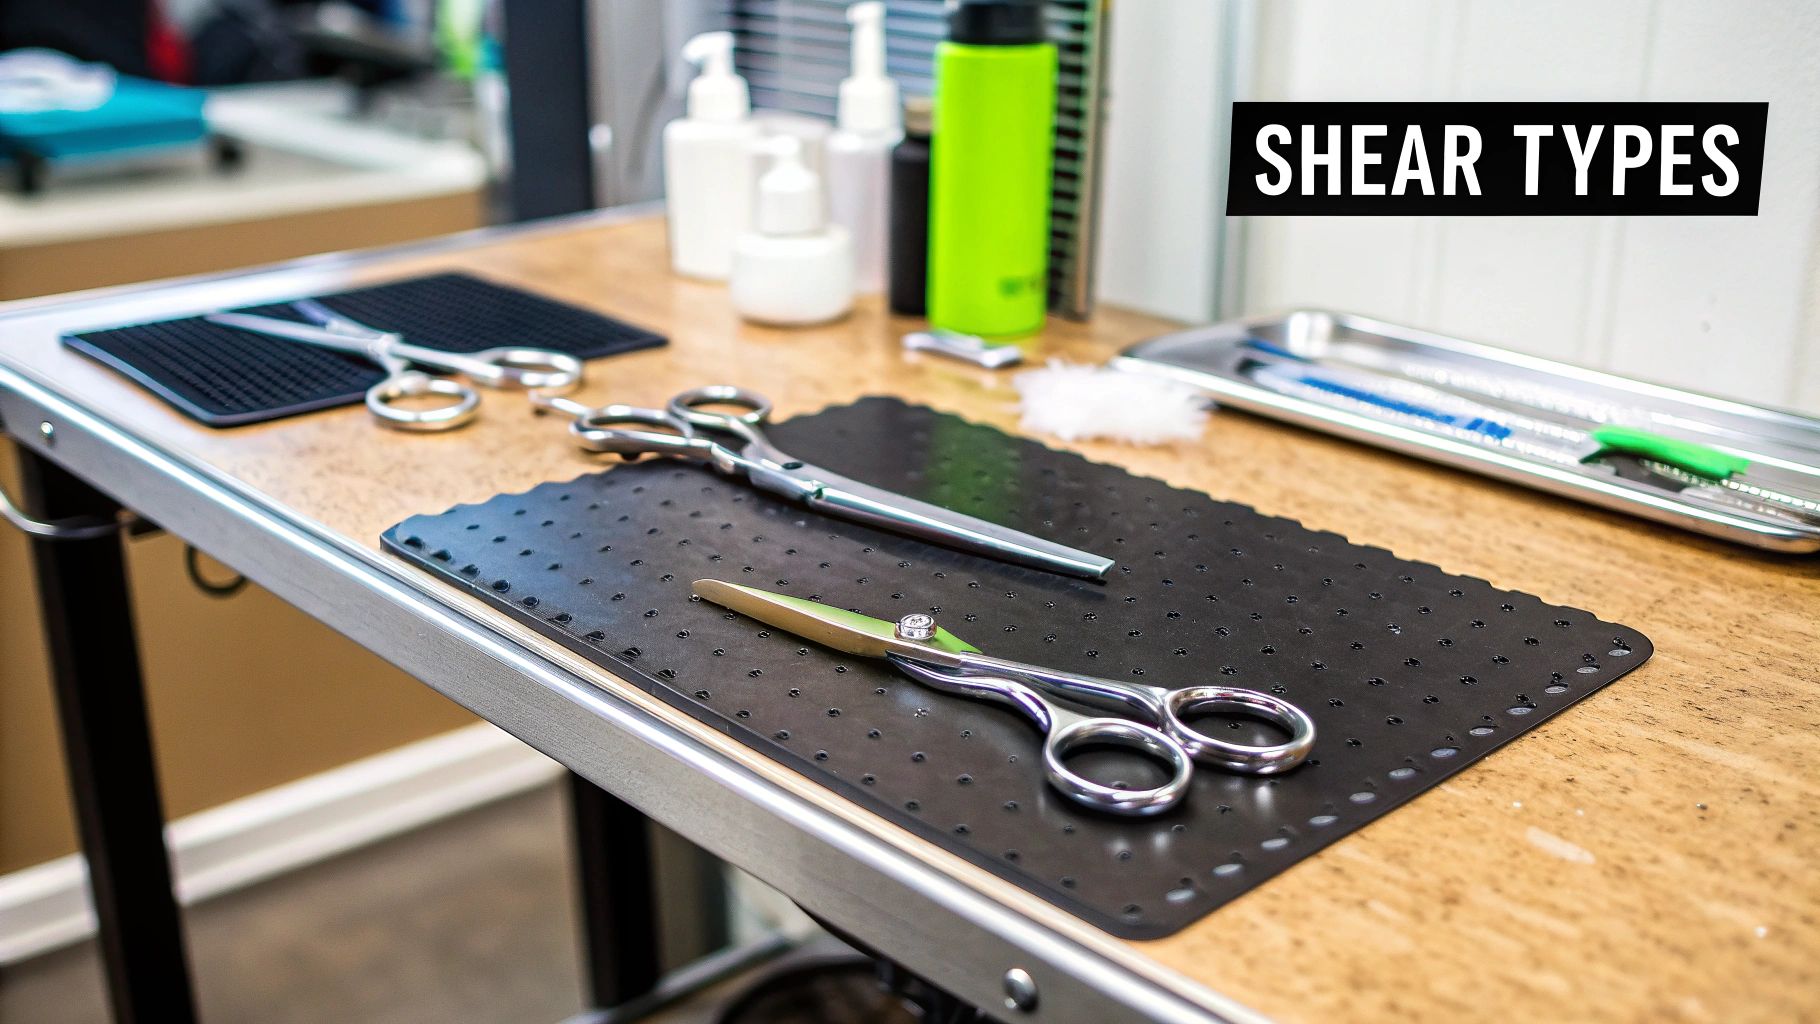
Understanding the Different Types of Shears
If you think all dog grooming shears are the same, think again. Just like a professional artist has a whole collection of brushes for different strokes and effects, a good groomer needs a specific set of shears to get that polished, show-ready look. Trying to do a detailed job with a big, clumsy tool will only lead to a choppy mess and a lot of frustration for everyone involved.
Getting a handle on what each type of shear does is the first real step to building a toolkit that works for you. Each one has a very specific job, whether it’s creating those perfectly straight lines or just softly blending away any little imperfections. That’s why knowing the difference is so critical to finding the best dog grooming shears for your specific needs.
This graphic breaks down the essential qualities you should look for, no matter which type of shear you’re considering.
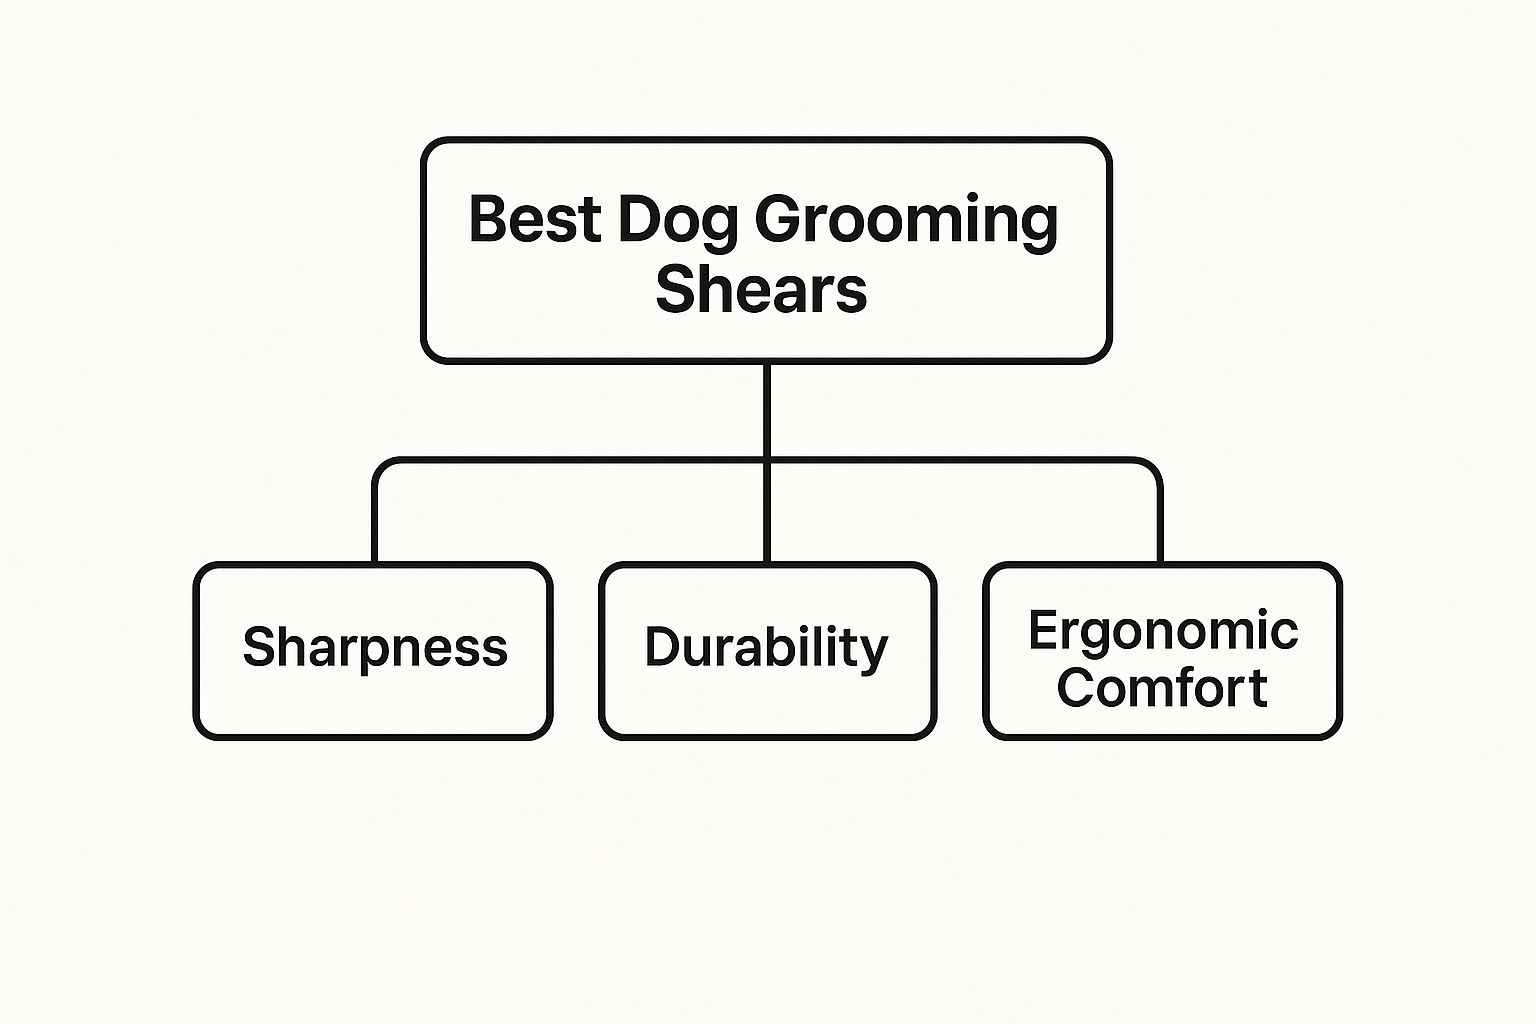
As you can see, the sweet spot is where razor-sharp blades, long-lasting materials, and a comfortable design all come together. That’s what makes for a great grooming experience.
Straight Shears: The All-Purpose Workhorse
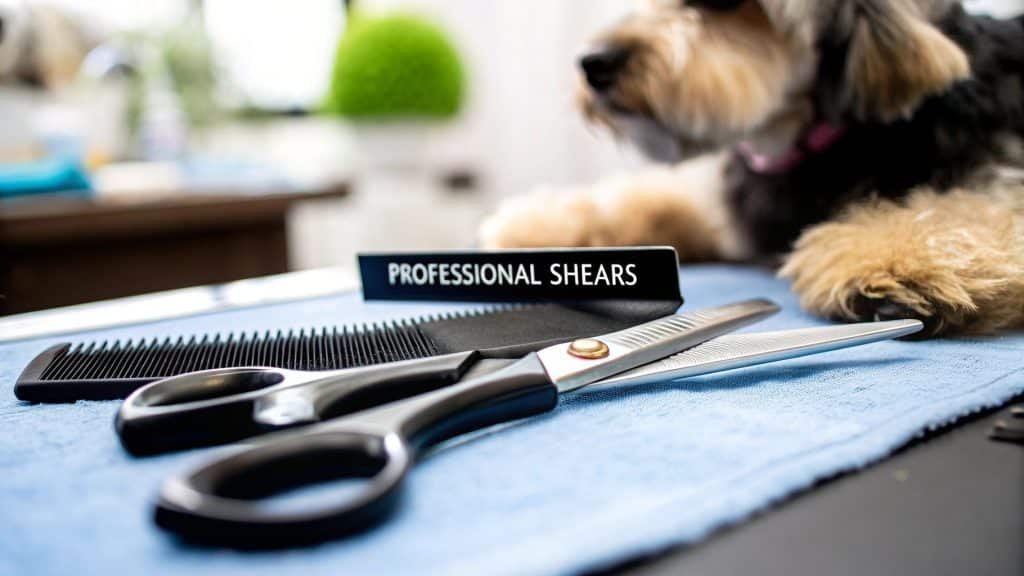
Every grooming kit starts with a solid pair of straight shears. These are the absolute foundation—your go-to for setting patterns, snipping clean lines, and trimming down bulk on a dog’s body and legs. You’ll find them in a range of sizes, usually from 6 to 9 inches, so you can pick the right length for the dog and the part of the body you’re working on.
Think of them as the classic scissors in your kitchen drawer, but designed with the precision to cut through fur without pulling or snagging. For getting that crisp, sharp outline on breeds like Poodles or Schnauzers, they are simply non-negotiable.
Curved Shears: For Sculpting and Contouring
When you need to shape and contour, you’ll reach for curved shears. The blades have a noticeable arc to them, which is a lifesaver when you’re working around the naturally rounded parts of a dog’s body.
These are the shears you’ll want for:
- Paws: Perfect for creating that neat, tidy “cat foot” look.
- Heads: Essential for sculpting a perfectly round topknot on a Poodle or Bichon.
- Ribcages and Rears: They follow the dog’s natural curves, giving you a smooth, flowing finish.
Using curved shears in these spots helps you avoid the clunky, angular lines that straight shears can leave behind. The result is a much more natural and aesthetically pleasing style.
Thinning and Blending Shears: The Secret to a Natural Finish
Ever wonder how groomers get that impossibly soft, flawless finish? The secret is often thinning shears, which are also called blenders. One of their blades is straight, while the other has fine, comb-like teeth. This design means they only remove a little bit of fur with each snip.
This makes them perfect for:
- Softening harsh scissor or clipper marks.
- Blending different lengths of fur together seamlessly.
- Adding a bit of texture to the coat.
- Thinning out thick areas without sacrificing overall length.
They’re much more subtle than chunkers and are all about adding those final, refining touches. It’s no surprise that demand for specialized tools like these is on the rise. In fact, the U.S. pet grooming services market was valued at $2.06 billion in 2024 and is expected to keep growing.
Chunker Shears: For Fast Bulk Removal
At first glance, chunker shears look a lot like thinners, but the teeth are much wider and have bigger gaps between them. This design lets them take out more fur with every cut, making them the ideal tool for quickly debulking a super thick or heavy coat without leaving behind obvious scissor marks.
Chunker shears are the perfect middle ground between a straight shear and a thinning shear. They remove bulk much faster than a blender but leave a more natural-looking texture than a straight shear, saving you a ton of time on those really dense coats.
To help you keep track, here’s a quick-reference table that breaks down the different shear types and what they do best.
Grooming Shear Types and Their Ideal Uses
| Shear Type | Primary Function | Best For Coat Types | Common Use Case |
|---|---|---|---|
| Straight Shears | General trimming, creating straight lines, and bulk removal. | All coat types, especially straight or wiry coats. | Defining the shape of a Poodle’s topknot or a Schnauzer’s legs. |
| Curved Shears | Shaping and contouring around rounded body parts. | Drop coats, curly coats, and breeds needing rounded features. | Rounding paws, shaping a Bichon Frise’s head, or following the curve of the ribcage. |
| Thinning Shears | Softening scissor marks, blending, and texturizing. | All coat types, especially double or thick coats. | Erasing clipper lines on the neck, softening a terrier’s furnishings. |
| Chunker Shears | Rapid bulk removal and creating a textured finish. | Thick, dense, and double coats. | Quickly thinning a Golden Retriever’s mane or a Collie’s dense undercoat. |
By understanding what each of these tools is built for, you can start putting together a kit that will have you ready for any grooming challenge. Our full collection of grooming and cleaning supplies has options for every coat type and skill level, helping you find exactly what you need.
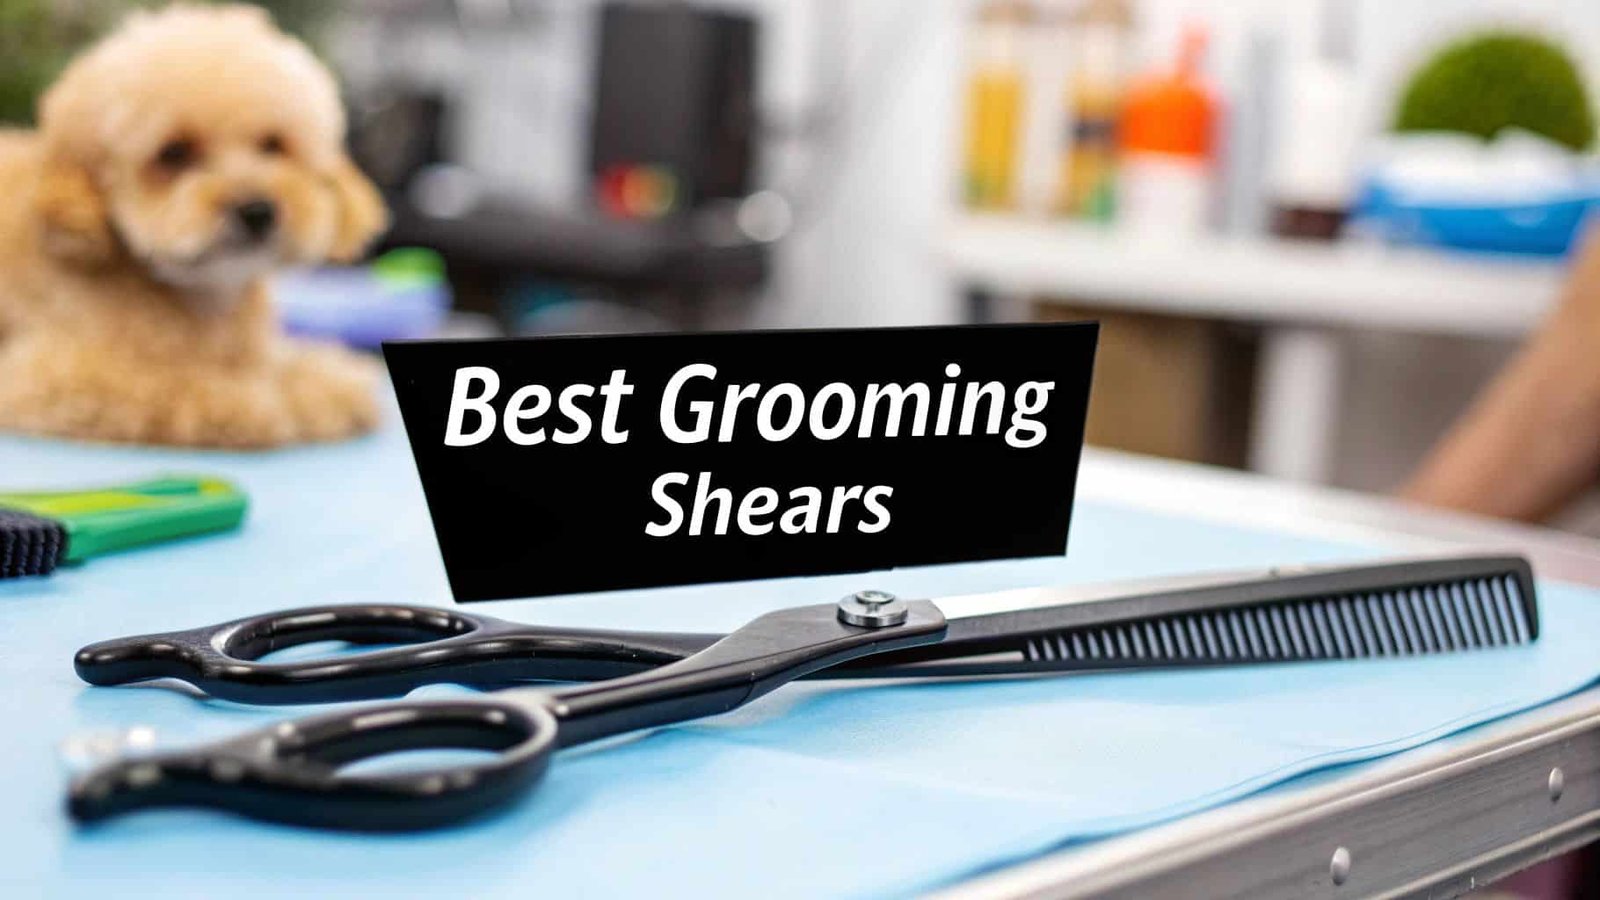
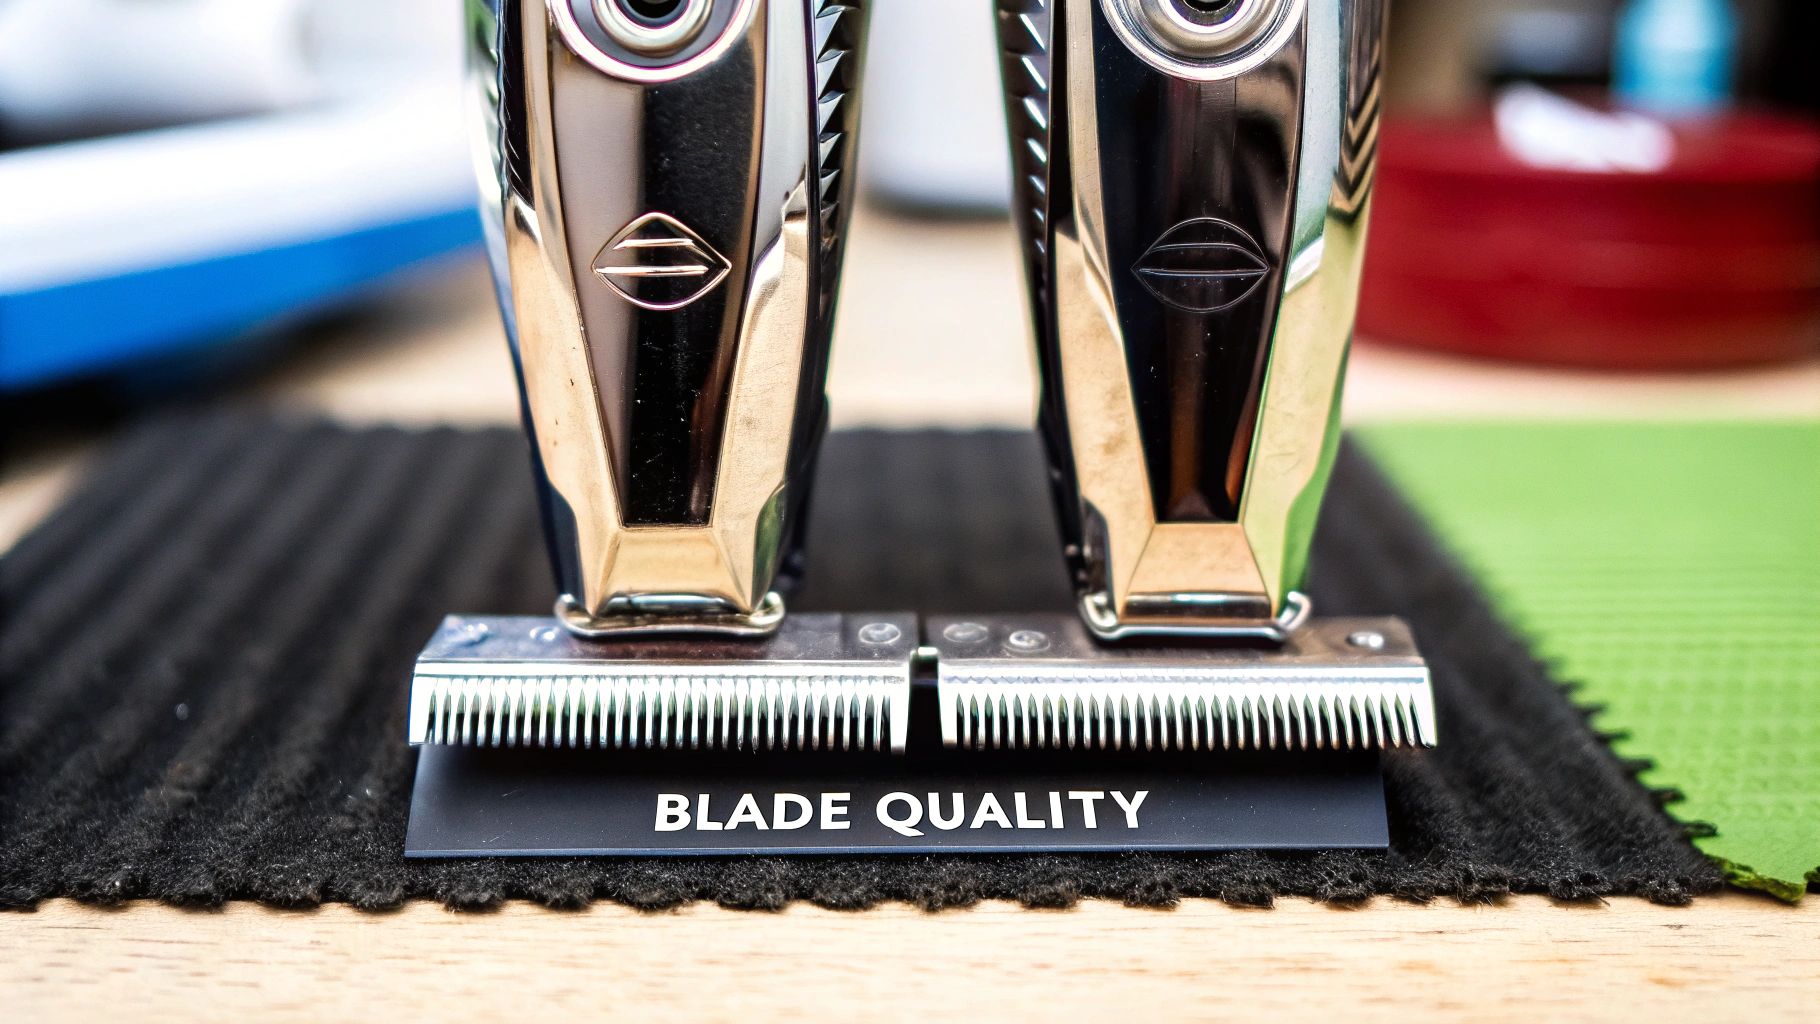
A Closer Look at Blades and Handles
Once you’ve got the basic types of shears down, it’s time to dig into what really separates a phenomenal pair from a frustrating one. The secret to the best dog grooming shears isn’t just about the shape; it’s all about the nitty-gritty of their construction—specifically, the blade material and the handle design. These two factors are what truly dictate performance, how long your shears will last, and how your hand feels at the end of the day.
Think of the blade’s steel as the heart of your shears. If you go with a lower-quality material, you’ll find it dulls in a flash, forcing you to sharpen it constantly and leaving you with choppy, uneven cuts. Worse, it can snag and pull on the dog’s coat, making grooming a miserable experience for everyone. But a high-quality steel? That’s what gives you that effortless, buttery-smooth glide every groomer dreams of.
What Makes a Blade Truly Great?
When you see “stainless steel,” don’t assume it’s all the same. There’s a huge difference in quality. For pros in the know, the gold standard is often Japanese 440C stainless steel. This stuff is a powerhouse—it’s incredibly hard, resists rust and corrosion like a champ, and most importantly, it holds a razor-sharp edge for a seriously long time.
Beyond the base metal, you’ll sometimes find shears with special coatings that kick performance up another notch.
- Titanium Coating: This adds a super-hard layer to the blade, making it more durable and protecting it from little nicks and corrosion. Think of it as armor for your shears.
- Ceramic Blades: You won’t see these as often, but ceramic can stay sharp even longer than steel and doesn’t heat up as much from friction. The big downside is that it’s brittle. Drop a ceramic blade, and it can easily shatter.
The material is only half the story; the blade’s edge is just as critical. A convex edge is honed to an incredibly fine point, giving you the smoothest possible cut. However, it’s delicate and needs professional sharpening. A beveled edge, on the other hand, is more robust and forgiving—a great choice if you’re just starting out, though it won’t give you that same elite precision.
Why You Can’t Ignore Handle Ergonomics
The blade might do the cutting, but the handle is what gives you control and keeps you comfortable. Using shears with a poorly designed handle is a fast track to hand fatigue, wrist pain, and even long-term issues like carpal tunnel syndrome. It’s no surprise that as more people bring pets into their homes, the industry is laser-focused on creating more ergonomic tools. You can see this trend in the growing pet grooming shear market and its focus on ergonomic innovation.
You’ll generally run into three main handle designs:
- Even-Set Handles: The classic design where the finger and thumb rings are perfectly symmetrical. They’re simple, but they can put a lot of strain on your thumb and wrist over time.
- Offset Handles: Here, the thumb ring is shorter than the finger ring. This simple change allows your hand to sit in a more natural, open position, which dramatically cuts down on fatigue.
- Crane Handles: This is the super-ergonomic version of the offset handle. The finger ring is dropped even lower, which lets you keep your elbow down while you work. This small adjustment makes a huge difference in reducing shoulder strain during those marathon grooming sessions.
One last thing that is an absolute must-have: an adjustable tension screw. This little dial where the blades meet is your key to control. If the tension is too loose, the blades will fold the hair instead of cutting it. If it’s too tight, you’ll wear out the blades prematurely. Being able to fine-tune that tension on the fly gives you total command over how your shears perform.
Choosing the Right Size for Comfort and Control
Trying to groom a dog with shears that don’t fit your hand is a recipe for disaster. It’s like trying to paint a masterpiece with a brush that’s too big or too small—clumsy, frustrating, and the end result is never what you envisioned. The right size isn’t just about what works for the dog; it’s about finding a tool that feels like a natural extension of your hand. That’s where true comfort and control come from.
When your shears fit properly, you can nail those delicate trims around the eyes and still have the stamina to finish a full-body haircut. But a poorly fitting pair will leave you with a cramping hand and a sore wrist. Over time, that discomfort can lead to repetitive strain injuries, turning what should be a creative process into a painful chore.
Matching Shear Length to the Task
In the grooming world, we measure shears from the very tip of the blade down to the edge of the finger ring—but not including the little metal tail, which is called a tang. Different lengths are built for different jobs, and having a few sizes in your kit will make your life a whole lot easier.
- Small Shears (6 to 6.5 inches): Think of these as your detail-oriented artists. The short blades give you maximum control for all that tricky work around the face, ears, and paws. They’re the go-to for safely trimming in tight spots where you absolutely can’t make a mistake.
- Medium Shears (7 to 7.5 inches): This is your workhorse size, the all-rounder of your collection. A 7-inch shear is what I usually recommend for home groomers starting out. It hits the sweet spot between control and efficiency, making it great for body work on smaller dogs while still being nimble enough for shaping legs and heads.
- Large Shears (8 inches and up): These are for the big jobs. Reserved for sculpting the bodies of large breeds, these long-bladed shears take off more coat with every snip. They’re a huge time-saver on dogs like Standard Poodles or Golden Retrievers, helping you create those long, flowing, beautiful lines.
Ensuring a Perfect Hand Fit
Blade length is only half the battle. How the shears actually feel in your hand is what truly matters for comfort and precision. The finger and thumb holes should be just snug enough to prevent slipping, but never so tight that they pinch or make it hard to move.
One of the most common mistakes I see is people using shears with finger holes that are way too big. Their hand has to work overtime just to keep control, which leads to choppy cuts and quick fatigue. You’re aiming for a relaxed, secure grip.
This is where finger inserts are a game-changer. These little silicone or rubber rings pop right into the finger holes to give you a perfectly snug, custom fit. They also add a bit of cushion and grip, which makes a world of difference when you’re in the middle of a long groom. Honestly, many of the best dog grooming shears already come with a set, so you can tailor the fit from day one.
Lastly, don’t overlook the tang, which is that little hook for your pinky. It might seem small, but this finger rest provides crucial stability and leverage. By giving your pinky a place to sit, it helps spread the pressure across your whole hand, reducing strain and giving you much finer control over every single cut. For anyone serious about grooming, a tang isn’t a luxury—it’s an essential.
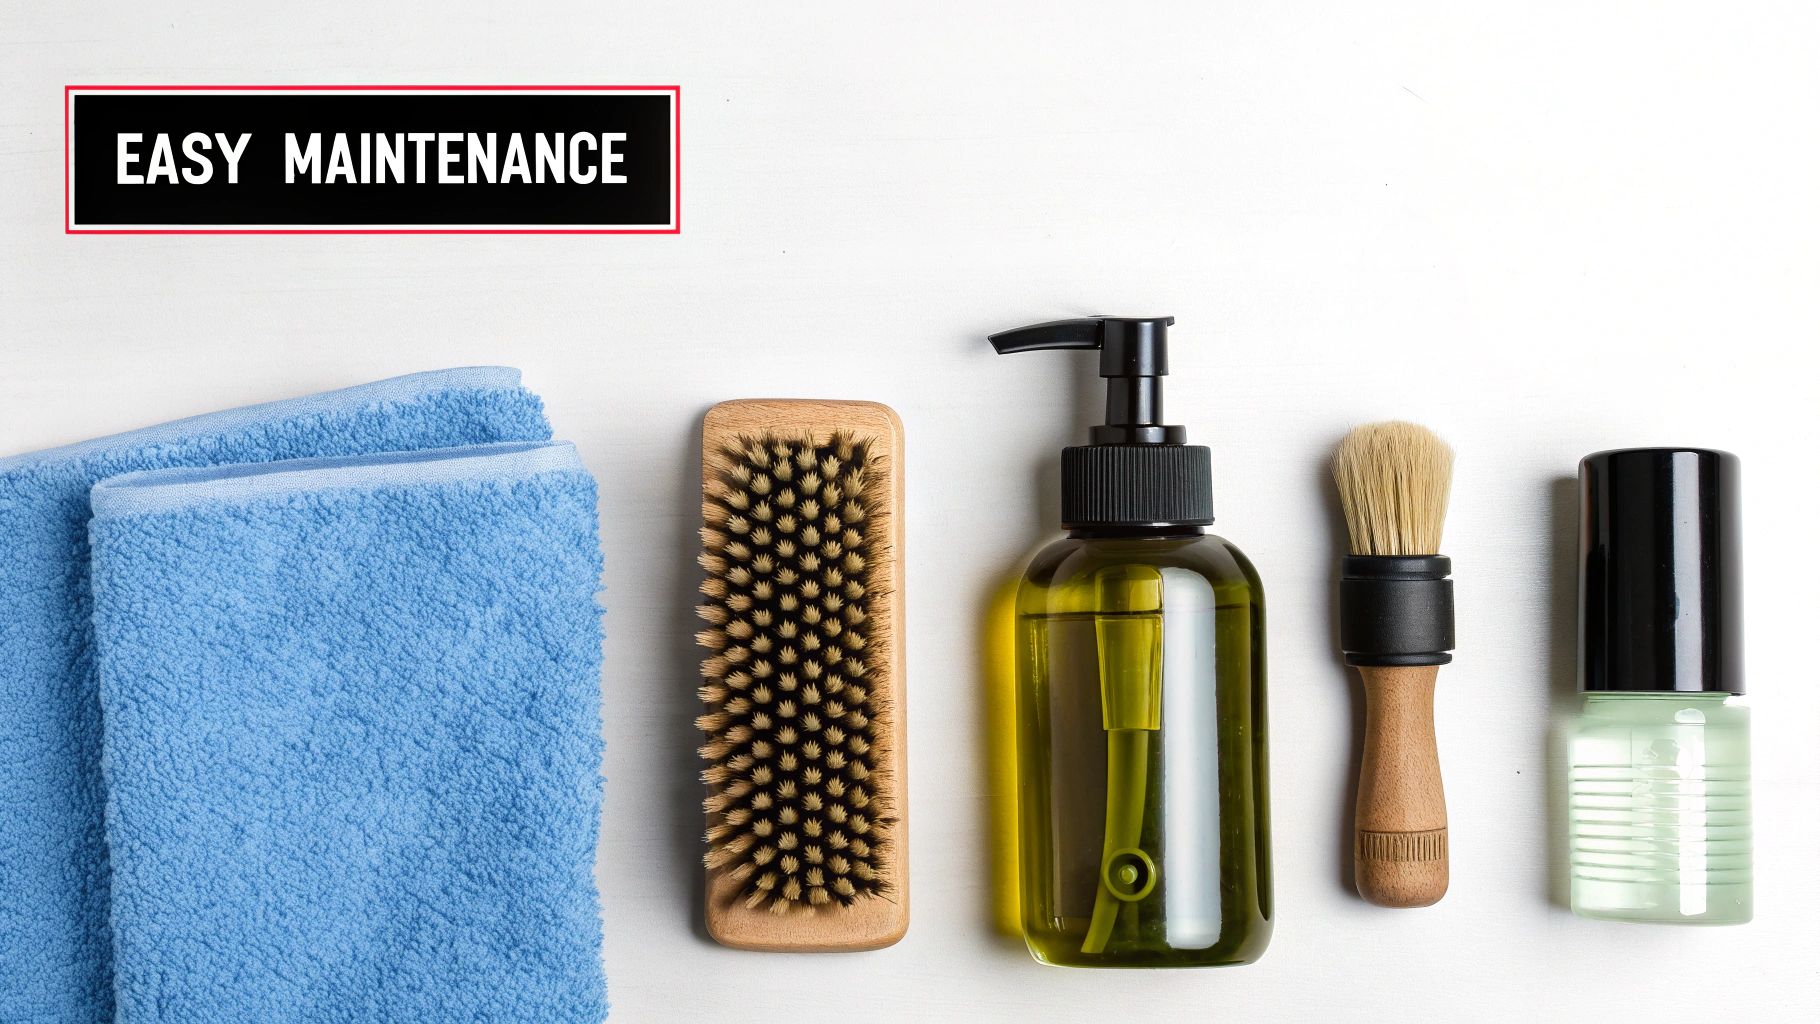
Keeping Your Shears in Tip-Top Shape for a Lifetime of Use
You’ve invested in a great pair of shears—that’s the easy part. But just like a chef’s knife or a carpenter’s chisel, a quality tool only stays that way with proper care. Think of it this way: your shears are a precision instrument, and a few minutes of maintenance each day will keep them cutting like new for years.
If you skip this step, even the best dog grooming shears won’t last. Tiny bits of hair, dander, and moisture inevitably work their way into the pivot area. This gunk creates friction, makes the blades feel stiff, and can eventually lead to rust, permanently damaging your investment.
Your Daily Post-Grooming Ritual
Building a simple, consistent habit after you finish grooming is the secret to a long-lasting tool. This whole process takes less than two minutes, but the payoff is huge.
Here’s a simple three-step routine that works every time:
- Wipe Them Clean: First things first, take a soft, dry cloth and wipe down the blades from pivot to tip. Get all that hair and grime off. Pay special attention to the tension screw—that’s where debris loves to accumulate. A small brush can help you get into the tight spots.
- Make Sure They’re Dry: This is a big one. Moisture is the mortal enemy of your shears. After wiping them clean, double-check that they are 100% dry. Even a hint of dampness left overnight can cause rust to form, compromising the steel.
- Oil the Pivot Point: Add just a drop or two of good-quality shear oil directly on the pivot screw where the two blades meet. Now, open and close the shears a few times. You’ll feel them loosen up as the oil works its way in, lubricating the joint and forcing out any leftover micro-debris.
Once they’re oiled, give the blades one last wipe with your cloth to remove any excess, and tuck them away in a dry, protective case.
A Little Know-How on Tension and Sharpening
Great maintenance isn’t just about cleaning. You also need to keep an eye on two other critical factors: blade tension and professional sharpening. These two things will make or break your shears’ performance.
Having the right tension is key to getting that crisp, clean cut. Here’s a quick way to test it: hold one handle with the tips pointing up, lift the other blade so it’s straight out, and then let it drop. A perfectly tensioned shear will have that blade close smoothly about two-thirds of the way down. If it snaps shut, it’s too loose. If it barely budges, it’s way too tight. Tweak the tension knob in tiny increments until you hit that sweet spot.
Pro Tip: Never, ever use your finishing shears to cut through a dirty or matted coat. This is the fastest way to dull, nick, and ruin the fine edge of your blades. Always be sure the dog is washed, dried, and completely brushed out before you start scissoring.
No matter how well you care for them, all shears eventually need to be sharpened. You’ll know it’s time when they start pushing or folding the hair instead of slicing through it. For most home groomers, this might be once every year or two. And please, do not use a generic knife sharpener from your kitchen—it will destroy the precise edge of your shears. Always send them to a professional who specializes in sharpening grooming tools to get that factory-fresh edge back.
Got Questions? We’ve Got Answers.
Alright, even after diving deep into the world of grooming shears, there are always a few lingering questions. That’s completely normal. Getting these sorted out is the final step to feeling totally confident about the tools you choose and how you use them.
Let’s clear up some of the most common things people ask. Think of this as your personal cheat sheet for all things shears.
Are Dog Shears Really Different from Human Hair Scissors?
Absolutely. It’s like comparing a chef’s knife to a steak knife—they’re both for cutting, but they are built for entirely different jobs. Dog shears are made to power through fur, which is often way thicker, coarser, or more wiry than human hair. They need tougher steel to handle that workload without getting damaged.
A key difference you’ll often find is a micro-serrated edge on at least one of the blades. You can barely see it, but this little detail is a game-changer. It grips the fur so it doesn’t slip, giving you a clean, precise cut. If you try to use your own hair scissors on a dog, you’ll likely just bend the hair over or, worse, bend the delicate blades.
How Often Should I Get My Shears Sharpened?
This all comes down to mileage. A pro groomer who’s using their shears for hours every single day might need a sharpening every 3 to 6 months. But if you’re just grooming your own pup at home, you’ll probably only need to send them in once every year or two.
Your shears will tell you when it’s time. When you notice them starting to fold or push the hair instead of slicing cleanly through it, that’s your cue. Whatever you do, don’t try to use a kitchen knife sharpener on them! That will completely wreck the specialized edge of a grooming shear.
Is It Really Worth Spending More on Expensive Shears?
If you groom your dog on a regular basis, the answer is a huge “yes.” I know it’s tempting to grab a cheap pair, but investing in quality shears pays you back in so many ways. It’s an investment in better results and an easier grooming experience.
Here’s what you’re paying for with a premium pair:
- Better Steel: They’re made from high-quality materials like Japanese 440C steel, which stays razor-sharp for much, much longer.
- A Smoother Cut: Precision engineering means the blades glide through fur like butter. No snagging, no pulling.
- Happier Hands: Better ergonomic designs mean less strain on your hand, wrist, and thumb, which makes a massive difference during a full groom.
A budget pair might get you through a quick trim here and there, but a high-quality pair will last longer, feel better to use, and give you a far more professional finish.
When Should I Grab Shears Instead of Clippers?
Think of shears and clippers as a team. They don’t compete; they complement each other. Clippers are your workhorse for removing bulk and setting the overall length on the body. They’re fast and efficient. Shears, on the other hand, are for the artistry and the finishing touches.
Shears are what you need for styling, sculpting, and blending to create a soft, natural look. They’re also your go-to for safely trimming around sensitive spots like the face, ears, feet, and sanitary areas where bulky clippers just won’t do. The secret to that beautifully polished, professional look almost always comes down to skilled shear work.
It’s also interesting to see how technology is evolving. The market for professional electric grooming scissors is growing fast, especially cordless models. Their convenience is a huge win for mobile groomers and solo professionals. You can learn more about the rise of electric grooming tools and this trend.