

Blog
Best Dog Grooming Scissors for Home Grooming
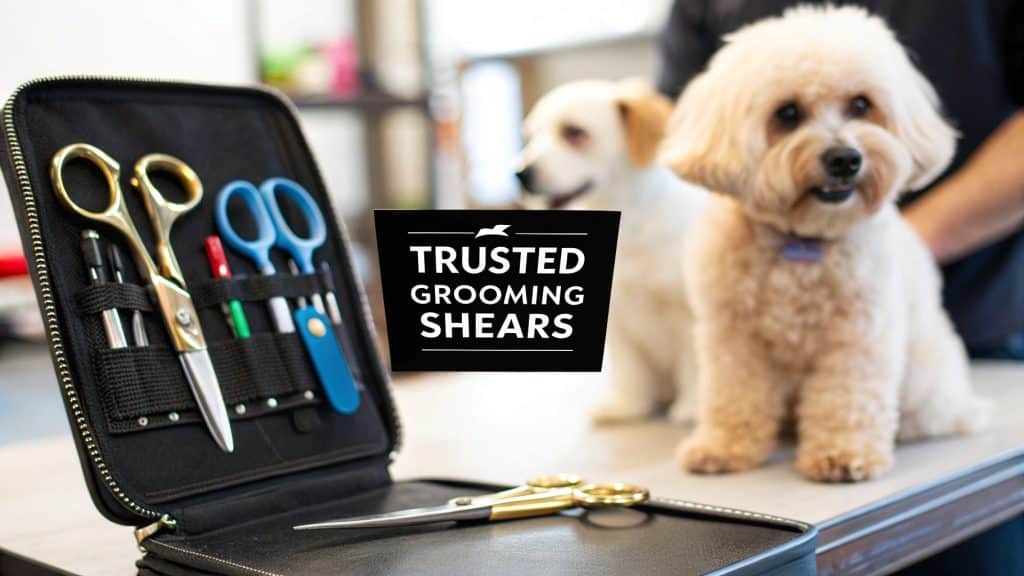
So, you’re ready to give your dog a top-notch groom right from the comfort of your own home? Fantastic. The secret to getting that professional, clean look lies in having the best dog grooming scissors—ones that combine razor-sharp, lasting blades with a design that feels like an extension of your hand. Grabbing a quality pair of shears is your first real step toward a perfect, stress-free grooming session.
Your Guide to a Perfect At-Home Groom
It’s easy to feel a bit lost when you see just how many different grooming scissors are out there, but picking the right pair is simpler than you think. This guide is here to cut through the confusion. I’ll walk you through how to choose the best shears for your dog’s specific coat, the job at hand, and what feels comfortable for you. Think of this as more than just a grooming tutorial; it’s about strengthening the bond you have with your best friend.
This whole trend of at-home pet care is part of a bigger picture: we’re treating our pets more like family than ever before. This “pet humanization” means we’re investing more in their happiness and health. In fact, the dog grooming market was valued at around USD 1.45 billion and is expected to climb to USD 2.61 billion. It’s clear we’re serious about our pets’ well-being. If you’re curious, you can find more data on the growing dog grooming market over at Custom Market Insights.
Building Confidence with the Right Tools
Getting good at home grooming is a process, not a sprint. It all begins with having the right equipment. Before you even think about snipping a single hair, you need to prep the coat. A thorough brushing is non-negotiable—it gets rid of all the tangles and mats that can catch on your scissor blades, which is no fun for your dog. For dogs with thick, double coats, a good brush is your best friend. You can see just how important this prep work is in our guide to the best brushes for Labrador Retrievers.
A great groom is built on trust and care. Using the right tools ensures each session is a positive experience, reinforcing the bond you share with your dog and making them feel safe and comfortable in your hands.
From Grooming to Gifting
After you’ve perfected that haircut, you’re going to have tons of photo-worthy moments. There’s nothing better than capturing that fresh-from-the-salon look to celebrate your furry pal. Once your dog is looking sharp, you might even get inspired to showcase their personality with some unique custom pet photo gifts.
This guide will cover everything you need to know, from the different kinds of shears to the safest ways to use them. By the time you’re done, you’ll have all the confidence you need to pick out the best dog grooming scissors and start snipping like a pro.
Choosing the Right Tool for the Job
Picking the best dog grooming scissors feels a lot like a chef choosing their knives. You wouldn’t grab a massive cleaver for delicate garnishes, and a tiny paring knife won’t do you much good when carving a roast. It’s the same principle in grooming—every tool has a specific job, and knowing which to use is the secret to getting that polished, professional look at home.
Just like a well-stocked kitchen makes cooking a breeze, having the right set of grooming scissors makes trimming your dog’s coat far more efficient and precise. Each pair is designed to handle a different part of the grooming process, from knocking down bulk to adding those perfect final touches.
Straight Scissors: The Workhorse of Your Kit
Think of straight scissors as the all-purpose chef’s knife in your grooming toolkit. These are the fundamental shears you’ll reach for most often, built for creating straight lines and taking off length. Their main role is to do the heavy lifting.
You’ll use straight scissors to trim the larger parts of your dog’s body, like their back and sides, to set the initial length of the coat. They’re perfect for achieving clean, crisp lines on breeds with straight hair, like a Yorkie or a Maltese. For most people starting out, a quality pair of 7-8 inch straight shears is the ideal first investment.
Curved Scissors: For Precision and Shape
Now, imagine trying to peel an apple with that straight chef’s knife. You could probably do it, but it would be clumsy and slow. That’s where curved scissors come into the picture. Their blades have a gentle arc, which makes them absolutely perfect for shaping and contouring around the natural curves of your dog’s body.
These scissors are your go-to for tricky spots where you need a soft, rounded look. They are essential for tasks like:
- Rounding Paws: Creating that neat, “teddy bear” look on your dog’s feet.
- Shaping the Face: Safely trimming around the eyes, muzzle, and ears.
- Setting Topknots: Perfecting the shape on breeds like Poodles or Shih Tzus.
The curve lets you follow your dog’s anatomy naturally, which seriously cuts down the risk of poking them with a sharp, straight tip. It’s a much safer bet for those sensitive areas.
To make it even clearer, this decision tree can walk you through the process, starting with your dog’s coat and the specific job you’re trying to do.
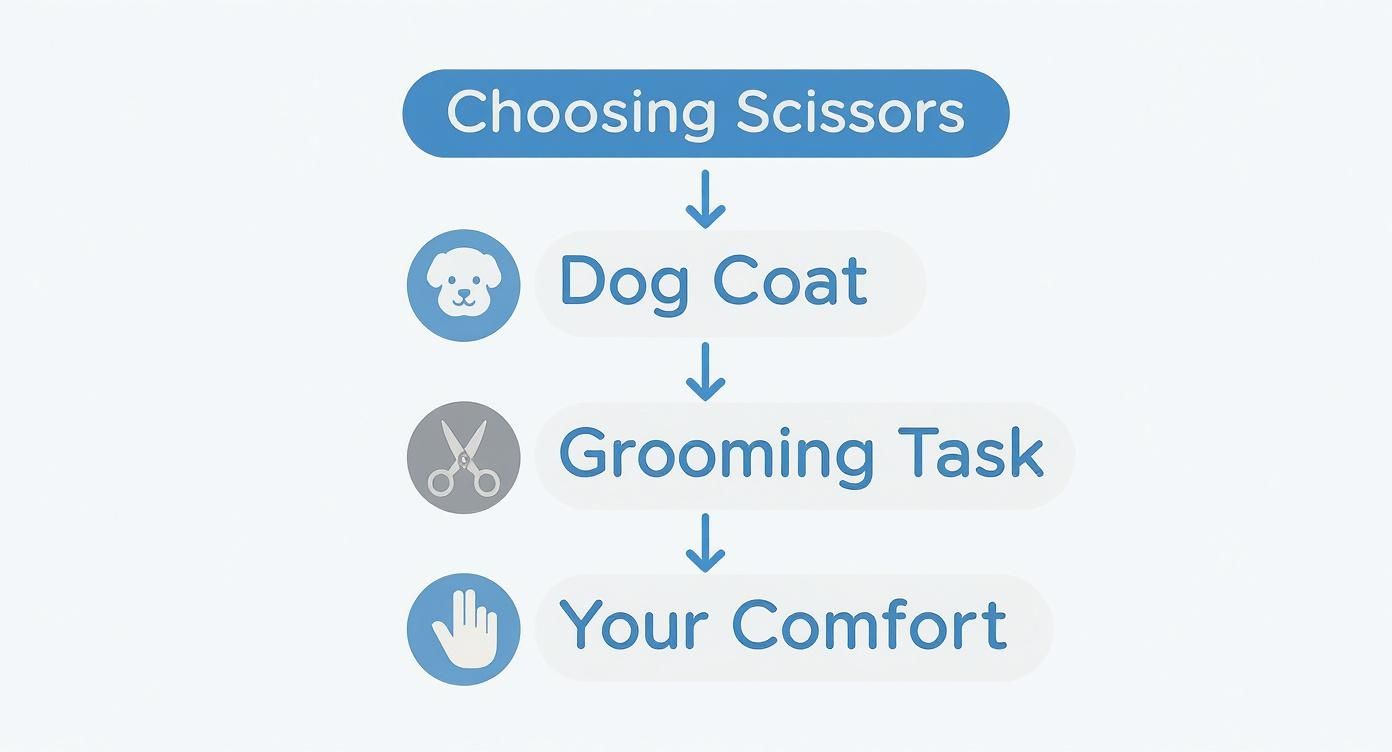
As the visual guide shows, the best tool is always a mix of factors. Getting it right means a more effective and comfortable groom for both you and your four-legged friend.
Thinning Shears: The Blending Experts
Thinning shears, sometimes called blenders, are the secret weapon for a flawless, natural-looking finish. One blade is solid and straight, while the other has notched teeth, almost like a comb. This clever design means they only snip a small amount of hair with each cut.
Their purpose isn’t really to remove length but to soften and blend. Think of them as an artist’s blending stump, used to smooth out any harsh lines where different coat lengths meet. They are fantastic for:
- Erasing Scissor Marks: Softening any choppy lines left behind by your straight scissors.
- Reducing Bulk: Thinning out overly thick fur without sacrificing length, especially around the ears or on a dense ruff.
- Blending Transitions: Creating a seamless flow from a clipped area (like the back) to a longer, scissored area (like the legs).
Using thinning shears is what takes a haircut from good to great. It’s that professional touch that makes the groom look like it grew that way, instead of looking like it was just cut.
Chunkers: For Texturizing and Bulk Removal
Chunkers are like a more aggressive cousin to thinning shears. Their teeth have wider gaps, which means they remove more hair—or “chunks”—with every snip. They are brilliant for shaping the coats of breeds like Poodles and Doodles.
While thinners are all about subtle blending, chunkers are designed for shaping and texturizing. They remove bulk much faster than thinning shears but leave a more natural, textured finish than straight scissors. They’re especially handy for quickly shaping a curly or wavy coat without creating the blunt, harsh edges that straight scissors can leave behind. This ability to texturize and shape makes them a favorite among groomers working on more stylized cuts.
To help you put it all together, here’s a quick-reference table that matches the right scissor to the right job.
Matching Scissors to Grooming Tasks
| Scissor Type | Primary Use Case | Best For Dog Breeds Like |
|---|---|---|
| Straight Scissors | Establishing length, creating straight lines, and general-purpose trimming on the body and legs. | Poodles, Yorkies, Maltese, Schnauzers |
| Curved Scissors | Shaping rounded areas like paws, heads, and ribcages. Safely trimming around the face. | Poodles, Shih Tzus, Bichon Frises, Doodles |
| Thinning Shears | Blending different coat lengths, softening scissor marks, and removing minimal bulk for a natural finish. | Golden Retrievers, Collies, Pomeranians |
| Chunkers | Removing significant bulk, texturizing coats, and shaping curly or wiry fur quickly. | Doodles, Poodles, Bedlington Terriers |
By understanding what each of these tools does best, you can build a versatile kit and confidently grab the right pair of scissors for any grooming task that comes your way.
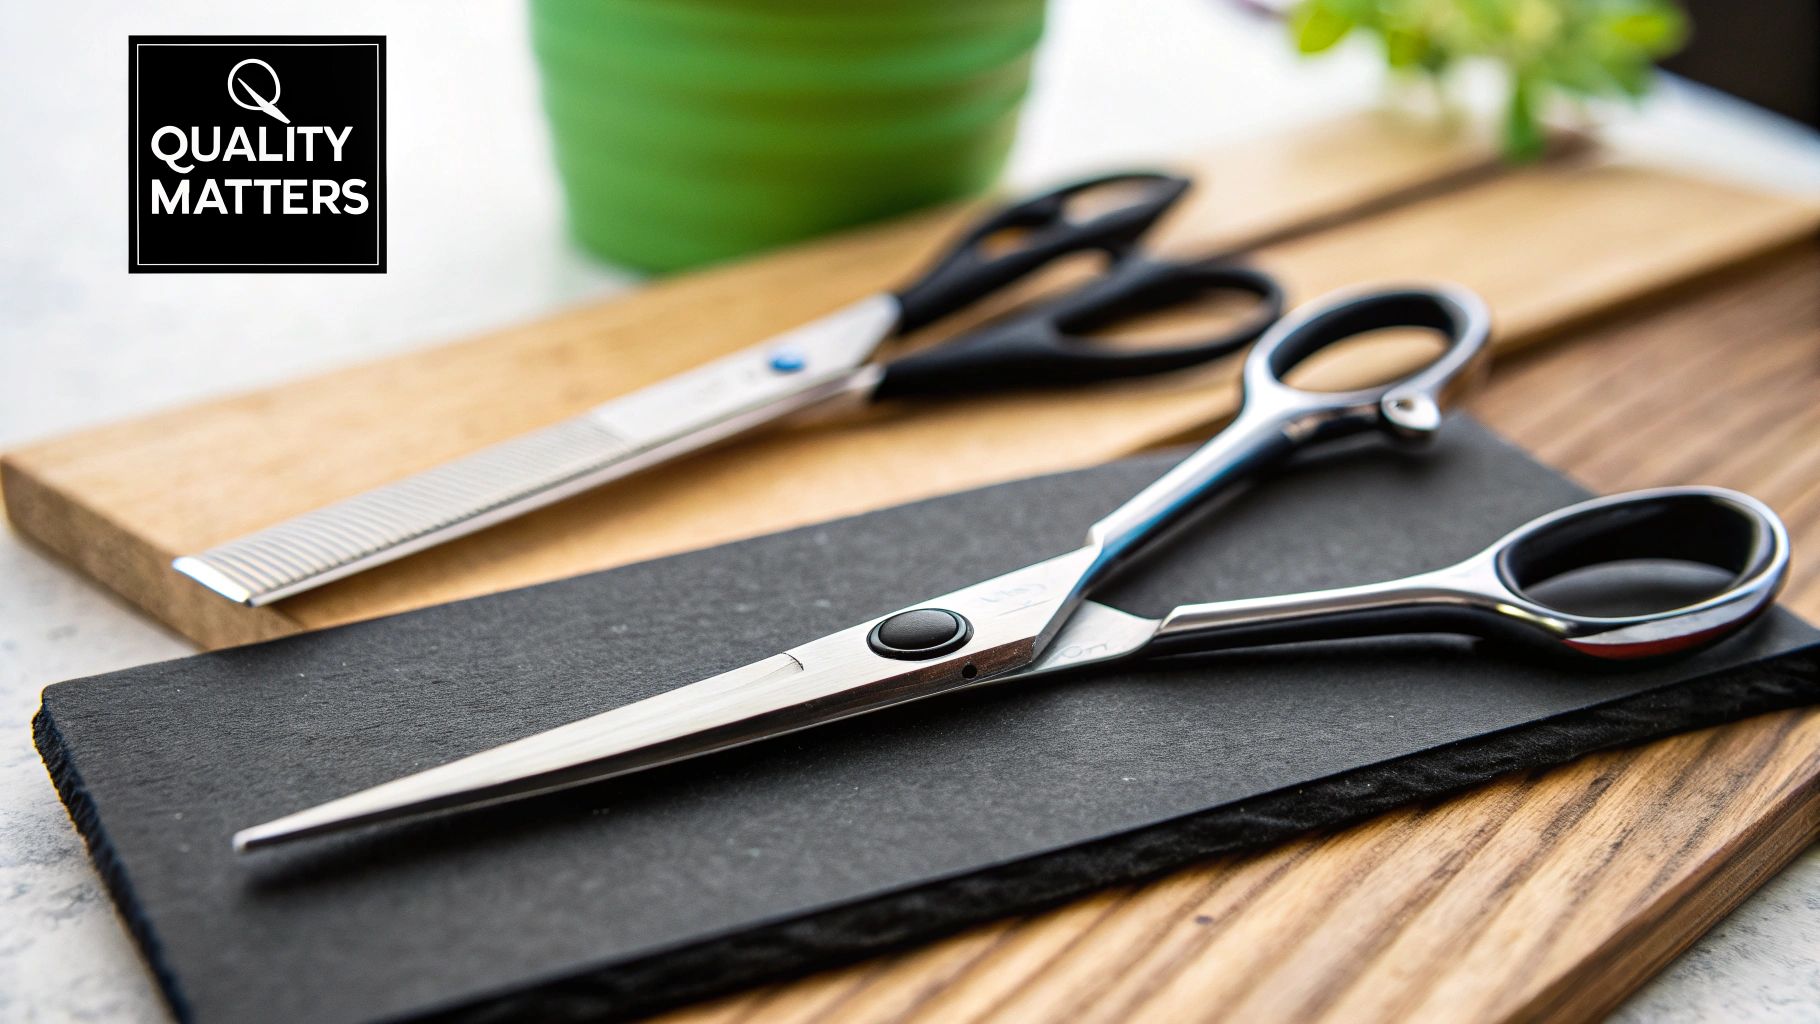
What Separates Great Scissors from Good Ones?
Ever wondered why some grooming scissors glide through fur like a hot knife through butter, while others seem to snag and pull? It isn’t magic. The difference between a frustrating groom and a flawless one often comes down to the quality of the scissors in your hand. Choosing the best dog grooming scissors means looking past the price tag and understanding the subtle but critical details that make all the difference.
Think of it like a professional chef and their knives. They invest in high-quality tools for a reason, and a dedicated home groomer can see the same benefits from well-made shears. The steel, the blade engineering, and the handle design all play a huge role in performance, durability, and your own comfort.
It’s clear that more and more pet owners are looking for these high-quality tools. The pet grooming scissors market, currently valued at around USD 120 million, is expected to climb to nearly USD 180 million soon. This growth shows a real shift as people become more invested in keeping their pets well-groomed. You can dive deeper into these market trends over at Verified Market Reports.
The Heart of the Shears: The Steel
The foundation of any great pair of scissors is the steel. You’ll often see terms like “Japanese 440C stainless steel” thrown around, and for good reason. Not all steel is created equal, and its quality directly impacts how sharp the blade can get and—more importantly—how long it stays that way.
Imagine comparing a cheap kitchen knife to one from a high-end culinary brand. The cheap one gets dull after cutting a few carrots and needs constant sharpening. The professional one, however, holds its edge through months of heavy use. That difference comes down to the hardness of the steel.
In the world of scissors, hardness is measured on the Rockwell Hardness Scale (HRC). A higher HRC number means the steel is harder, which allows it to hold a razor-sharp edge for a much longer time.
For grooming scissors, the sweet spot is a Rockwell rating between 58 HRC and 62 HRC. Scissors in this range offer the perfect balance of holding a sharp edge without being too brittle. Go any lower, and you’ll be sharpening them constantly. Go too high, and the steel can become so hard that it might chip if you accidentally drop them.
Blade Edge: The Secret to a Smooth Cut
Beyond the steel itself, the way the blade edge is shaped determines how the scissors actually cut. When you’re shopping for the best dog grooming scissors, you’ll run into two main types of edges, each designed for a different job.
- Convex Edge: This is the hallmark of a premium, high-performance scissor. The outside of the blade is slightly rounded, tapering down to an incredibly fine, razor-sharp point. This design slices through hair cleanly and quietly, giving you the smoothest possible cut. It’s the go-to choice for professional finishers who need a perfect, silky result.
- Beveled Edge: This is your durable, workhorse-style edge. You can usually spot it by the flat, visible angle ground onto the blade. While they don’t offer the same buttery-smooth feel as convex edges, beveled blades are tough and fantastic for general-purpose trimming and powering through thick, heavy coats.
Here’s an easy way to think about it: a convex edge is like a surgeon’s scalpel—incredibly sharp and built for precision. A beveled edge is more like a trusty utility knife—reliable, tough, and ready for everyday tasks.
Finding Your Perfect Fit: Handle Ergonomics
A grooming session can take a while. Using an uncomfortable pair of scissors isn’t just annoying; it can lead to hand fatigue, wrist strain, and even long-term problems like carpal tunnel syndrome. This is where handle ergonomics become a non-negotiable feature.
Most basic scissors have a symmetrical, or opposing, grip where the finger and thumb holes are lined up. They work for a quick snip here and there, but for a full groom, they can force your hand and wrist into an awkward, tiring position.
For far better comfort, look for one of these ergonomic designs:
- Offset Handles: Here, one handle is shorter than the other, which lets your thumb sit in a more natural, relaxed position. This simple change reduces how far you have to stretch your thumb and takes a huge amount of strain off your hand and wrist.
- Crane Handles: This design takes ergonomics a step further. The top handle is almost completely straight, while the bottom handle drops down at a sharp angle. This lets you lower your elbow and shoulder, promoting a much more open and comfortable posture while you work.
Making the switch to an ergonomic handle can be a total game-changer, especially if you groom your dog regularly. It transforms the experience from a hand-cramping chore into a more relaxed and enjoyable activity for both of you. A handle that fits you well isn’t just about comfort—it’s about having better control, which is crucial for your dog’s safety.
Mastering Safe and Effective Scissoring Techniques
Having the best dog grooming scissors is just the first step. The real magic happens when you learn to use them with skill and confidence. That jump from theory to practice can feel pretty intimidating, but getting the right techniques down will transform a nerve-wracking task into a safe, productive bonding experience.
It really comes down to control, positioning, and a healthy respect for the sharp tool in your hand. Think of it like learning to drive a car—at first, you’re hyper-aware of every little movement, but with practice, it all becomes second nature. Mastering a few fundamental techniques builds a foundation of safety that makes every future groom smoother for both of you.
How to Properly Hold Grooming Scissors
This is where most beginners go wrong. We instinctively want to hold grooming scissors like the old craft scissors in our desk drawer, but that grip offers very little stability and your hand will start aching in minutes. Professional groomers use a specific hold that gives them maximum control while minimizing strain.
- Thumb and Ring Finger: Slide your thumb through the top finger ring. Now, here’s the key: your ring finger—not your middle or index finger—goes through the bottom ring. This is the cornerstone of the whole grip.
- Supporting Fingers: Let your index and middle fingers rest comfortably on the shank (the metal arm) of the bottom blade. Your pinky finger lands on the tang, that small metal hook sticking out from the bottom ring.
This grip essentially turns the scissors into a stable extension of your hand. Your thumb does all the work, opening and closing the blades, while the rest of your hand creates a rock-solid platform. You’ll have incredible control right down to the tips, which prevents the shaky, uncertain cuts that can lead to accidents.
Pro Tip: This professional grip is going to feel weird at first. Stick with it. After just a few grooming sessions, you’ll feel a massive improvement in your control and a huge reduction in hand cramping.
Mastering the Comb-Over-Scissor Technique
If you’re wondering how groomers get such a smooth, flawless finish, this is the secret. The “scissoring over comb” technique is the best way to avoid a choppy, uneven look and, more importantly, ensures you never cut too close to the skin. It acts as both a safety barrier and a length guide.
Think of yourself as a sculptor. The comb is your chisel, carefully setting up the hair for the final cut. By lifting the coat to a uniform length, the scissors can just glide along and trim the excess.
Here’s how it works, step-by-step:
- Step 1: Grab a good steel grooming comb and lift a section of your dog’s coat.
- Step 2: Angle the comb away from your dog’s body to set the length you’re aiming for.
- Step 3: Hold your scissors parallel to the comb and snip only the hair that pokes through the teeth.
- Step 4: Smoothly move the comb to the next section and repeat, making sure to blend each new cut into the last one.
This is the go-to technique for getting a beautifully finished look on legs, bodies, and topknots. It gives the coat that polished, natural appearance that’s almost impossible to achieve by cutting freehand.
Essential Safety Rules for Every Groom
Nothing is more important than safety. A calm dog and a focused groomer are the two non-negotiables for an accident-free session. It’s worth remembering that a sudden noise or movement is often the culprit behind nicks and cuts. In fact, 80% of owners say their dogs get anxious from loud, unexpected sounds, so always try to groom in a quiet, controlled space.
Stick to these safety rules every single time:
- Point Tips Away: The tips of your scissors should always be pointed away from your dog’s skin. Angle them out, following the natural direction of the hair growth.
- The Skin is a No-Cut Zone: Never cut directly against the skin. Always keep a physical barrier—like your comb or even your fingers—between the blades and your dog.
- Mind the Sensitive Spots: Be extra careful around the eyes, ears, paws, armpits, and sanitary areas. This is where smaller, blunt-tipped scissors are your best friend.
- Know When to Take a Break: Fatigue is the enemy of safety. If you feel your hand getting tired or your focus drifting, just stop. Take a five-minute break. Your dog will be happy for the pause, too.
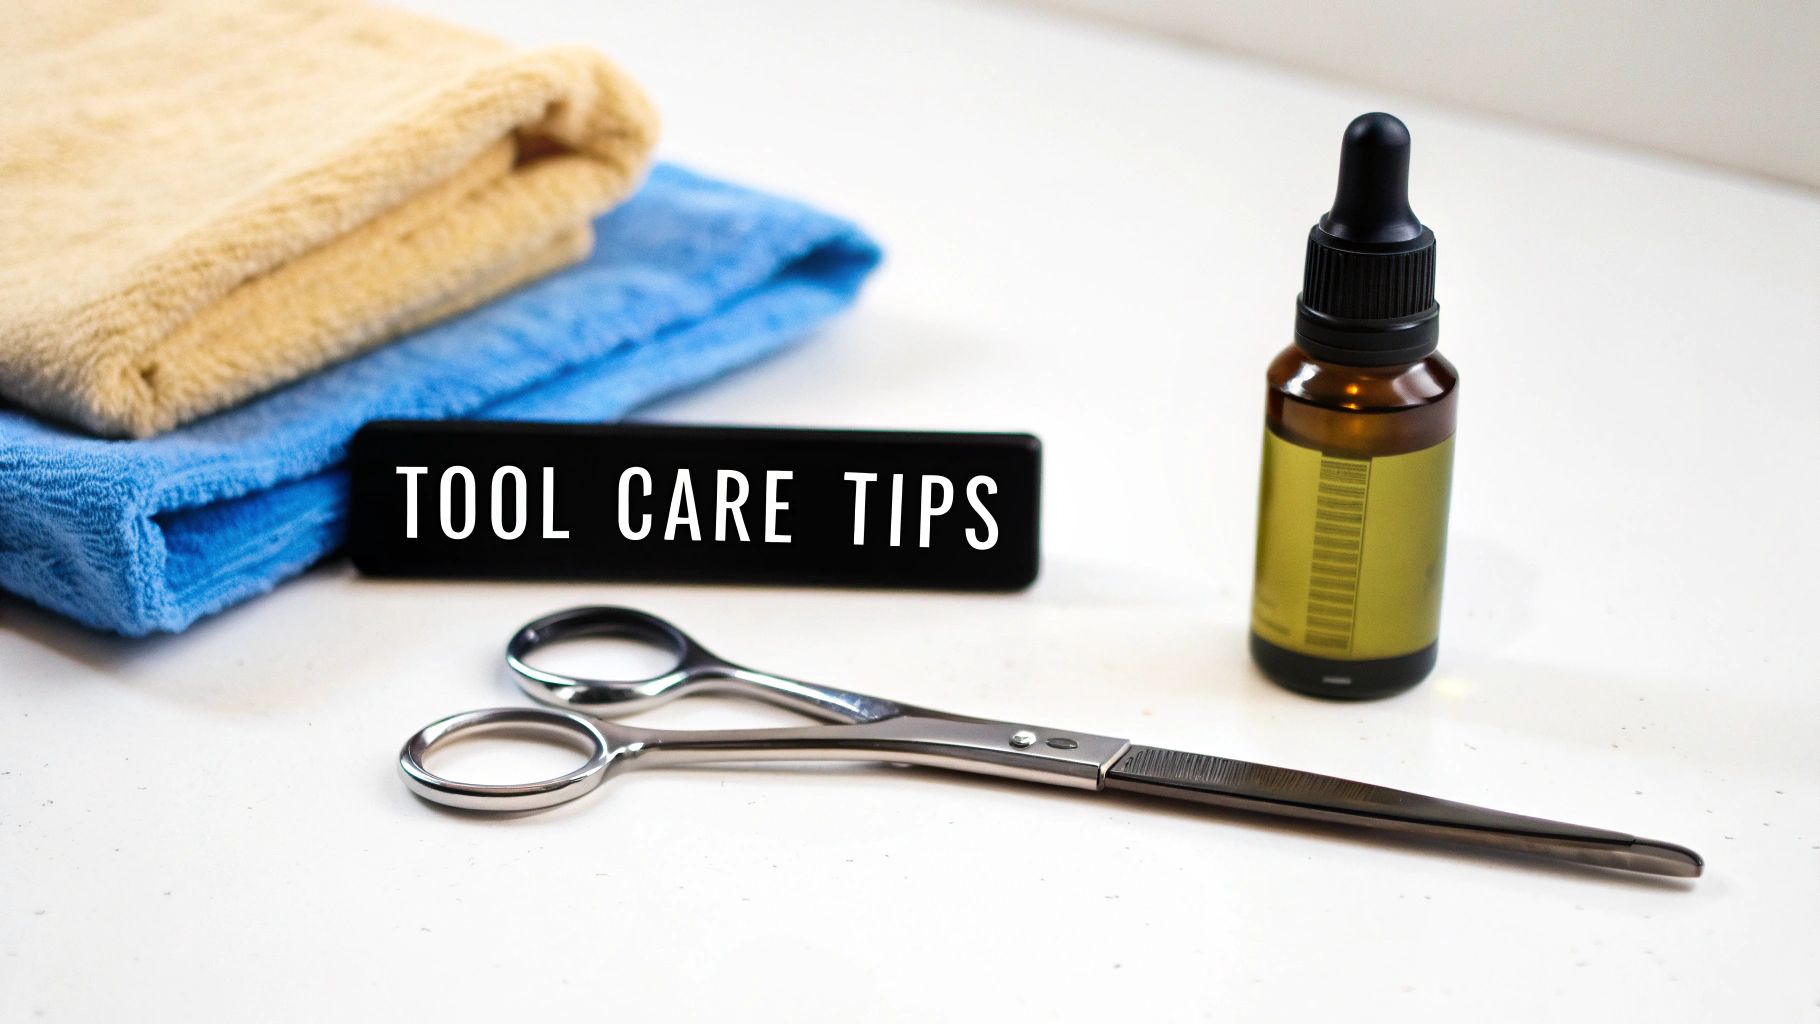
How to Care for Your Grooming Scissors
Think of a good pair of dog grooming scissors like a chef’s favorite knife. With a little bit of care, it’s a tool that will perform beautifully for years. The good news is that proper maintenance isn’t hard, but it’s absolutely crucial for keeping your shears sharp, safe, and precise.
If you let them go, the blades will get dull and start folding or pulling hair—which is uncomfortable for your dog and incredibly frustrating for you. Just a couple of minutes of care after each groom will make a world of difference in how they perform and how long they last.
Daily Cleaning and Oiling
The number one rule is to clean your scissors after every single use. It’s non-negotiable. Tiny bits of hair, dander, and coat oils build up fast, especially around the pivot screw, making the scissors feel gummy or rough.
Just grab a soft, dry cloth and give the blades a thorough wipe-down. Pay close attention to the inside edges and the spot where the blades meet. If you’ve got some stubborn gunk, a cloth with a dab of rubbing alcohol will cut right through it. Just make sure you dry them completely afterward to keep rust away.
Once they’re clean, it’s time for a drop of oil.
- Open your shears to about a 90-degree angle.
- Put a single drop of scissor oil right on the pivot point where the blades connect.
- Work the oil in by opening and closing the scissors a few times. You’ll feel them immediately get smoother as the oil lubricates the joint and pushes out any trapped bits of hair.
- Finally, use your cloth to wipe any excess oil off the blades.
This simple two-minute routine is the best thing you can do for your shears. If you need to restock, we have a great selection of grooming and cleaning supplies to keep your whole setup in prime condition.
Checking and Adjusting Tension
The right blade tension is the secret to a perfect cut. It’s all about how tightly the blades press against each other when you close them.
Think of it like a perfectly tuned guitar string. Too loose, and it won’t play the right note; too tight, and it might snap. Your scissors need that same perfect balance to perform correctly.
Here’s a quick way to check it: hold the scissors by one finger ring with the tips pointing skyward. Lift the other handle so the blade is horizontal, then let it drop. A blade with the right tension will close about two-thirds of the way on its own.
- If it swings completely shut: The tension is too loose. This is when you get that dreaded “folding” of the hair instead of a clean snip.
- If it barely budges: It’s too tight. This will wear down your blade edges prematurely and give your hand a serious workout.
Most good scissors have an adjustable dial right at the pivot, making it easy to tweak the tension until it feels just right.
Knowing When to Call a Professional
Even with meticulous daily care, your scissors will eventually need to be sharpened by a pro. For most at-home groomers, that’s about every 6 to 12 months. Whatever you do, don’t try to sharpen them yourself. Grooming shears have very specific edges (convex or beveled) that require special equipment to get right.
Caring for high-quality steel is a skill that applies to many fine tools. In fact, many of the principles, like regular cleaning and proper storage, are similar to general jewelry care guidelines. The dedication to maintaining these tools reflects how much people are investing in their pets, which has helped the global market for professional pet grooming scissors grow to an estimated $500 million. It’s a clear sign that quality tools and proper care are more important than ever.
Common Home Grooming Mistakes to Avoid
Grooming your dog at home for the first time is a huge milestone, but it’s easy to stumble into a few common traps. Knowing what not to do is just as important as learning the right techniques. Let’s walk through the mistakes I see new groomers make all the time, so you can build your confidence and keep your dog safe from day one.
The biggest rookie error? Using the wrong tool for the job. You wouldn’t use a giant chef’s knife to peel a grape, right? The same logic applies here. Grabbing long, straight shears to work around your dog’s eyes is a recipe for disaster.
You absolutely have to match the scissor to the body part. Keep small, blunt-tipped scissors exclusively for sensitive areas like the face and paws, and save the longer shears for the main body work.
Rushing the Process
Another classic mistake is trying to get the groom done too quickly. Dogs are incredibly intuitive; if you’re stressed and rushing, they’ll know it, and their own anxiety will spike. Grooming isn’t a race—it’s a patient, deliberate process.
When you rush, you’re far more likely to snip the coat too short or leave behind choppy, uneven lines. If you feel yourself getting frustrated or your dog starts getting squirmy, just stop. Take a break. You can always trim a little more later, but you can’t glue hair back on once it’s on the floor.
Think of it this way: your goal isn’t just a haircut, it’s a positive bonding experience. Slowing down to prioritize your dog’s comfort over your speed is how you build trust and turn grooming from a chore into a treat.
Neglecting Your Tools
This one is non-negotiable: never work with dull or dirty scissors. Shears that aren’t properly sharpened don’t cut cleanly through fur—they snag, bend, and pull it. Not only is this painful for your dog, but it also leaves a jagged, unprofessional finish. Your best dog grooming scissors are only at their best when they’re sharp and clean.
Here are the most common maintenance missteps:
- Forgetting to Clean and Oil: After every groom, tiny bits of hair and dander get stuck in the pivot. A quick wipe-down and a single drop of oil keeps them opening and closing like butter.
- Ignoring the Tension: If your shears are too loose, they’ll fold the hair instead of cutting it. If they’re too tight, you’ll wear down the blades and give your hand a serious workout.
- Skipping Professional Sharpening: Don’t be tempted to sharpen your grooming scissors at home with a kitchen knife sharpener. You’ll destroy the finely honed edge. A professional sharpening service is a small investment that pays for itself.
Steering clear of these simple mistakes will make all the difference, setting both you and your dog up for a lifetime of happy, successful grooming sessions.
Got Questions About Dog Grooming Scissors? Let’s Get Them Answered
Even with all the information, it’s normal to have a few questions lingering before you feel ready to start snipping. Let’s walk through some of the most common things people ask, so you can pick up your tools with total confidence.
Think of this as the final piece of the puzzle. Getting these details straight is what separates a frustrating grooming session from a smooth, safe, and successful one.
How Often Should I Sharpen My Scissors?
For most home groomers, having your shears professionally sharpened every 6 to 12 months is a good benchmark. This simple bit of maintenance keeps them cutting like new and prevents you from having to struggle through the coat.
That said, don’t just rely on the calendar. The real test is how they perform. If you start to feel your scissors folding or pulling hair instead of making that crisp, clean cut, it’s time. It doesn’t matter if it’s been two months or ten—dull is dull, and it’s time for a professional touch-up.
Can I Just Use Human Hair Scissors on My Dog?
I hear this one all the time, but the answer is a hard no. It might seem like scissors are just scissors, but dog fur and human hair are worlds apart. A dog’s coat is often much coarser and denser, and it requires a different kind of tool entirely.
Dog grooming shears are built for the job. They have blades with specific angles and tension designed to slice through thick fur. Using your own hair scissors will just pull and snag your dog’s coat, which is not only painful for them but also results in a choppy, uneven mess.
What Scissors Should a Beginner Start With?
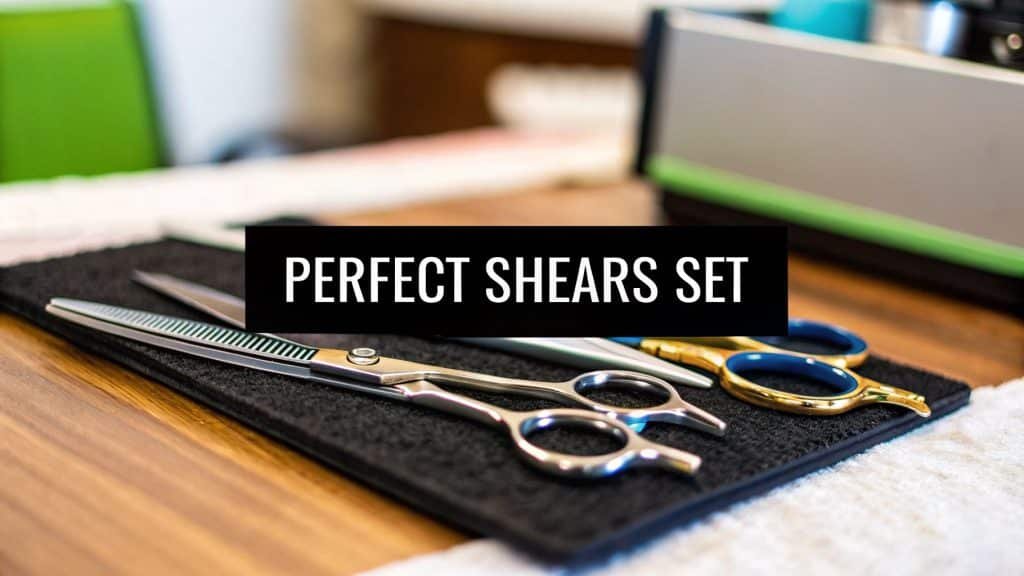
It’s easy to get overwhelmed by all the options, but you really don’t need a whole arsenal to get started. A fantastic beginner’s kit only needs two core tools to handle almost any basic groom. You can always add more specialized shears later as you get more comfortable.
Here’s your perfect starter pack:
- A 7-8 inch pair of straight scissors: This is your go-to for just about everything. It’s perfect for trimming the body and legs and setting the overall shape of the haircut.
- A pair of thinning shears: These are your secret weapon for a flawless finish. They erase any blunt scissor marks and help blend different lengths of fur together, making the groom look natural and professionally done.
With just these two pairs, you can tackle a full groom and get amazing results. Once you’ve mastered the basics, you might consider adding some curved shears for shaping or smaller detail scissors for those tricky spots like paws and faces.
Ready to build your perfect grooming kit? At Ur Pet Store, we’ve hand-picked a collection of high-quality grooming tools designed for safety, comfort, and a professional finish. Find everything you need to groom with confidence.