

Blog
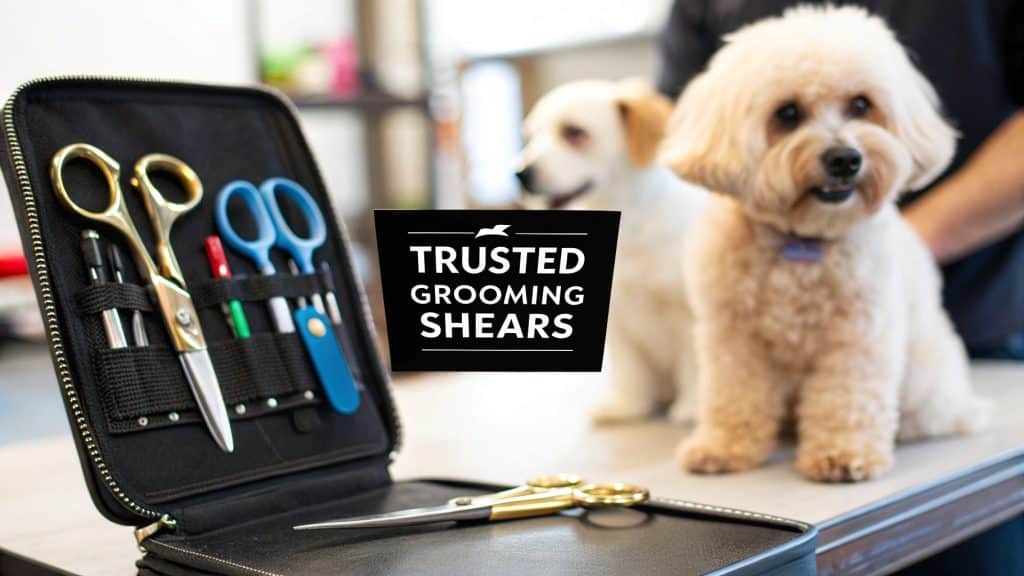
Your Guide to the Perfect Dog Grooming Shears Set
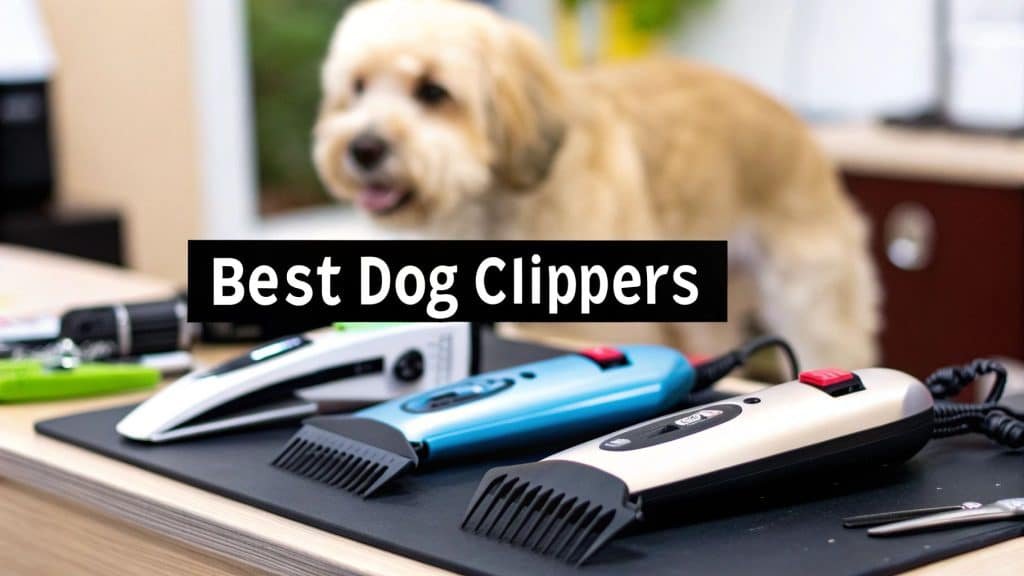
Investing in a good dog grooming shears set is one of the best things you can do for your dog’s coat, comfort, and overall look. It’s about having the right tools for the job, giving you the precision and safety you just can’t get from a pair of kitchen scissors. When you have the right shears, you can get professional-looking results at home and turn grooming time into a positive bonding experience.
Why a Quality Grooming Set Matters
Choosing a specialized dog grooming shears set is a crucial step in caring for your pet. Standard household scissors are blunt and clunky; they often pull and snag fur, which can be painful and stressful for your dog. In contrast, professional-grade shears are designed specifically for the unique textures of canine coats, giving you the control you need to keep your pet safe and deliver a beautiful finish.
This focus on high-quality pet care isn’t just a niche interest—it’s a massive trend. The global pet grooming shear market was valued at an impressive USD 1.12 billion and is expected to climb to USD 1.75 billion by 2033. This growth, highlighted in reports from sources like verifiedmarketreports.com, shows just how many owners now see their pets as true family members. A great set of grooming tools is more than just for looks; it’s a fundamental part of being a responsible pet owner.
Core Components of a Grooming Kit
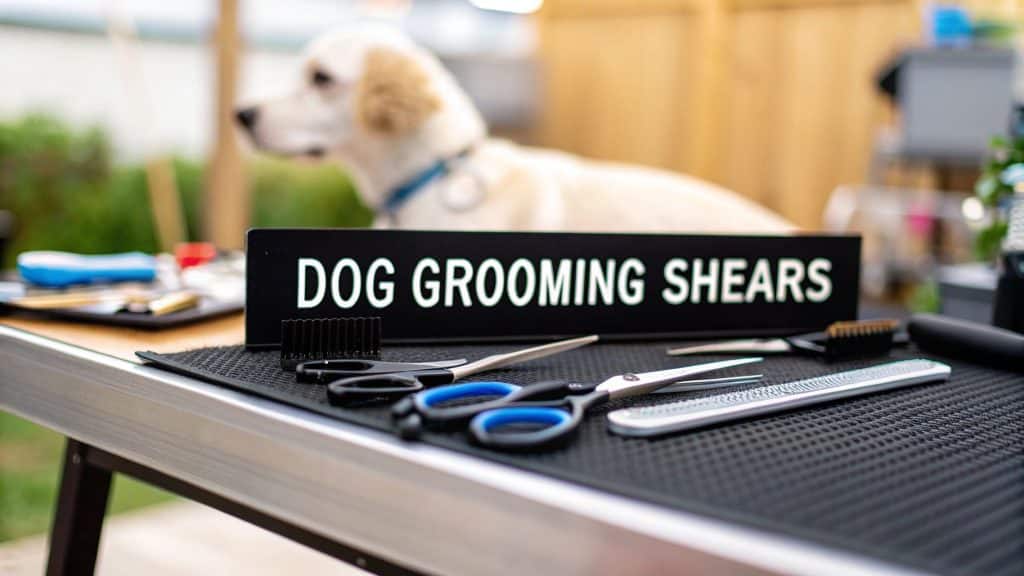
Most dog grooming shears sets come with a few essential tools, and each one has a specific purpose. Getting to know what each shear does is the first step to feeling confident when you groom your dog at home.
- Straight Shears: Think of these as the workhorses of your kit. They’re your go-to for trimming the main parts of the body and creating clean, straight lines.
- Curved Shears: These are your sculpting tools. They’re perfectly shaped for tackling rounded areas like your dog’s paws, face, and the curve of their tail.
- Thinning Shears: Designed with notched blades, these shears are fantastic for removing bulk from thick coats and blending different lengths of fur for a soft, natural finish.
Learning to use these tools properly makes all the difference. It’s just like choosing the right tactical dog harness for a safe and secure walk—picking the right shears is all about ensuring your dog’s safety and comfort during a trim. This guide will walk you through everything you need to know to groom your dog like a pro.
Understanding Each Tool in Your Grooming Kit
Opening a new dog grooming shears set for the first time can be a little intimidating. It feels like you’ve just been handed a surgeon’s toolkit, with each instrument looking slightly different and clearly meant for a specific job. Getting to know what each pair does is the first real step to grooming your dog with confidence.
Think of it like a painter’s brush collection. You wouldn’t use a giant, wide brush for tiny details, and you wouldn’t paint a whole wall with a tiny pointed one. Your shear set works the same way; each tool is a specialist, designed to shape, texturize, and finish your dog’s coat to get that polished, professional look.
The Workhorse: Straight Shears
Your straight shears are the foundation of the whole kit. These are the all-rounders you’ll grab most often to set the basic shape and length of the coat, creating those clean, crisp lines.
I like to call them the “carpenter’s saw” of the set. They do the heavy lifting and the primary construction of the haircut. Whether you’re trimming the body on a Shih Tzu, evening out the feathering on a Golden Retriever, or shaping a Poodle’s legs, their straightforward cutting action is what you need for any major trim.
The Sculptor: Curved Shears
While straight shears make lines, curved shears create shape. Their blades have a gentle arc designed to follow the natural contours of a dog’s body, making them the “sculptor’s chisel” in your grooming toolbox.
These are your go-to for any area that needs a soft, rounded finish instead of a sharp, angular one.
- Paws: Perfect for getting that neat, tidy “cat foot” look.
- Faces: Essential for safely trimming around the eyes and shaping a perfectly round head on breeds like the Bichon Frise.
- Topknots: The key to sculpting a flawless pom-pom or topknot.
- Body Contours: Helps you follow the natural curve of the ribcage and rear to create a smooth, flowing silhouette.
Using curved shears is how you avoid that choppy, almost blocky look that can happen when you try to force a rounded shape with a straight blade.
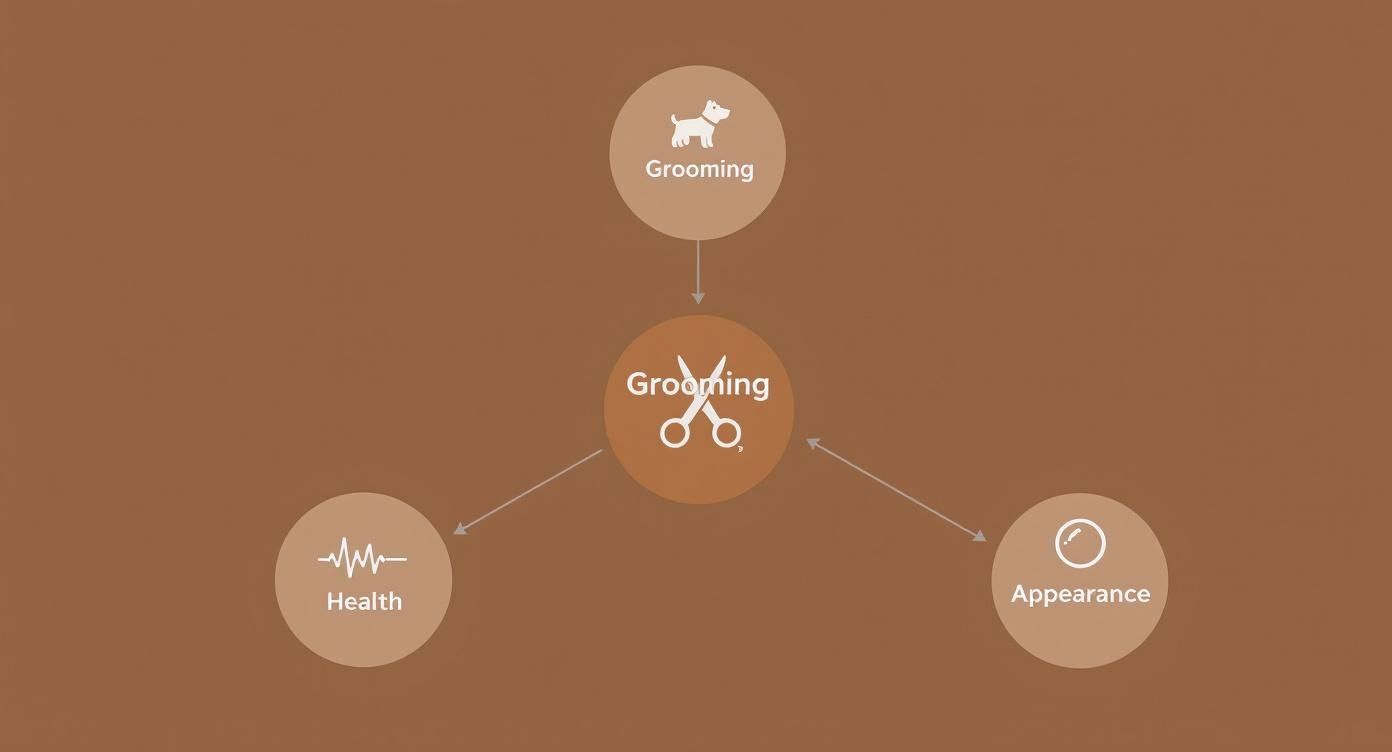
As the infographic shows, a great groom is about so much more than just a haircut—it’s a fundamental part of keeping your pet happy and healthy.
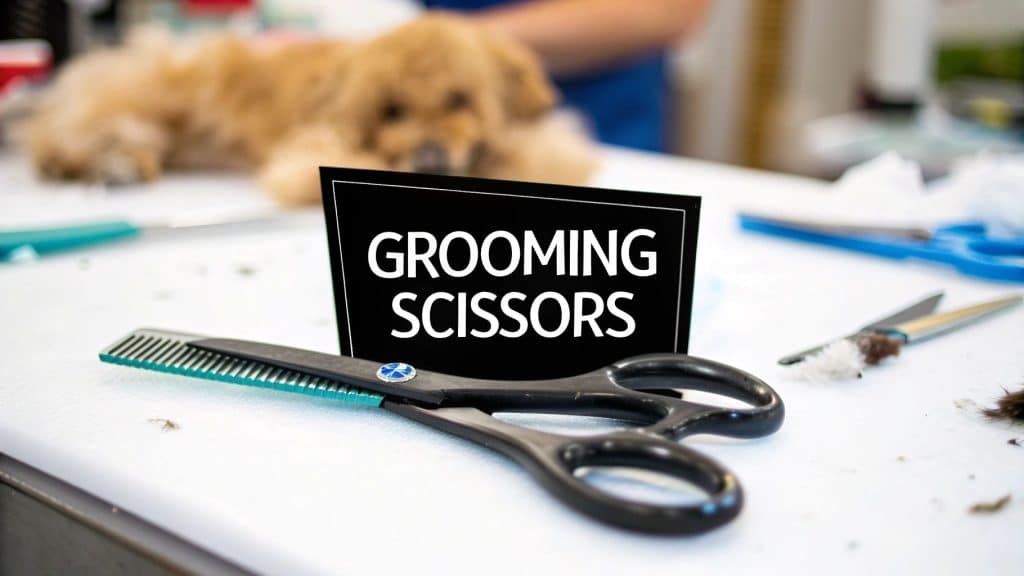
The Blenders: Thinning and Chunker Shears
Last but not least are your thinning and chunker shears. These are the “finishing touches” of your kit. Instead of cutting a hard line, they have teeth on one or both blades that remove just a little bit of hair with each snip. The result? A soft, beautifully blended, and natural-looking finish.
Thinning shears are your secret weapon. They’re what you’ll use to erase any scissor marks, soften harsh lines, and create a seamless transition between different lengths of hair without removing the length you just worked so hard to create.
Chunker shears are a bit different; their teeth are wider and remove more hair at once. This makes them fantastic for quickly debulking very thick, dense coats. For many double-coated dogs, thinning out the undercoat is just as crucial as a good brushing routine, a topic we dive into in our guide on the best brushes for Labrador Retrievers. These tools are what stand between a heavy, blocky coat and one that lies naturally and beautifully.
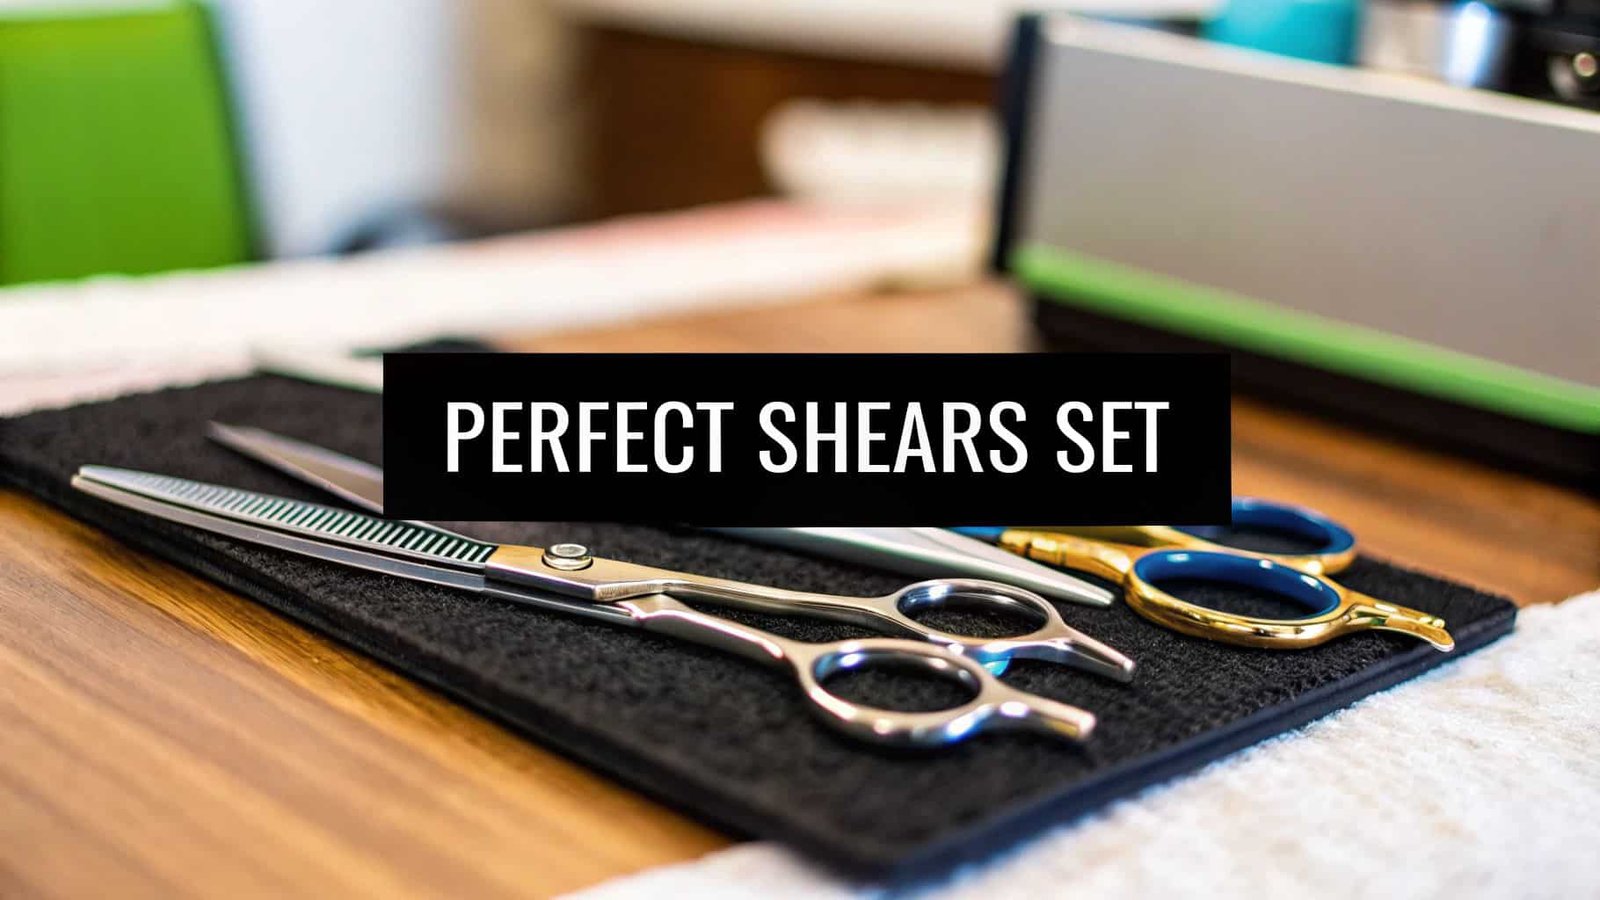
Your Shear Set at a Glance
With all these options, it can be helpful to have a quick cheat sheet. This table breaks down what each shear does and when you should be reaching for it.
| Shear Type | Primary Function | Best For (Coat Area) | Ideal Coat Type |
|---|---|---|---|
| Straight Shears | Creates clean lines, sets length | Body, legs, tail, general trimming | All coat types |
| Curved Shears | Creates shape and contours | Paws, face, topknots, ribcage | Breeds needing rounded shapes (Poodles, Bichons) |
| Thinning Shears | Blends, softens lines, removes bulk | Transition areas, around the face, finishing touches | Thick, dense, or double coats |
| Chunker Shears | Rapidly removes bulk, texturizes | Thick body areas, heavy furnishings | Very thick or bulky coats |
Knowing the specific job of each tool in your dog grooming shears set is what turns a simple trim into true artistry. You’re now equipped to do more than just cut hair—you can sculpt and perfect it.
Choosing the Right Shear Material and Blade
When you’re picking out a dog grooming shears set, the two things that will make or break your experience are the material and the blade type. It’s a lot like choosing kitchen knives. A cheap, flimsy blade makes cooking a nightmare, but a beautifully crafted knife makes every slice feel effortless. The exact same idea applies to grooming your dog.
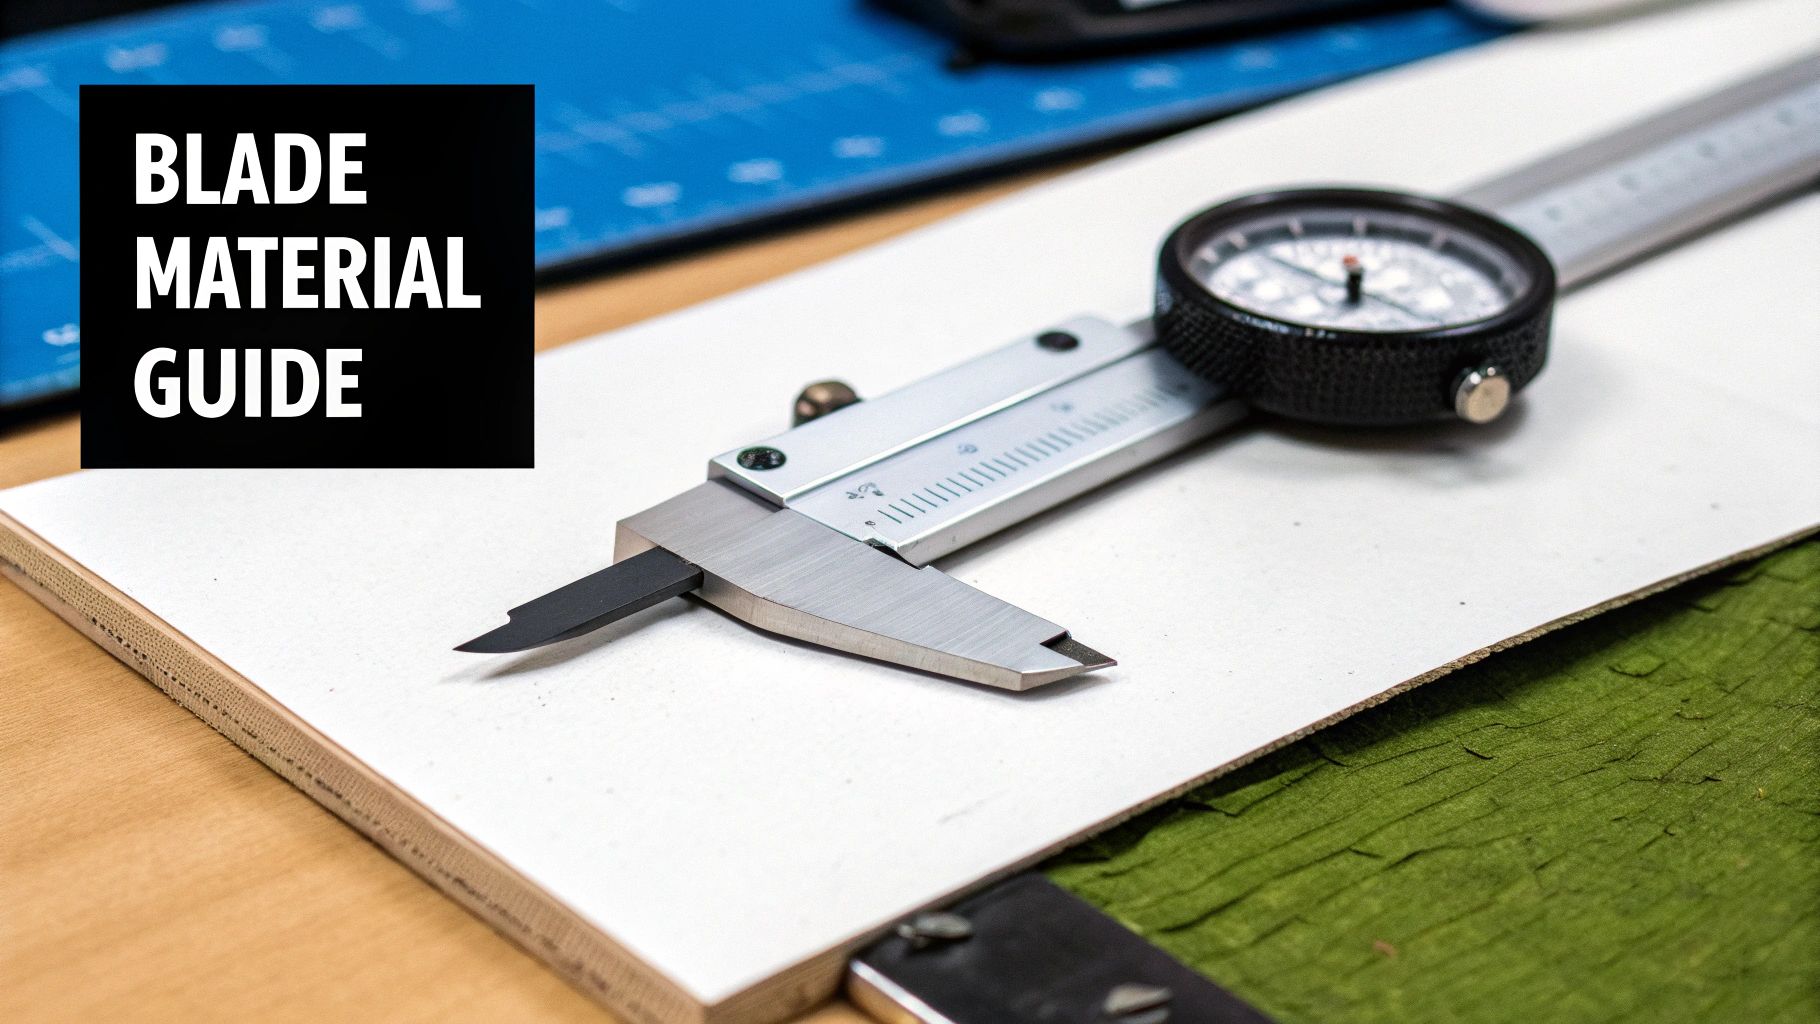
The metal your shears are made from determines how long they’ll stay sharp and how well they resist rust and nicks. Most good shears are made from high-grade stainless steel, but it’s important to remember that not all steel is the same.
For instance, Japanese 440C stainless steel is a go-to for professional-grade shears because it’s incredibly hard and holds a sharp edge for a long time. This means less frequent sharpening and more clean, consistent cuts. Cobalt alloys are another top-tier option, known for being even more durable and providing a buttery-smooth cutting feel.
Why Shear Hardness Matters
You might notice a “Rockwell Hardness” rating (HRC) on the specs for higher-end shears. This isn’t just a bunch of technical mumbo-jumbo; it’s a real measure of the steel’s toughness and its ability to hold an edge.
A higher Rockwell Hardness rating—look for 58 HRC or above—tells you the steel is harder and will stay sharp for much, much longer. Softer steel might be cheaper upfront, but it will dull fast, which leads to pulling your dog’s hair and a miserable grooming session for everyone.
Investing in quality materials is a huge trend right now. The professional pet grooming scissors market is currently valued at around $500 million and is expected to grow by nearly 7%. This boom shows a clear shift toward professional-level tools, even for people grooming at home. You can dig into more data on the professional pet grooming market to see where things are headed.
Blade Edges Explained: Convex vs. Beveled
After the metal, the blade’s edge is what does all the work. You’ll find two main types in any dog grooming shears set, and they each have a specific job.
- Convex Edge: Think of the blade on a premium sushi knife—it’s impossibly sharp, with a razor-like finish. That’s a convex blade. It gives you the smoothest, most precise cut you can get, gliding through fur like silk. It’s the top choice for finishing work and for groomers aiming for that perfectly polished look.
- Beveled Edge: Now picture a sturdy, everyday kitchen knife. A beveled edge is tougher, more of a workhorse. It often has tiny, microscopic serrations that grip the hair as they cut. This makes it fantastic for general-purpose grooming and for powering through thick, difficult coats. They’re super durable and an excellent starting point for beginners.
Ultimately, picking the right material and blade combo is all about what you need. If you’re just doing occasional trims on a dog with a simple coat, a solid set of beveled-edge shears will do the trick. But if you’re grooming often or working on a fine coat that needs a flawless finish, investing in a harder steel with a convex edge will completely change your results for the better.
Finding a Comfortable Fit for Your Hands
Grooming a dog is never a five-minute job. It takes patience, a steady hand, and a whole lot of precision—and none of that is possible if your hands are cramping up. That’s why choosing a dog grooming shears set that actually fits you is just as critical as the sharpness of the blade. The right ergonomics can be the difference between a quick, easy trim and hours of hand fatigue or even a repetitive strain injury.
Think of it this way: a professional chef can chop for hours because their knife is perfectly balanced, feeling more like an extension of their arm than a tool. Your shears should feel the same. When they fit just right, you can forget about your aching wrist and focus entirely on giving your dog a great haircut.
Why Handle Design Matters
Shear handles do more than just give you something to hold onto. Their shape and design directly influence your posture, comfort, and control. The best designs are crafted specifically to reduce stress on your hand, wrist, and even your shoulder during those longer grooming sessions.
Let’s look at two of the most popular ergonomic styles you’ll find: offset and crane handles.
- Offset Handles: With this design, one handle is slightly shorter than the other. This simple adjustment lets your thumb rest in a more natural position, which helps open up your hand and release tension.
- Crane Handles: This style takes ergonomics to the next level. The top handle is almost perfectly straight, while the bottom handle drops down at a sharp angle. This lets you lower your elbow and shoulder, promoting a much more open and relaxed body posture as you work.
Choosing an ergonomic handle isn’t a luxury—it’s about career longevity for professional groomers and making the experience enjoyable for home groomers. Less physical strain means steadier cuts and a better time for both you and your dog.
A comfortable, ergonomic design really does make all the difference, turning what could feel like a chore into a much more pleasant, sustainable activity.
Matching Shear Length to the Task
The size of the shears in your dog grooming shears set is another piece of the puzzle. The ideal length really depends on two things: the size of your dog and the specific part of the body you’re working on. There isn’t one “best” size—it’s all about having the right tool for the job at hand.
Shorter shears, usually in the 5 to 6.5-inch range, are all about precision. They give you the most control for detailed, delicate work. You’ll want to reach for these when shaping your dog’s face, trimming around the paws, and cleaning up other sensitive areas where a wrong move is not an option. They are absolutely the go-to for smaller breeds where every single snip makes a big impact.
On the other hand, longer shears—typically 7.5 inches or more—are your workhorses for efficiency. Because they cover a lot more ground with each cut, they’re perfect for trimming the large areas on bigger dogs, like the back and sides. Trying to trim a Standard Poodle’s body with tiny shears would take forever; a longer pair helps you create those smooth, even lines much more quickly. A good kit will have a variety of sizes so you’re ready for anything.
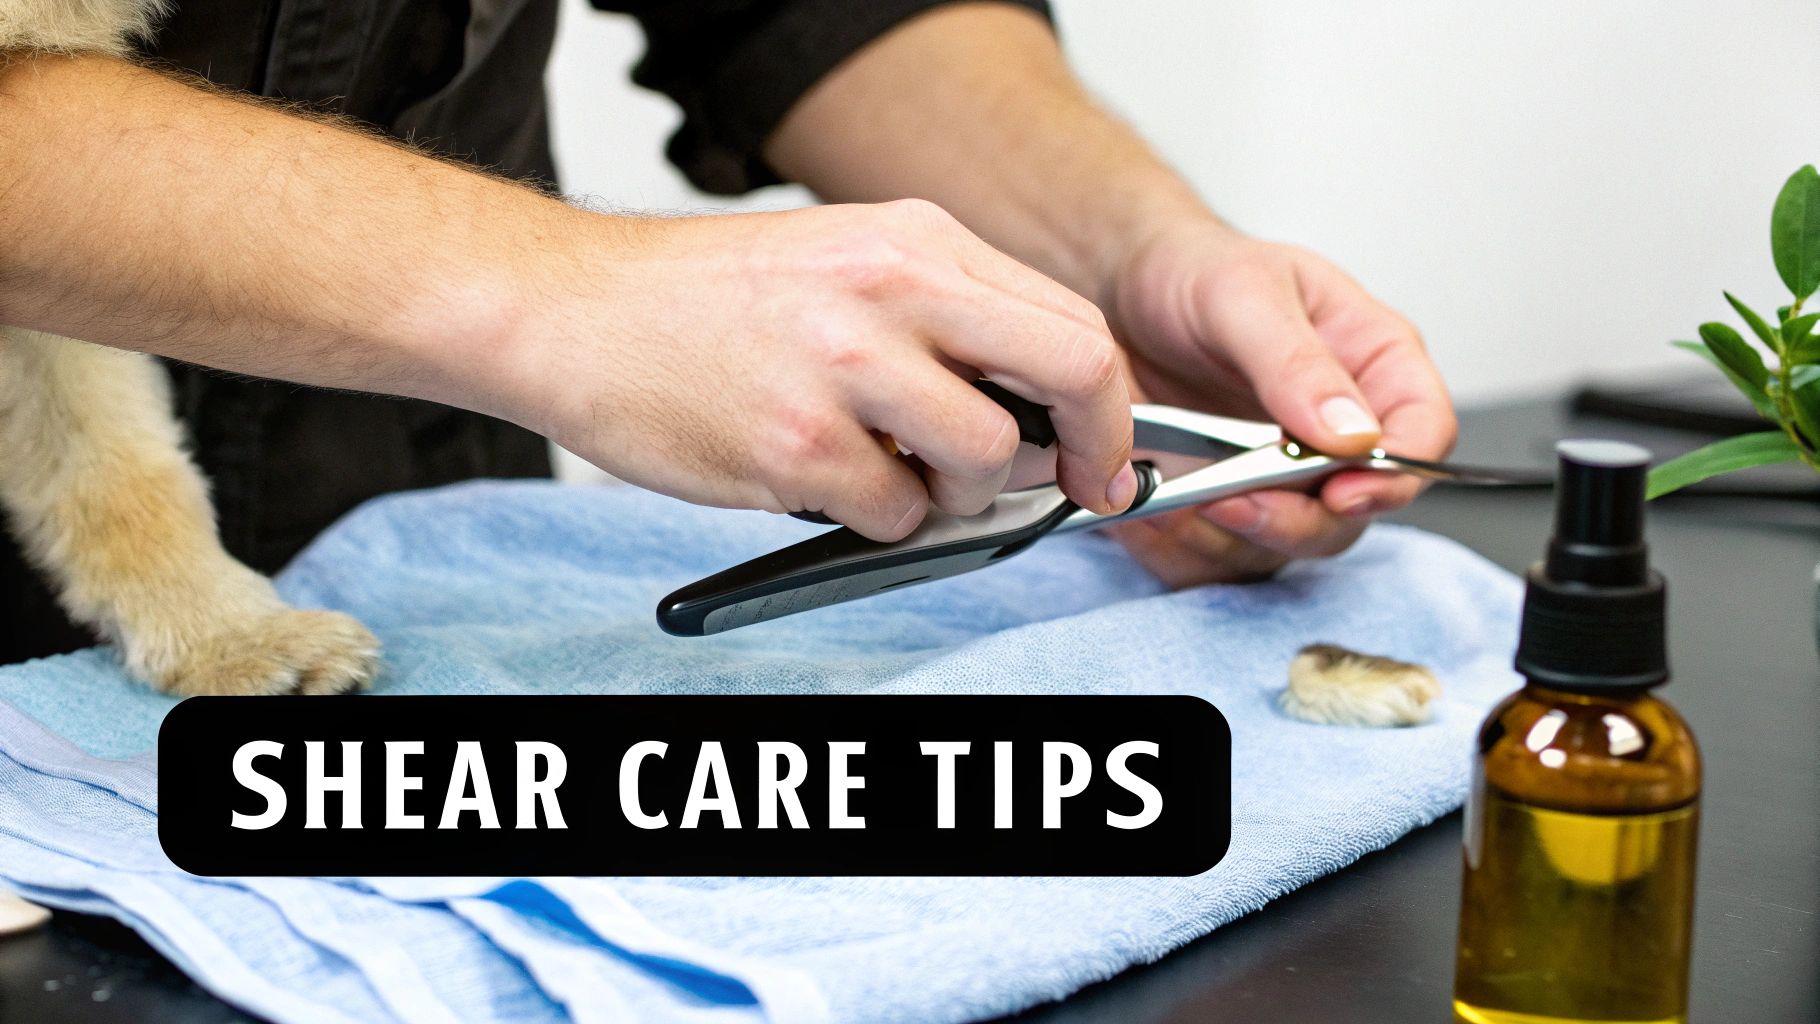
Keeping Your Grooming Shears in Top Condition
Think of your dog grooming shears set like a professional chef’s knives or a woodworker’s favorite chisels. They’re a real investment, and keeping them in peak condition isn’t just a suggestion—it’s essential. A little bit of consistent care goes a long way, ensuring your tools last for years and every snip is clean, safe, and comfortable for your dog.
This commitment to quality tools is part of a much larger picture. The market for U.S. pet grooming products, including essentials like shears, was recently valued at around USD 4.5 billion. It’s projected to soar to nearly USD 7.8 billion by 2034, which just shows how dedicated owners are to giving their pets the best. For more on this trend, you can dig into the U.S. pet grooming products market report.
Your Daily Maintenance Routine
After you finish a groom, set aside just a few minutes for these simple steps. This is the single most important habit you can build to prevent rust, gunk, and dull blades.
- Clean the Blades: Grab a soft, dry cloth and give the blades a thorough wipe-down. You want to get rid of every last bit of fur, dander, and styling product. Make sure to get into the little nook around the pivot screw, as that’s where debris loves to accumulate.
- Sanitize If Needed: If you’re working on more than one dog or dealing with a skin condition, it’s wise to sanitize. Use a disinfectant spray made for shears, then immediately wipe them completely dry. Remember, moisture is the arch-nemesis of steel.
- Oil the Pivot Point: Open the shears to a 90-degree angle and apply just one small drop of quality shear oil right at the pivot. Work the blades back and forth a few times to spread the oil evenly. This is what keeps that cutting action buttery smooth.
This tiny routine has a massive impact, just like all the other small things we do for our pets. To round out your toolkit, you can explore our complete line of grooming and cleaning supplies.
Tension, Sharpening, and Storage
Beyond the daily wipe-down, there are two other critical elements to keeping your dog grooming shears set working perfectly: blade tension and professional sharpening.
Proper tension is the secret to a flawless cut. Too loose, and the blades will fold the hair instead of cutting it. Too tight, and you’ll wear them out fast and give yourself hand fatigue.
Here’s a quick way to check the tension. Hold one handle so the blade points to the ceiling. Lift the other handle until it’s parallel to the floor, then let it drop. A perfectly tensioned shear will close smoothly about two-thirds of the way. If it snaps shut or barely moves, you’ll need to tweak the tension dial until it’s just right.
Lastly, please don’t try to sharpen your shears yourself. Professional sharpeners have specialized equipment that can restore a perfect, factory-sharp edge without grinding away too much metal. The moment you feel your shears starting to pull or snag, it’s time to send them in for service. Do this, and they’ll give you years of safe, beautiful grooms.
Got Questions About Dog Grooming Shears?
Even with the best gear in hand, you’re bound to have questions, especially when you’re just starting out with a new dog grooming shears set. I’ve pulled together some of the most common things pet owners ask, with straightforward answers to help you feel more confident behind the clippers.
Think of this as your go-to FAQ for those “what if” moments that pop up mid-groom.
What’s the Big Deal About Right vs. Left-Handed Shears?
The difference is huge—it’s not just a label. It’s all about comfort, safety, and getting a clean, professional-looking cut. A true pair of left-handed shears is a mirror image of a right-handed pair, right down to the blades and handles. This design is non-negotiable for a few reasons.
If you’re a lefty, the correct shears let you actually see your cutting line. But more importantly, it makes the blades work together properly. When you close a correctly-handed pair of shears, the blades push against each other to create that crisp cutting action. Using the wrong pair forces them apart, which makes them bend and fold the hair instead of snipping it. This leads to a choppy, uneven mess and puts a ton of strain on your hand. Always, always buy for your dominant hand.
How Do I Know When My Shears Are Getting Dull?
Dull shears are more than just annoying—they’re unsafe. They pull and snag your dog’s fur, which is uncomfortable and can even be painful. Learning to spot the signs of a dull blade is a key part of keeping your tools in top shape.
Keep an eye out for these tell-tale signs:
- Hair Folding Over: This is the most obvious red flag. Instead of a clean snip, the blades just bend the hair.
- You’re Working Harder: If you feel like you have to force the shears closed, they’re dull. A sharp pair should feel effortless.
- Weird Noises: A sharp cut is practically silent. If you hear any grinding or crunching, the blades are likely dull or have a nick in them.
Here’s a quick test you can do at home: try to snip a piece of cotton wool. If your shears can’t cut it cleanly, they’re definitely not sharp enough for your dog’s coat. It’s time to call a professional sharpener.
Can I Just Use Thinning Shears for the Whole Haircut?
That’s a definite no. Thinning shears are a specialty tool, not your workhorse. Think of them as an artist’s blending brush, used to soften and finish the masterpiece, not to paint the whole canvas. Their job is to erase harsh scissor marks, blend short areas into long ones, and remove bulk without taking off length.
Using them all over would leave the coat looking choppy and uneven. It can even mess with the way the coat grows and lies naturally. Save your thinning shears from your dog grooming shears set for specific jobs, like blending the fur on the head and neck or softening the edges of a terrier’s skirt.
Are Those Expensive Dog Grooming Shear Sets Really Worth the Money?
If you plan on grooming your dog more than once or twice, the answer is a big yes. It might feel like a big purchase upfront, but a high-quality set of shears pays you back in so many ways.
Premium shears are made from better steel, like Japanese 440C stainless steel, which has a higher Rockwell Hardness rating. In plain English, that means they hold a razor-sharp edge for a lot longer, giving you cleaner, safer cuts every time. They also have much better ergonomics, which makes a world of difference in reducing hand cramps and fatigue during a long groom. A cheap set is okay for a tiny trim, but a quality set is a true investment in better, less stressful grooming for both you and your dog.
Ready to give your pup that perfect, salon-quality look at home? Check out the premium grooming tools at Ur Pet Store and find the ideal set to keep your best friend looking sharp. Get started today at https://urpetstore.com.