

Blog
How to Groom Dogs at Home The Complete Guide
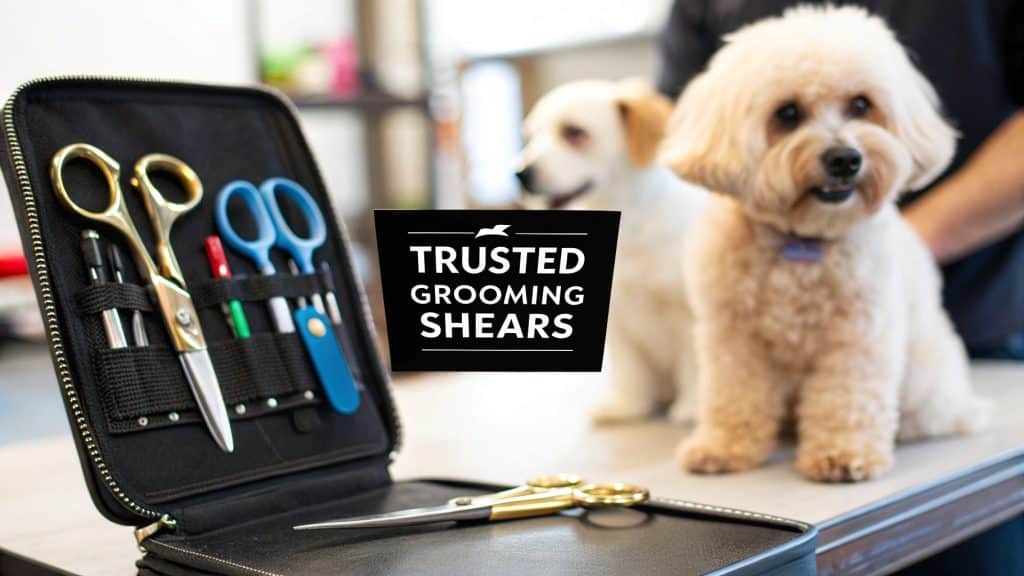
Before you even think about getting your dog near the water, let’s talk about tools. Having everything you need within arm’s reach is the secret to a calm, successful grooming session. It’s the difference between a happy pup and a chaotic, sudsy mess.
At a minimum, you’ll need a good brush suited to your dog’s coat, a dog-specific shampoo, and a reliable nail clipping tool. These are the non-negotiables.
Gathering Your At-Home Dog Grooming Toolkit
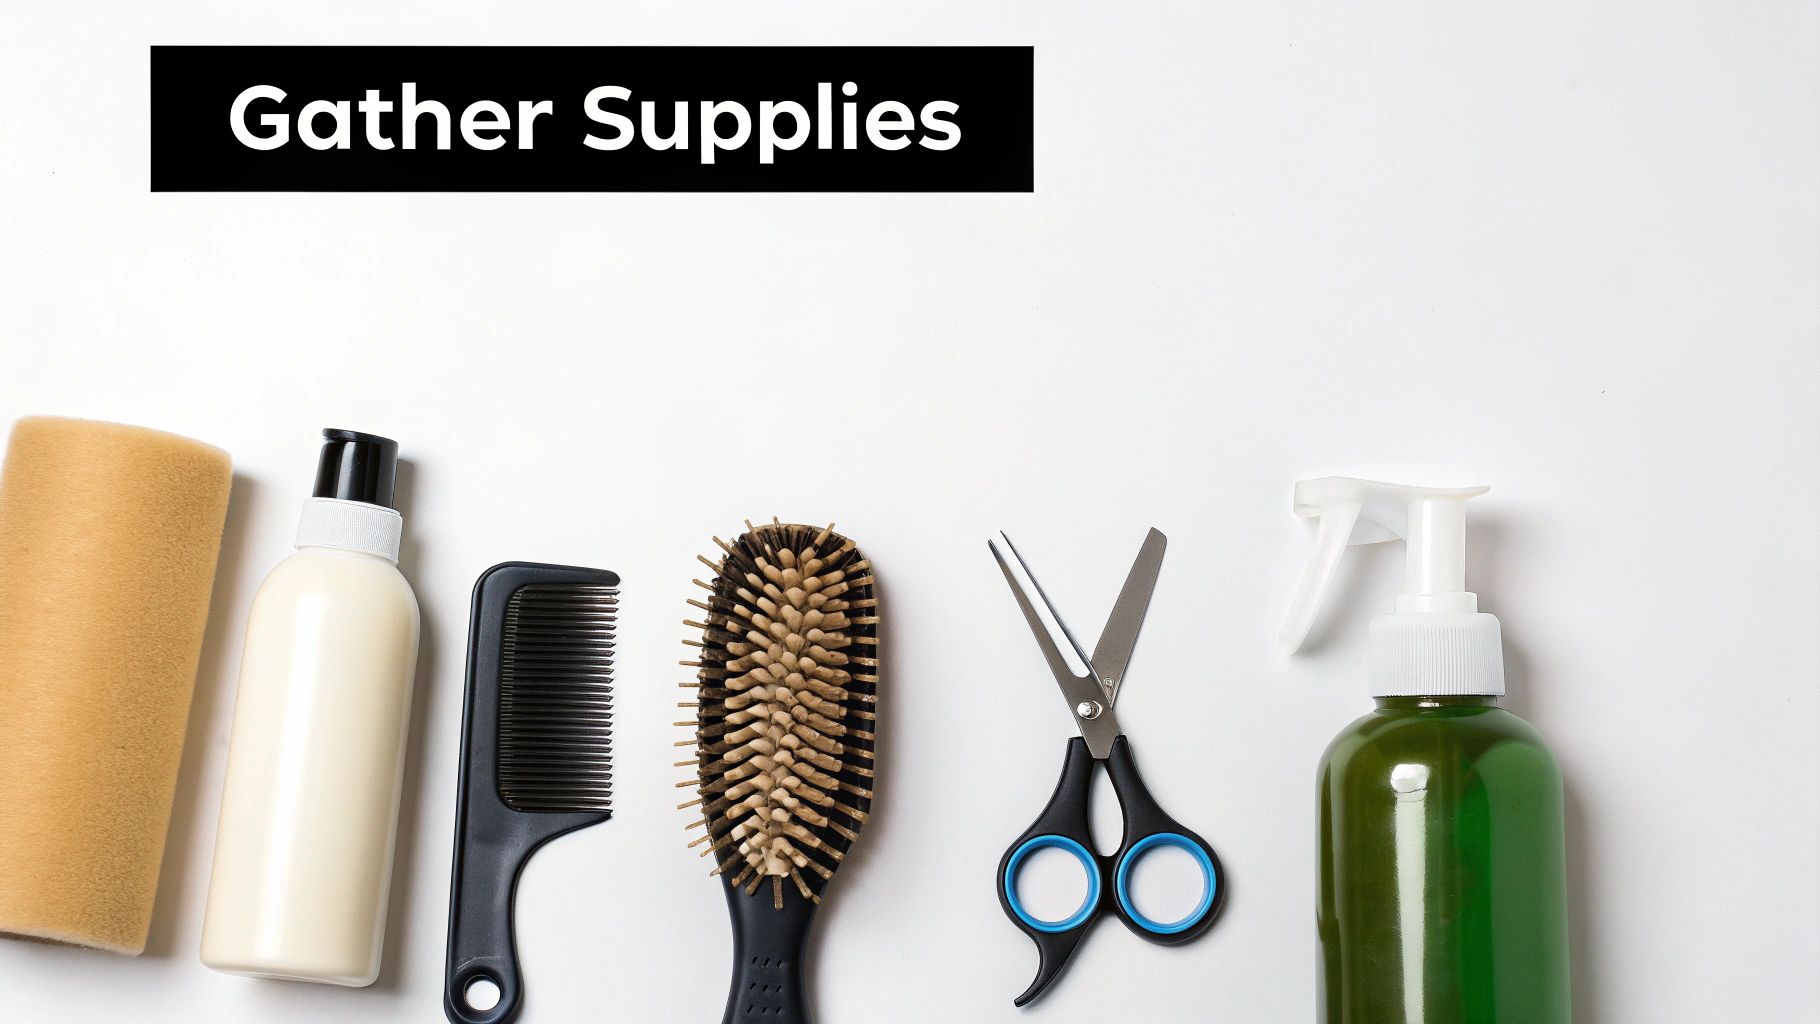
Trying to groom a dog without the right equipment is like trying to bake a cake without a mixing bowl—you might get it done, but it won’t be pretty. Your toolkit is your recipe for success, turning a potentially stressful chore into a straightforward bonding experience.
More and more pet owners are taking grooming into their own hands. It’s a huge market, valued at around $5 billion in 2025, with brushes and combs being the top sellers. It’s easy to see why so many people are embracing the benefits and savings of grooming at home.
To help you figure out what you truly need versus what’s nice to have, here’s a quick breakdown.
Essential vs Optional Grooming Tools
| Tool Category | Essential Item | Optional (But Helpful) Item |
|---|---|---|
| Brushing & Combing | Coat-specific brush (e.g., slicker, pin) | Dematting rake or undercoat comb |
| Bathing | Dog-specific shampoo & conditioner | Non-slip bath mat, tearless facial scrub |
| Nail Care | Guillotine clippers or a nail grinder | Styptic powder (for accidents) |
| Finishing | Absorbent towel (microfiber is great) | Low-heat pet dryer, finishing spray |
This table should give you a solid starting point for building your kit. You can always add the optional items later as you get more comfortable with the process.
Choosing the Right Brushes and Combs
If there’s one tool you can’t skimp on, it’s the brush. Using the wrong one is ineffective at best and can be painful for your dog at worst. Your dog’s coat type is the deciding factor here.
- Slicker Brushes: These are your best friend if you have a dog with a medium-to-long or double coat, like a Golden Retriever or a Husky. The fine, angled wires are brilliant for getting down into the undercoat to remove loose fur and work out tangles before they turn into stubborn mats.
- Bristle Brushes: Perfect for dogs with short, smooth coats like Boxers or Beagles. A bristle brush helps whisk away shed hair and, more importantly, distributes the natural oils through their coat for a beautiful, healthy shine.
- Pin Brushes: These look a lot like the brushes we use on our own hair. They’re a go-to for dogs with long, silky coats, such as Yorkshire Terriers or Shih Tzus, as they gently detangle without snagging or breaking the delicate hair.
Essential Cleaning and Clipping Supplies
Once you’ve got brushing sorted, there are a few other must-haves for a proper clean.
First, always use a shampoo made for dogs. Human shampoo has a different pH balance that can seriously dry out your dog’s skin, stripping away their natural oils and leading to itching and irritation.
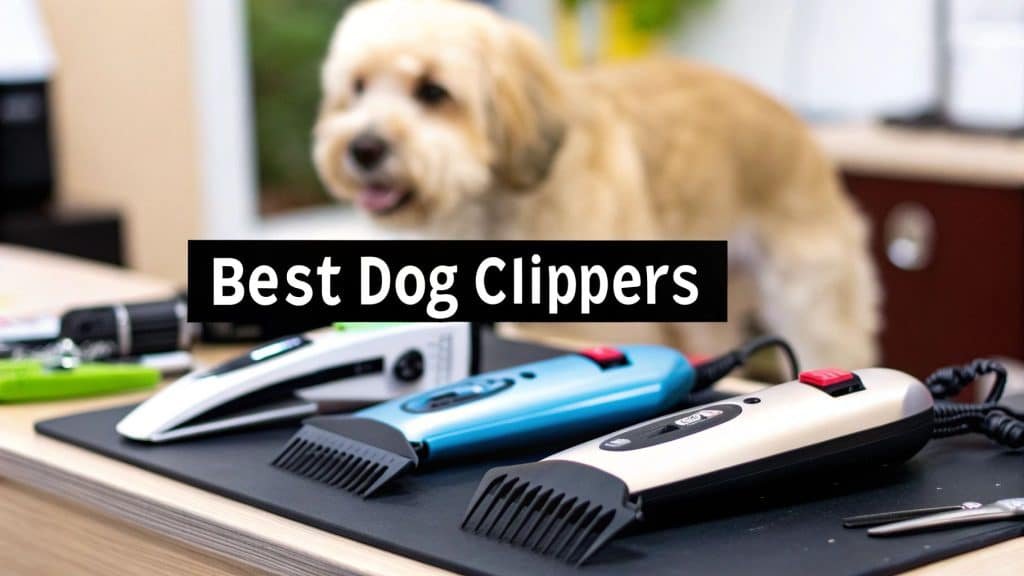
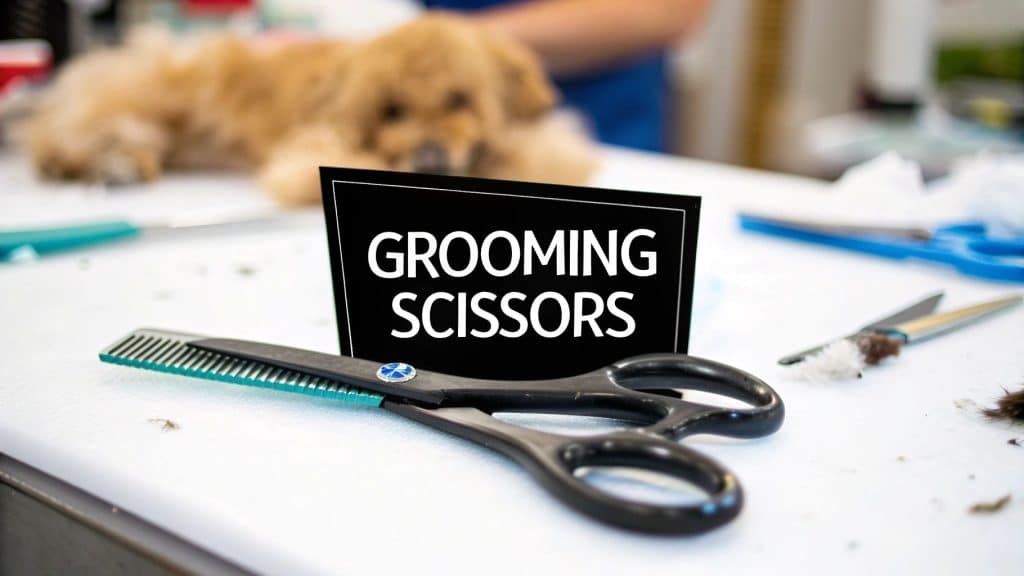
When it comes to nail care, you’ve got two main choices: traditional guillotine-style clippers or an electric nail grinder.
A Little Advice From Experience: I often recommend a nail grinder for dogs with dark nails. It’s nearly impossible to see the quick (the sensitive part with the blood supply), and a grinder lets you file the nail down slowly. This drastically reduces the risk of accidentally cutting too far and causing pain and bleeding.
Lastly, don’t overlook a good ear cleaning solution and a non-slip mat for the tub. Something as simple as a basic bath mat provides secure footing, which can make a world of difference in keeping a nervous dog calm during bath time.
You can find a great selection of essential grooming and cleaning supplies to get your kit started right here.
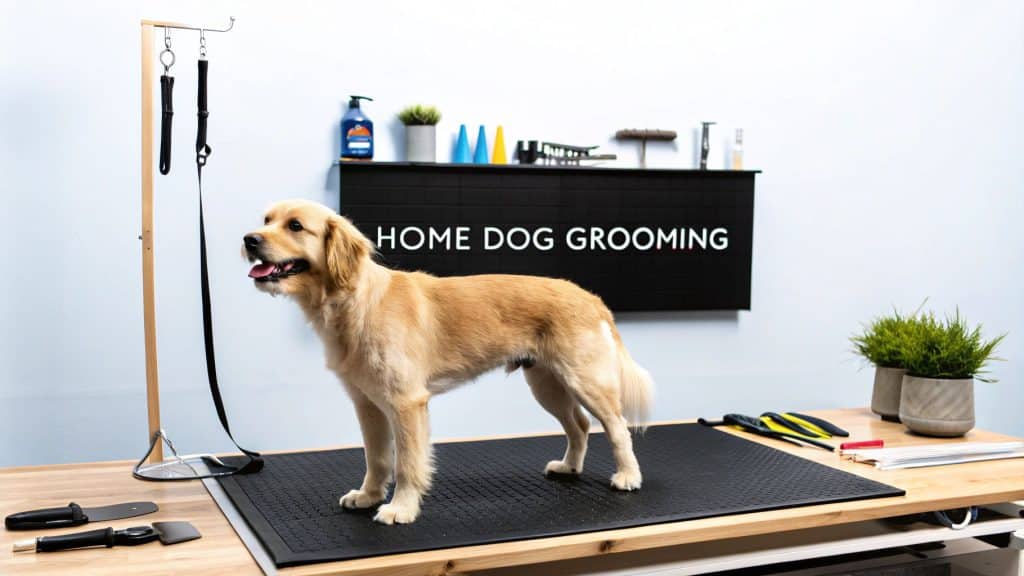
Creating a Calm and Safe Grooming Space

A successful grooming session starts way before you ever pick up a brush. It’s all about the environment. Think of it as setting the stage for a positive, fear-free experience that can actually become a great bonding moment instead of a dreaded chore. Your dog picks up on everything—your mood, the noise, the whole vibe—so getting this right from the beginning is absolutely crucial.
Pick a quiet spot, like a bathroom or laundry room, that’s away from the main household traffic. Less chaos means less distraction and a dog who can focus on you. The real pro move? Have every single tool you need laid out and within easy reach before you bring your dog in. Nothing ramps up a dog’s anxiety faster than watching you frantically search for clippers while they’re stuck waiting.
Establishing Safety and Comfort
One of the biggest culprits for a stressed-out dog during grooming is a slippery surface. It’s an instant confidence killer. Whether you’re using the tub or a proper grooming table, a non-slip surface is non-negotiable. A simple rubber bath mat can make a world of difference, giving your pup the secure footing they need to relax.
Beyond the physical setup, you need to build a positive association with the space. This is where the good stuff comes in. Bring out those high-value treats—the ones your dog goes crazy for but rarely gets, like tiny bits of cheese or freeze-dried liver. Let them have a few as you introduce them to the room and the tools.
Key Takeaway: Your goal isn’t just to get through the grooming. It’s to patiently teach your dog that this space is a place where amazing things happen. Positive reinforcement is your best friend here.
Building this trust is especially important for anxious dogs. A calm, predictable routine can dramatically lower their stress. If your dog is particularly prone to nervousness, exploring other calming solutions can be a game-changer. For instance, you can learn more about the best dog beds for anxiety that offer a safe retreat for them.
Reading Your Dog’s Cues
Knowing how to groom dogs at home is less about fancy techniques and more about knowing your dog. A huge part of that is recognizing when it’s time to hit the pause button. Dogs are constantly communicating their stress levels through their body language; you just have to learn what to look for.
Keep an eye out for these classic signs of stress:
- Lip Licking: If there’s no food around, this is a clear sign of discomfort.
- Yawning: A stress yawn is different from a tired one. It’s usually wider and more tense.
- Whale Eye: This is when you can see the whites of your dog’s eyes as they avert their head.
- Tucked Tail: A classic sign of fear and uncertainty.
The moment you see these behaviors, stop what you’re doing. Take a break. Offer a treat, a little praise, and let your dog chill for a few minutes before trying again. Keeping your initial sessions short and overwhelmingly positive will build a foundation of trust that pays off for years to come.
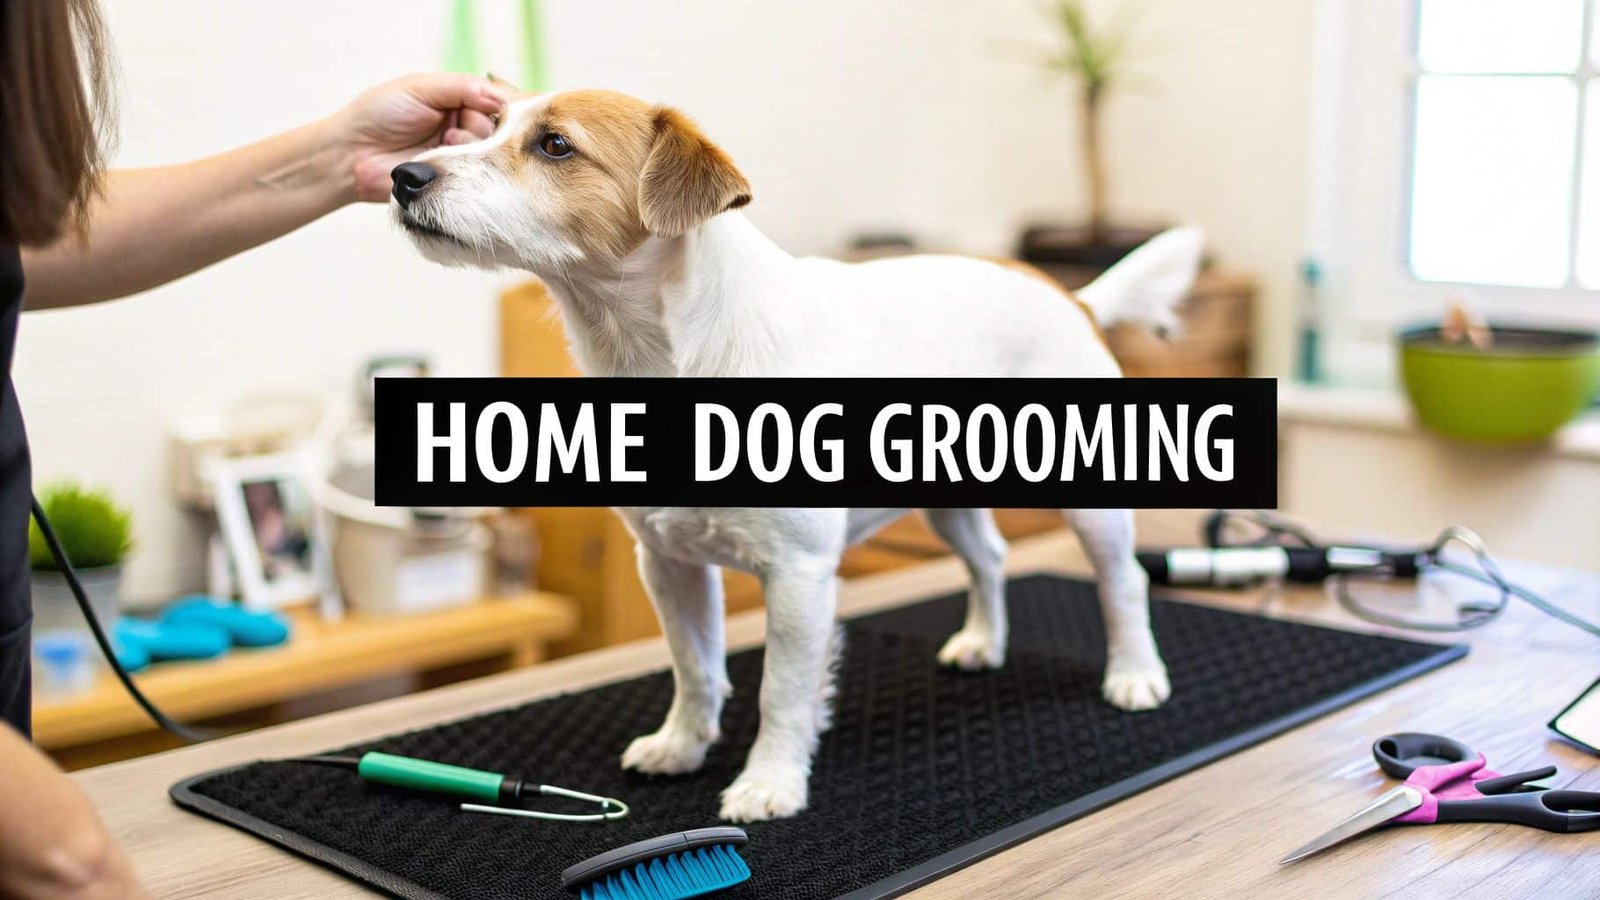
Your Guide to Brushing and Bathing Like a Pro
The heart of any good home grooming routine comes down to two things: the brush and the bath. When you get these right, you’ll see a huge difference in your dog’s health, comfort, and how they look. A lot of people treat these as two separate chores, but here’s a little secret from the pros: a great bath actually starts before your dog ever gets wet.
Think of it as prep work. You wouldn’t paint a wall without sanding and priming it first, right? Same principle. Hitting a tangled coat with water instantly tightens up any mats, turning a minor knot into a dense, painful clump that you might have to cut out. A solid brush-out beforehand gets rid of all that loose fur and dirt, which means the shampoo can actually get to the skin and do its job.
The All-Important Pre-Bath Brush
Before even thinking about turning on the faucet, grab your brush. You’ll want to work through your dog’s coat from head to tail, making sure you’re gently reaching all the way down to the skin. This step is an absolute game-changer for heavy shedders or dogs with thick double coats, like Labs.
If you’re dealing with that kind of dense fur, check out our guide on the best brushes for Labrador Retrievers for some specific tool recommendations.
Once you’ve gotten all the tangles and loose fluff out, you’re ready for the tub. The infographic below breaks down the key moments of a successful bath time.
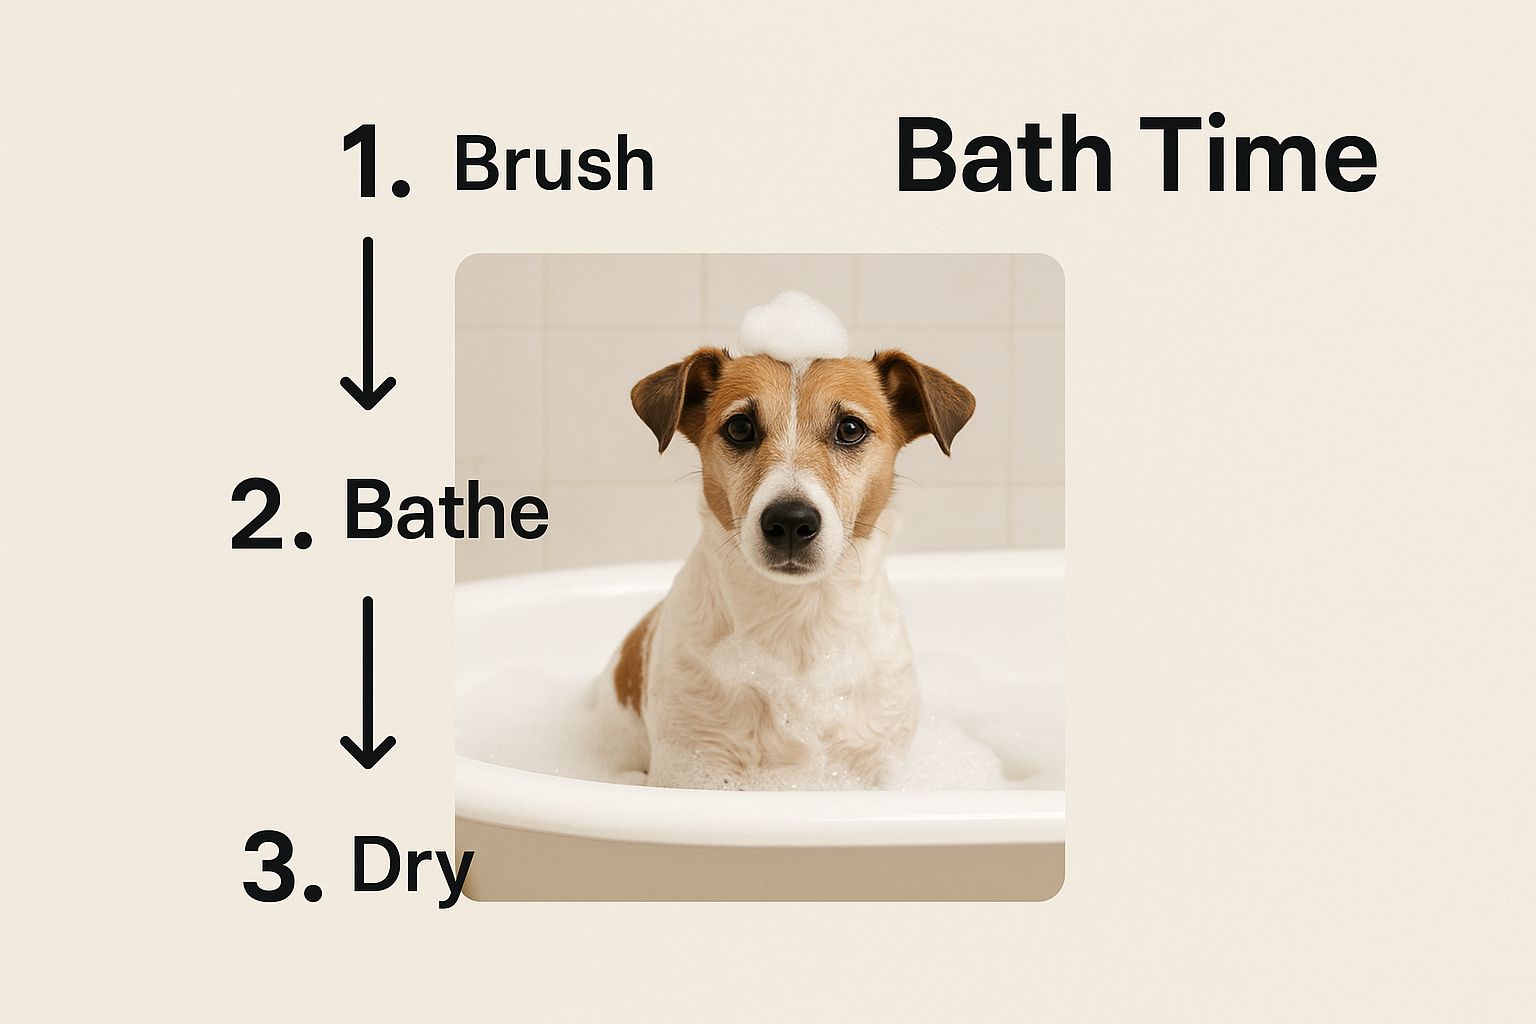
As you can see, having a clear process, from prep to drying, makes everything go much more smoothly.
Mastering the Art of the Bath
Alright, it’s go-time. The number one rule for a calm, comfortable bath is using lukewarm water. Always test it on the inside of your wrist first, just like you would for a baby’s bath. Once your dog is soaked through, it’s time for a quality, dog-specific shampoo.
My Favorite Trick: Don’t just squeeze a big blob of shampoo onto your dog’s back. Instead, mix a little shampoo with some water in a separate squirt bottle. This thinned-out mixture spreads so much more easily, lathers up beautifully, and you end up using way less product for a better clean.
Work the lather from their neck down to their tail. Don’t forget to give some extra attention to notoriously dirty spots like their paws and belly. For their face, I always recommend using a soft, damp washcloth to gently wipe them down—it keeps soap out of their eyes and ears. Rinsing is just as crucial as washing. Leftover shampoo is one of the biggest culprits behind itchy, irritated skin. When you think you’re done rinsing, rinse one more time just to be safe.
Smart Drying Techniques That Make a Difference
With your dog squeaky clean, the final phase is getting them dry. A good, vigorous rubdown with an absorbent microfiber towel will get most of the water out. If you’re aiming for that fluffy, just-from-the-groomer look, a pet-specific blow dryer is your best friend.
Just keep these critical safety tips in mind:
- Always use the lowest heat setting. A human hair dryer is way too hot and can easily burn your dog’s skin.
- Keep the nozzle moving. Don’t focus the air on one spot for too long.
- Make a positive association. Introduce the dryer slowly with lots of praise and treats to help your dog get used to the noise and feeling.
Drying your dog properly doesn’t just make them look fantastic; it also prevents moisture from getting trapped against their skin, which can lead to nasty hot spots or other skin infections. With these steps, you’re well on your way to a clean, happy, and beautifully groomed best friend.
Handling Nail Trims and Ear Care With Confidence
https://www.youtube.com/embed/RmIT_xv97v8
Let’s be honest: nail trims and ear cleaning are probably the two tasks that make you the most nervous. I get it. These are sensitive areas, and it’s easy to worry you’ll do something wrong. But with a little patience and the right approach, you can learn to handle them like a pro, making it a stress-free (or at least, less stressful) routine for both of you.
If you’ve found yourself taking on more grooming tasks at home, you’re not alone. It’s a huge trend that really took off during the pandemic and has stuck around ever since. The pet grooming services industry is actually projected to become a market worth over USD 10 billion by 2030. People are realizing the convenience and savings of DIY grooming, so if you want to discover more insights about growth trends in the pet grooming industry, you’ll see just how common this has become.
Tackling Nail Trims Without the Fear
Overgrown nails aren’t just an eyesore; they can genuinely hurt your dog. They can throw off their posture, make walking painful, and even lead to bigger joint problems down the road. The secret to a good nail trim is all about your tools and a basic understanding of your dog’s nail anatomy.
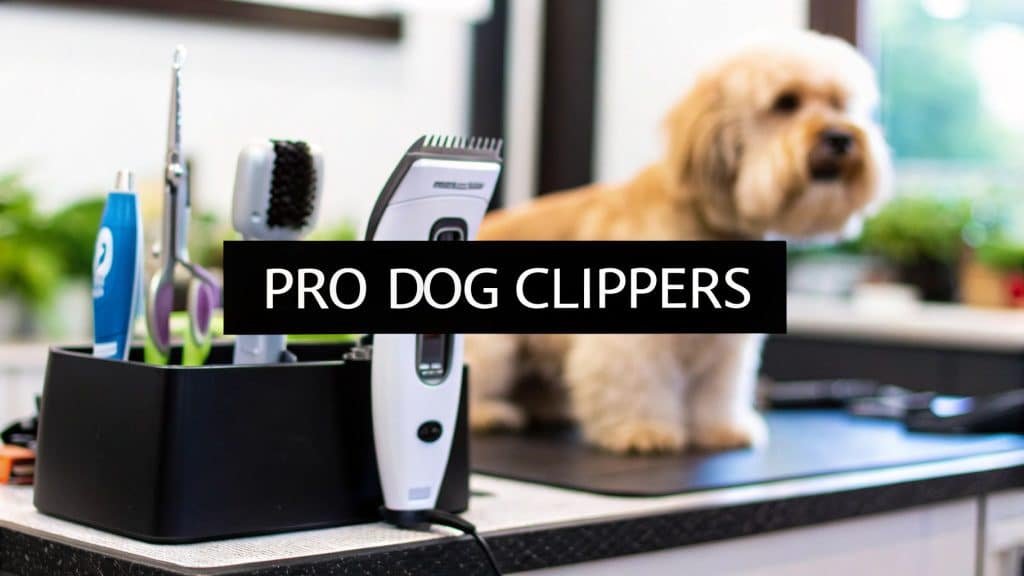
You’ve got two main options here: clippers or a grinder.
- Guillotine or Scissor Clippers: These are fast and get the job done quickly, but they do require a bit of confidence. The big fear for everyone is cutting the quick—that little pink vein inside the nail that bleeds and hurts if you nick it.
- Nail Grinders: A lot of owners feel more comfortable with these. Grinders file the nail down slowly, giving you much more control. They’re a fantastic choice for dogs with dark nails where seeing the quick is pretty much impossible.
Pro Tip: If you’re just starting out, only take off the tiniest sliver from the tip of the nail. It is always better to trim too little than too much. After you finish each paw, give your dog an amazing treat. This positive reinforcement works wonders and builds their trust for next time.
Keeping Ears Clean and Healthy
Regular ear cleaning is a must, especially if you have a floppy-eared dog whose ears are experts at trapping moisture and gunk. A healthy ear should be pale pink, clean, and shouldn’t have any strong odors.
All you need for a basic cleaning is a vet-approved ear cleaning solution and some cotton balls or gauze pads. Whatever you do, never use cotton swabs (like Q-tips). They can just jam debris deeper into the canal or, even worse, damage the eardrum.
Here’s my simple, safe method for cleaning ears:
- First, gently lift your dog’s ear flap to get a clear view of the ear canal.
- Squeeze a small amount of cleaning solution into the ear—just enough to fill the canal but not so much that it overflows.
- Now, massage the base of the ear for about 20-30 seconds. You’ll hear a funny squishing sound, which means the solution is doing its job breaking up all that hidden wax.
- Stand back and let your dog shake their head! This is a crucial step; the shaking helps propel all the loosened debris up and out of the ear.
- Finally, take a cotton ball and gently wipe away any visible gunk and leftover solution from the outer part of the ear you can see.
Always be on the lookout for trouble. If you see a lot of redness, smell a yeasty odor, or notice a discharge that looks like dark coffee grounds, stop right there. Those are red flags for an infection, and it’s time to call your vet for a proper diagnosis and treatment.
Adapting Your Technique for Different Coat Types
Thinking you can use the same grooming method for every dog is a rookie mistake. A Boxer’s slick, short coat has completely different needs than a Poodle’s dense, curly fur. If you want to get good at grooming your dog at home, you have to become an expert on their specific coat.
Getting the technique right isn’t just about looks—it’s crucial for their health and comfort. For instance, using the wrong brush on a double-coated dog can easily damage their protective outer hairs. On the other hand, neglecting a curly-coated dog’s fur can lead to painful mats forming right against the skin.
Smooth and Short Coats
For dogs like Beagles, Boxers, or Greyhounds, grooming might look easy, but don’t skip it. The main goals here are to manage shedding and bring out that natural, healthy shine.
- Best Tool: A rubber curry brush or a soft bristle brush works wonders. These are gentle enough not to irritate their skin but are fantastic at grabbing all those loose hairs.
- Technique: Stick with short, firm strokes that follow the direction of hair growth. The rubber nubs on a curry brush also give a great massage, which helps stimulate the natural oils that make their coat glossy.
This whole process is super quick. Just a few minutes a couple of times a week is usually all it takes to keep the shedding in check.
Double Coats
If you have a Golden Retriever, German Shepherd, or a Husky, you’re dealing with a double coat. They have a thick, soft undercoat for insulation and a tougher topcoat of guard hairs for protection from the elements. Your job is to clear out the loose undercoat without messing up that important top layer.
Key Takeaway: Never, ever shave a double-coated dog unless it’s for a medical reason. That undercoat is their personal thermostat, helping regulate their temperature in both the heat and the cold. Shaving it can permanently ruin the coat’s texture and disrupt this natural climate control system.
To tackle this kind of fur, you need the right tool for the job. An undercoat rake is specifically designed to get down deep and pull out all that dead, fluffy fur that would otherwise decorate your couch. Just be gentle and work in small sections to avoid pulling on their skin.
Curly and Wiry Coats
Poodles, Bichon Frises, and a lot of Terriers have coats that are magnets for mats and tangles, so they need constant attention. Their hair grows continuously and doesn’t shed like other breeds; instead, loose hairs get tangled up right in the coat.
For these pups, daily brushing is pretty much non-negotiable.
- Curly Coats: A slicker brush is your best friend. It’s essential for working through those dense curls and stopping tiny tangles from turning into full-blown mats.
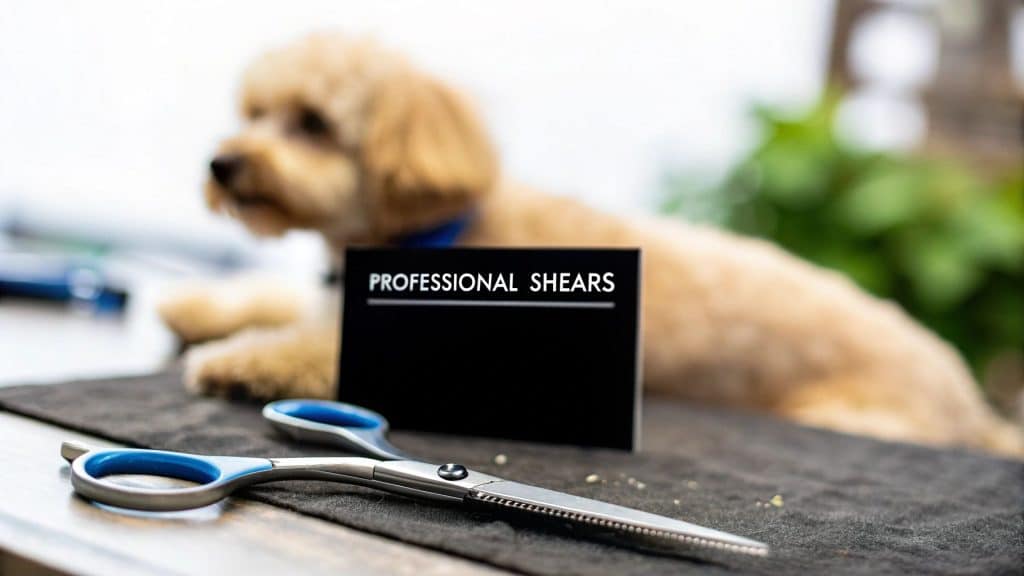
- Wiry Coats: Breeds like Schnauzers have a very coarse, wiry topcoat. To maintain that specific texture, many owners learn a technique called hand-stripping, though getting them professionally clipped is a very common and practical alternative.
To help you keep track, here’s a quick rundown of the best tools and goals for each coat type.
| Grooming Guide by Dog Coat Type | ||
|---|---|---|
| Coat Type | Best Brush Type | Primary Grooming Goal |
| Smooth/Short | Rubber Curry Brush, Bristle Brush | Manage shedding, distribute oils, boost shine |
| Double Coat | Undercoat Rake, Slicker Brush | Remove loose undercoat, prevent matting |
| Curly Coat | Slicker Brush, Metal Comb | Prevent mats and tangles, daily maintenance |
| Wiry Coat | Stripping Knife, Slicker Brush | Maintain coat texture, prevent matting |
This quick guide should give you a solid starting point for building the perfect grooming kit for your specific dog.
The boom in home grooming makes perfect sense when you think about the convenience and cost savings. This trend is fueled by the wide availability of professional-grade tools and products that make it easier than ever for owners to handle these different coats. It really puts you in the driver’s seat of your pet’s hygiene. If you’re curious, you can learn more about the growing dog grooming market and see just how popular at-home care has become.
Got Questions About Grooming Your Dog at Home? We’ve Got Answers.
Even after reading a step-by-step guide, it’s totally normal to have a few lingering questions. When you’re standing there with clippers in one hand and a nervous pup at your feet, theory goes out the window and real-world “what ifs” pop up.
Think of this as a chat with a seasoned groomer. I’ll walk you through some of the most common hurdles people face when they start grooming at home.
How Often Should I Really Be Bathing My Dog?
This is easily the question I hear most often, and the honest answer is: it depends. A great starting point for most dogs is a bath about once every 4 to 6 weeks. Any more than that, and you risk stripping the natural oils from their coat, which can lead to dry, itchy skin and even more shedding.
But that’s just a baseline. You have to consider your dog’s individual needs:
- Their Coat: Some breeds, like Basset Hounds, have naturally oilier coats and might need a bath a bit more often.
- Their Lifestyle: Is your dog a professional puddle-jumper or a pampered couch potato? A dog who loves to get mucky will obviously need more baths.
- Their Skin: If your vet has prescribed a medicated shampoo for a skin condition, always follow their specific instructions on bathing frequency.
My Go-To Trick: For those in-between times, pet-safe grooming wipes are a lifesaver. They’re fantastic for cleaning up muddy paws after a walk or wiping down a messy face, all without the hassle of a full bath.
What Do I Do if I Accidentally Cut My Dog’s Nail Too Short?
First off, take a deep breath. It happens to everyone—even professional groomers. The most important thing is to stay calm. Your dog will feed off your energy, so if you panic, they’ll panic too.
This is why having styptic powder in your grooming kit is non-negotiable. It’s a clotting powder that stops the bleeding almost instantly. Just dip the nail right into the powder or press a bit onto the tip with a cotton swab. If you’re in a real pinch, cornstarch can also do the trick.
After the bleeding has stopped, give your dog lots of praise and a really tasty treat. You want to end the session on a positive note, so they don’t associate nail trims with fear and pain down the road.
My Dog Absolutely Hates Being Groomed. What Can I Do?
When you’re dealing with a dog who dreads grooming, your two best friends are patience and positive reinforcement. The goal is to completely reshape their perception of grooming from something scary into a rewarding experience.
Start small. I mean, really small. Keep your first sessions to just 30 seconds of light brushing, then immediately follow up with their favorite treat and tons of praise. You’re building a new, positive association.
Break every task down into tiny, manageable steps. For example, before even thinking about trimming nails, just let your dog sniff the clippers. Treat. Then, touch the clippers to their paw (without turning them on or cutting). Treat. It’s all about building trust and comfort at their pace, not yours. Slowly but surely, you can turn a grooming-hater into a happy, willing partner.
At Ur Pet Store, we know that confidence in grooming starts with having the right tools. From the gentlest shampoos to the sharpest clippers and essential nail care, we’ve handpicked everything you need for a safe, successful grooming session at home. Check out our full grooming collection and get free shipping on every order.