

Blog
Your Guide to the Best Pet Grooming Kit for Dogs

Think of a complete pet grooming kit for dogs as your secret weapon for at-home care. It’s the smart alternative to those expensive and often stressful trips to the salon, and it’s an investment that pays you back in more ways than one. You’ll save money, sure, but you’ll also spare your dog a lot of anxiety by keeping them in a familiar, comfortable space.
More than that, it’s a fantastic way to strengthen the bond you share. Those grooming sessions become moments of positive, hands-on connection.
Why a Grooming Kit Is Your Secret to a Happier Dog
A good grooming kit is so much more than a box of tools. It’s really about giving your dog a healthier, more comfortable life. We all know regular grooming is about more than just looking sharp—it’s a core part of their overall wellness. When you take this on at home, you turn what could be a scary outing into a calm, predictable routine.
Let’s be honest, many dogs find the professional groomer’s shop completely overwhelming. The loud dryers, the unfamiliar smells, and being handled by a stranger can be a recipe for anxiety. Grooming at home, in a place your dog already feels safe, totally flips the script. It just becomes another part of their day with you.
More Than Just a Haircut
Taking the clippers into your own hands offers some pretty amazing benefits that go way beyond a simple trim. It’s a chance to keep a close eye on your dog’s health and really deepen that connection you have. With the right kit, you can easily:
- Spot Health Issues Early: When you’re regularly brushing and handling your dog, you’re the first line of defense. You’ll be the one to notice any strange lumps, bumps, ticks, or skin irritations before they turn into bigger problems.
- Strengthen Your Bond: Grooming time is focused time. This one-on-one care builds an incredible amount of trust and reinforces the idea that you are their protector and friend.
- Save a Ton of Money: A single trip to the groomer can set you back anywhere from $50 to over $150. A one-time investment in a quality kit often pays for itself after just a couple of uses.
A well-chosen pet grooming kit isn’t just another purchase. It’s a genuine commitment to your dog’s comfort and well-being, empowering you to give them consistent care that’s perfectly suited to their needs.
At the end of the day, having a full set of tools ready to go gives you the confidence to handle everything from a quick nail trim to a full-body haircut. This guide is here to walk you through picking the right kit, using it like a pro, and keeping it in great shape, making sure every grooming session is a win for both of you.
What’s Inside a Complete Dog Grooming Kit?
Opening a new pet grooming kit for dogs can feel a lot like peeking into a professional chef’s knife roll for the first time. You see a bunch of different tools, and you know they all have a specific job, but it’s not immediately obvious what does what. Getting to know each instrument is the first step to grooming your dog at home with confidence.
Think of it this way: you wouldn’t use a slicker brush on a short-haired Vizsla any more than you’d use a de-shedding rake on a Poodle. Each tool is specialized. When you understand the purpose behind the clippers, combs, and brushes, you can tackle everything from a quick touch-up to a full-blown haircut safely and effectively.
It’s no surprise that at-home grooming is booming. Owners are more invested in their pets’ well-being than ever, and the market reflects that. The global pet grooming industry is expected to jump from $17.9 billion in 2025 to a staggering $42.8 billion by 2035. This isn’t just a trend; it’s a fundamental shift in how we care for our furry family members. You can dive deeper into these pet grooming industry statistics to see just how much the landscape has changed.
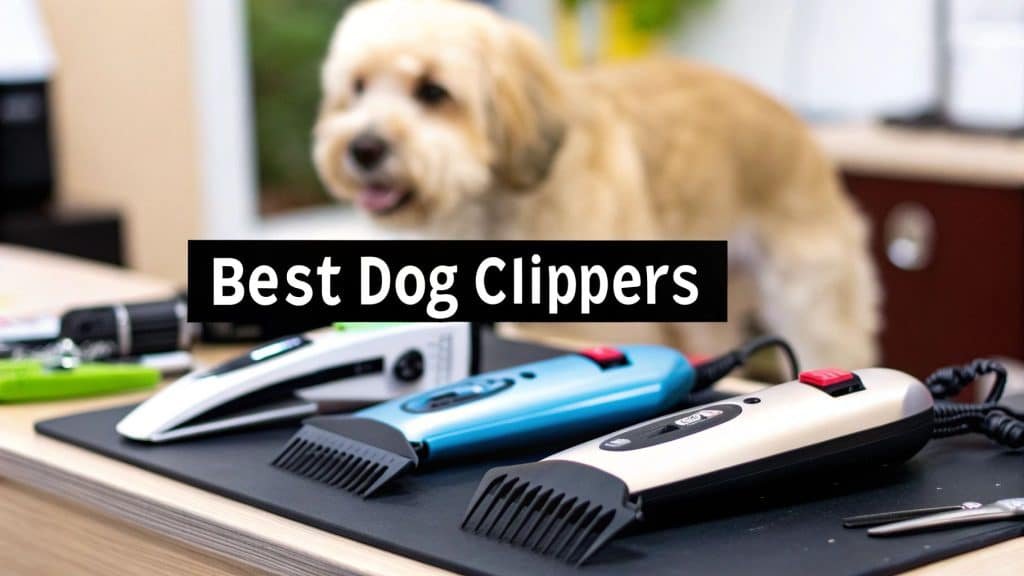
The image below breaks down the must-have tools you’ll find in almost any solid grooming kit.
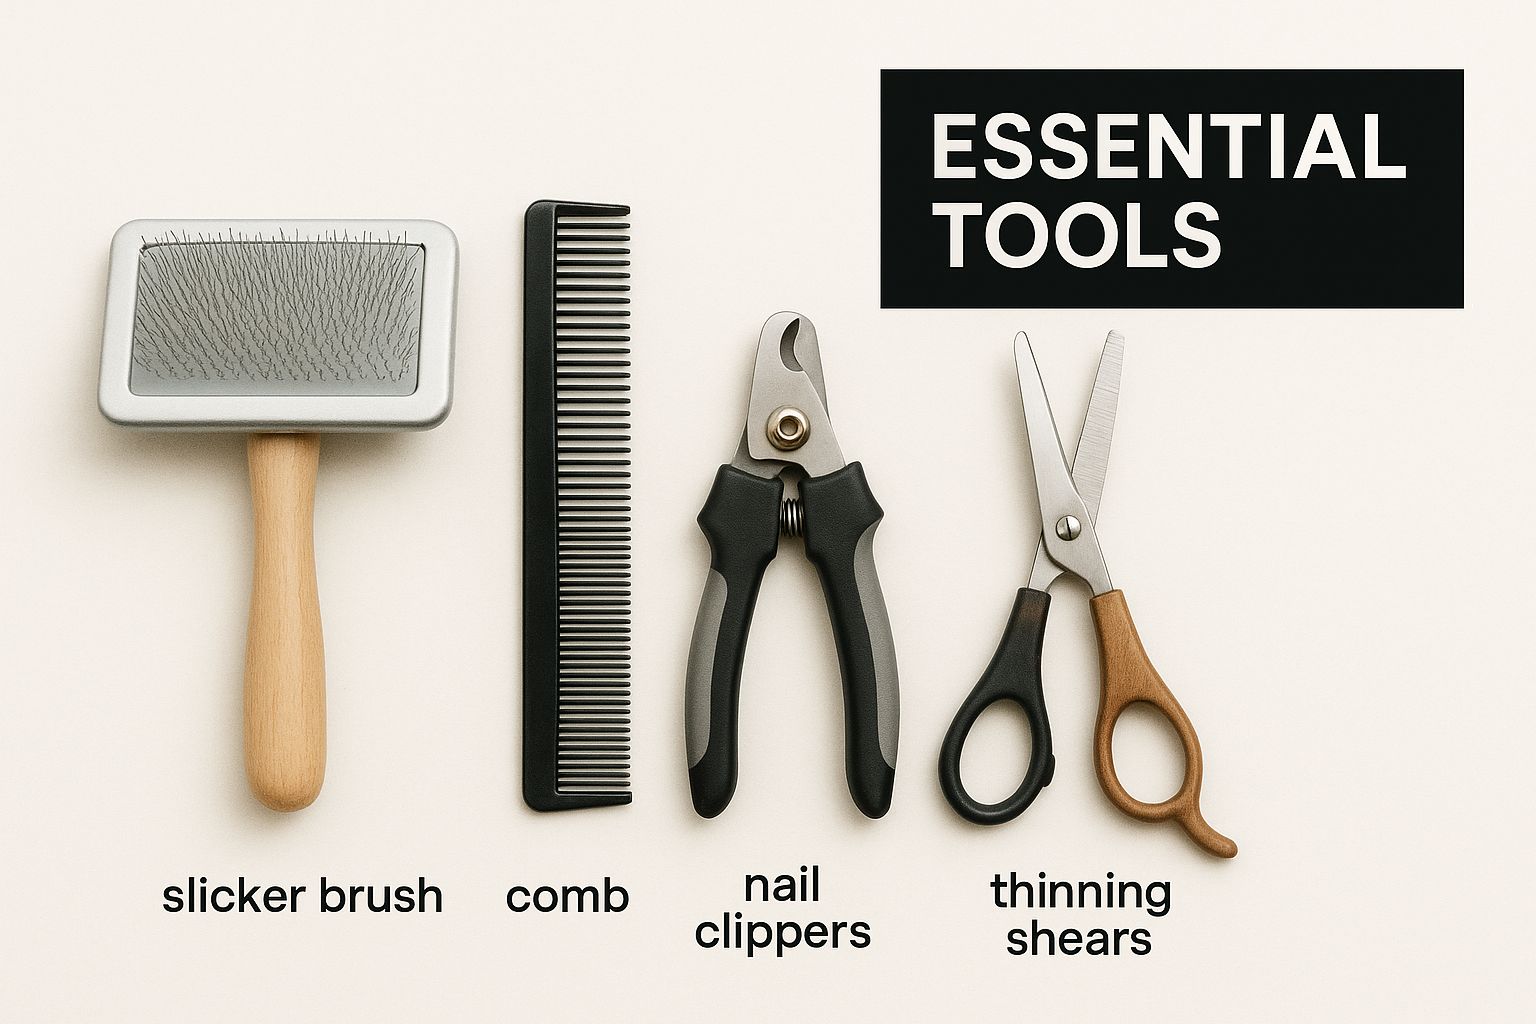
It’s a great visual guide that shows how clippers, brushes, and other essentials come together to form a complete grooming system for your dog.
To help you get familiar with your toolkit, let’s take a closer look at the key players and what they do.
To give you a quick cheat sheet, here’s a breakdown of the essential tools and what they’re best used for.
Essential Grooming Tools and Their Functions
| Grooming Tool | Primary Function | Best For Coat Types |
|---|---|---|
| Electric Clippers | Full-body haircuts and trimming dense fur. | Poodles, Schnauzers, and other breeds needing regular trims. |
| Grooming Scissors | Precision trimming, shaping, and detail work. | All coat types, especially around the face, paws, and tail. |
| Nail Clippers/Grinder | Keeping nails short to prevent pain and posture issues. | All breeds; clippers for decisive cuts, grinders for smoothing. |
| Slicker Brush | Removing tangles, mats, and loose undercoat fur. | Medium to long double coats (e.g., Golden Retrievers, Collies). |
| Pin Brush | General brushing to detangle and add shine. | Long, silky coats (e.g., Yorkshire Terriers, Maltese). |
| De-Shedding Tool | Reaching deep to remove large amounts of loose undercoat. | Heavy shedders with thick undercoats (e.g., Huskies, Labs). |
Knowing which tool to grab for which job is half the battle. Now, let’s dig into the specifics of each category.
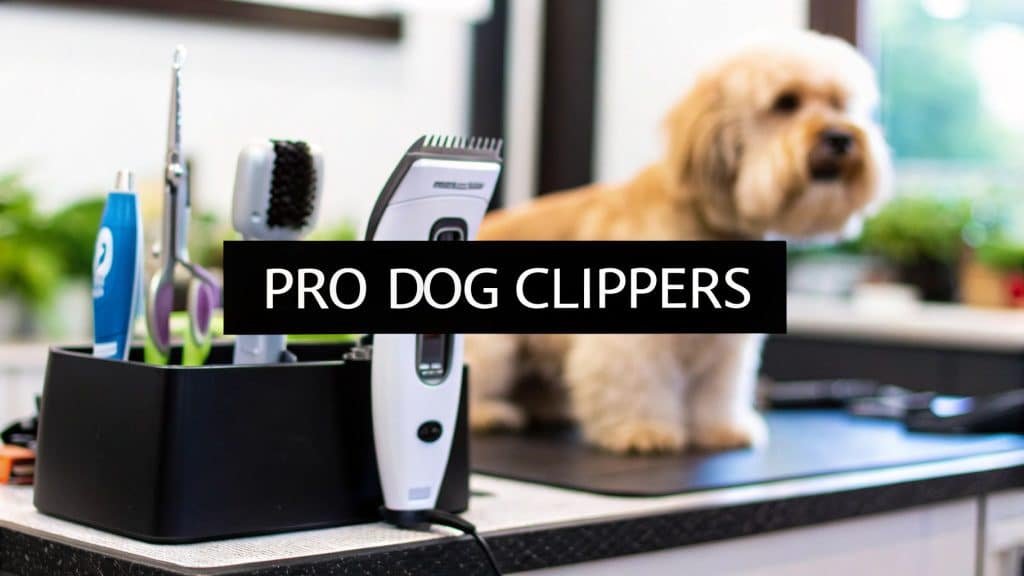
The Core Cutting Tools
These are the heavy hitters of your grooming kit—the tools that do the actual cutting and shaping.
- Electric Clippers: This is your go-to for giving your dog a full-body haircut. The best ones are quiet and have low vibration, which makes a huge difference for nervous pups. They almost always come with a set of guard combs, which are plastic attachments that snap onto the blade to let you control the length of the cut. It’s how you get that even, professional-looking trim without accidentally going too short.
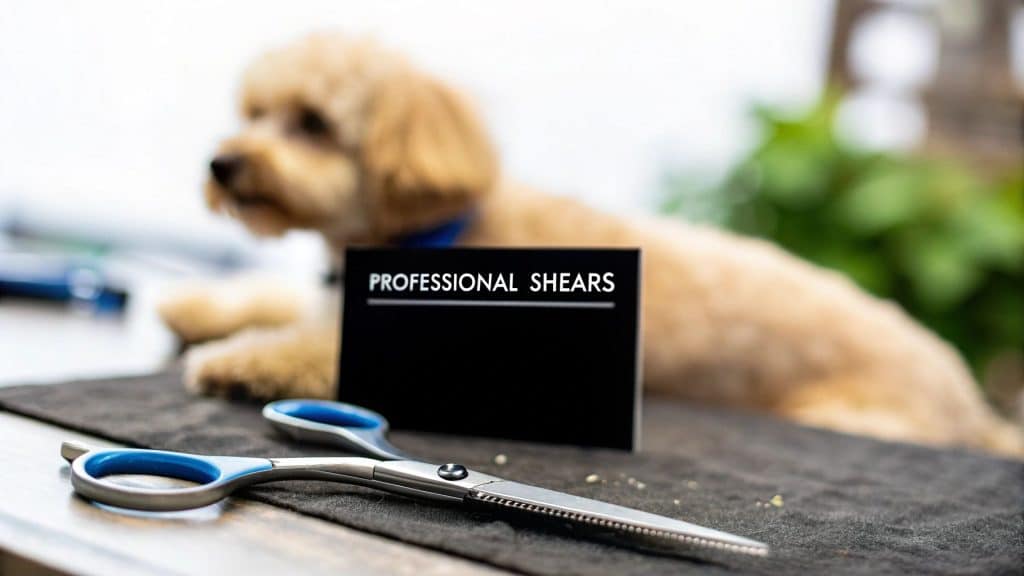
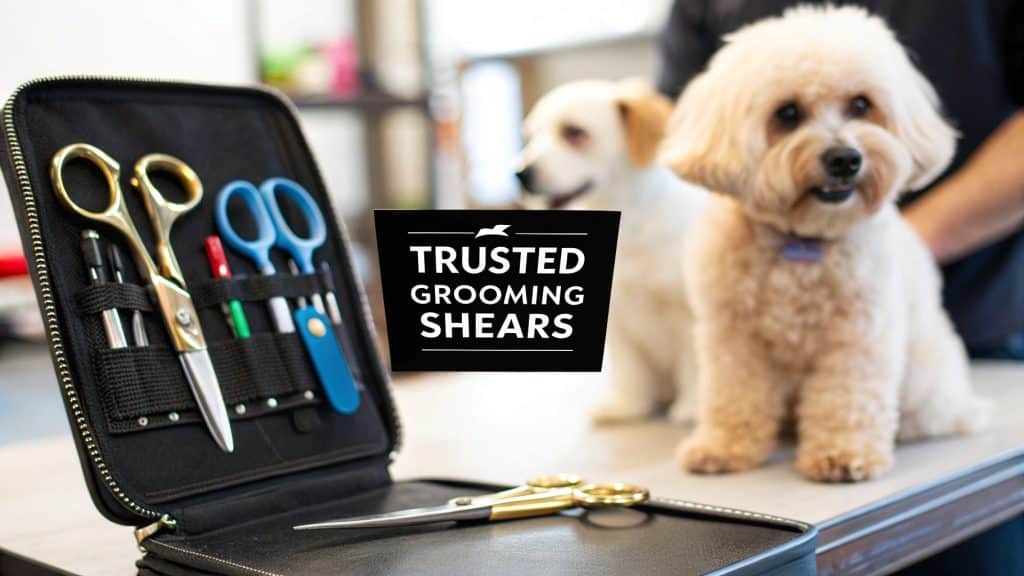
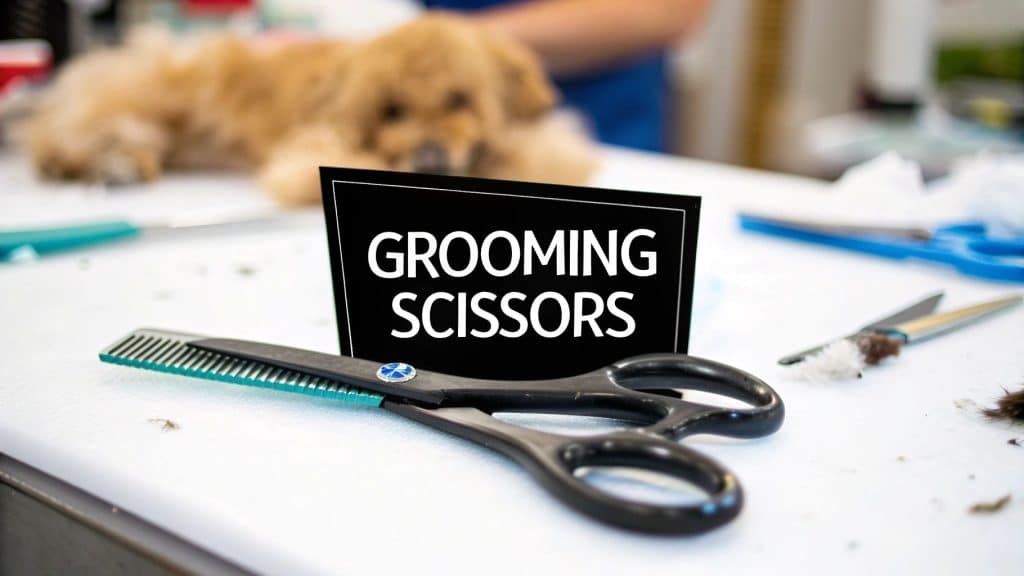
- Grooming Scissors: These are a world away from your kitchen or craft scissors. You’ll typically find a few types: straight scissors for clean lines, curved ones that are perfect for shaping around paws and ears, and thinning shears, which remove bulk and blend lines without leaving a choppy look.
- Nail Clippers or Grinders: This is non-negotiable for your dog’s health. Nails that get too long can actually change your dog’s posture and cause serious pain. Guillotine-style clippers are great for small- to medium-sized dogs, while the more robust scissor-style clippers are better for the thick nails of larger breeds. A nail grinder is a fantastic electric alternative that gently files the nail down, which many owners find less intimidating.
A word of warning for beginners: never, ever use human clippers or scissors on a dog. Our tools are not designed for their fur or anatomy. Dog-specific grooming tools are built to be safer and much more effective for their unique needs.
Brushes and Combs for Every Coat
Brushing isn’t just about making your dog look good. It’s crucial for their health—it gets rid of loose fur, stops painful mats before they start, and helps spread the natural oils that keep their coat shiny and their skin healthy. The right brush is completely dependent on your dog’s coat type.
Slicker Brush
If you have a dog with a medium or long coat, like a Golden Retriever or a Bernese Mountain Dog, this will be your best friend. It has a head full of fine, short wires that are absolute magic for working through tangles and removing loose fur from their undercoat.
Pin Brush
This one looks a lot like a standard human hairbrush. It’s the perfect choice for dogs with long, flowing, or silky coats, like an Afghan Hound or a Shih Tzu. The pins glide through the hair, fluffing it up and working out minor knots without snagging or breaking the delicate strands.
De-Shedding Tool
Own a Labrador, a German Shepherd, or a Husky? Then you need one of these. A de-shedding tool is specifically designed to get past the topcoat and rake out all that loose, dead fur from the dense undercoat. Using one of these regularly means significantly less fur on your couch, your clothes, and pretty much everywhere else.
Once you understand what each tool is for, your grooming kit stops being a confusing jumble of metal and plastic. It becomes a system you can use to keep your dog healthy, comfortable, and looking sharp.
Choosing the Right Grooming Kit for Your Breed
Picking out a grooming kit for your dog isn’t something you can just grab off the shelf. Think of it like this: you wouldn’t use the same tires on a city commuter car as you would on a monster truck built for the mud. The same logic applies here. The tools a Poodle needs for that thick, curly coat are a world away from what a sleek, short-haired Beagle requires.
The real trick is to look past the shiny box and think about your dog’s unique coat, personality, and specific grooming challenges. That high-powered, professional-grade clipper set might be perfect for a Standard Poodle, but it’s complete overkill for a tiny Chihuahua. Getting these details right from the start means you’ll end up with a kit that actually works and doesn’t just collect dust in a closet.
Coat Type: The Deciding Factor
Everything starts with your dog’s coat. A grooming kit that works wonders on a light shedder will be absolutely useless against the dense, woolly undercoat of a Siberian Husky.
- Double Coats (Huskies, German Shepherds, Retrievers): These guys need serious de-shedding tools. Look for kits with robust slicker brushes and undercoat rakes to tackle that thick inner layer. For a Lab, specifically, the right brush makes all the difference. You can learn more in our guide to the best brushes for Labrador Retrievers.
- Curly or Wiry Coats (Poodles, Terriers): Don’t skimp on the clippers. You need a model with a powerful motor that can glide through thick, coarse fur without snagging. A good slicker brush and a solid metal comb are also must-haves for keeping those dreaded mats at bay.
- Long, Silky Coats (Yorkshire Terriers, Maltese): A pin brush is your best friend here, as it gently works through tangles without snapping delicate hair. A pair of sharp, high-quality grooming scissors is also essential for those precise trims around the face and paws.
- Short, Smooth Coats (Beagles, Boxers): You can usually get by with something simple. A rubber curry brush or a grooming mitt is often all you need to pull out loose hair and give their skin a healthy massage. A full set of clippers is rarely necessary.
Key Features to Evaluate in a Kit
Once you’ve zeroed in on your dog’s coat type, it’s time to get into the nitty-gritty of the tools themselves. These are the features that separate a frustrating grooming session from a smooth, almost-professional one.
The most expensive kit isn’t always the best one for your dog. Focus on practical features that match your pet’s needs, such as a quiet motor for an anxious dog or cordless clippers for a pup that won’t sit still.
Take a hard look at the clipper motor. A magnetic or pivot motor is fine for light trims and touch-ups, but if you’re tackling a thick, heavy coat, you’ll want the power of a rotary motor. Then there’s the corded vs. cordless debate. Cordless clippers give you incredible freedom to move around, but corded models often deliver more consistent, unwavering power for the long haul.
It’s no surprise that more and more people are grooming their dogs at home, and the market reflects that. The dog grooming industry was valued at USD 1.53 billion in 2025 and is expected to climb to USD 2.61 billion by 2034. This boom is fueled by owners like you looking for great, convenient solutions, which thankfully means there are more high-quality kits to choose from than ever before. You can dive deeper into the dog grooming market on custommarketinsights.com.
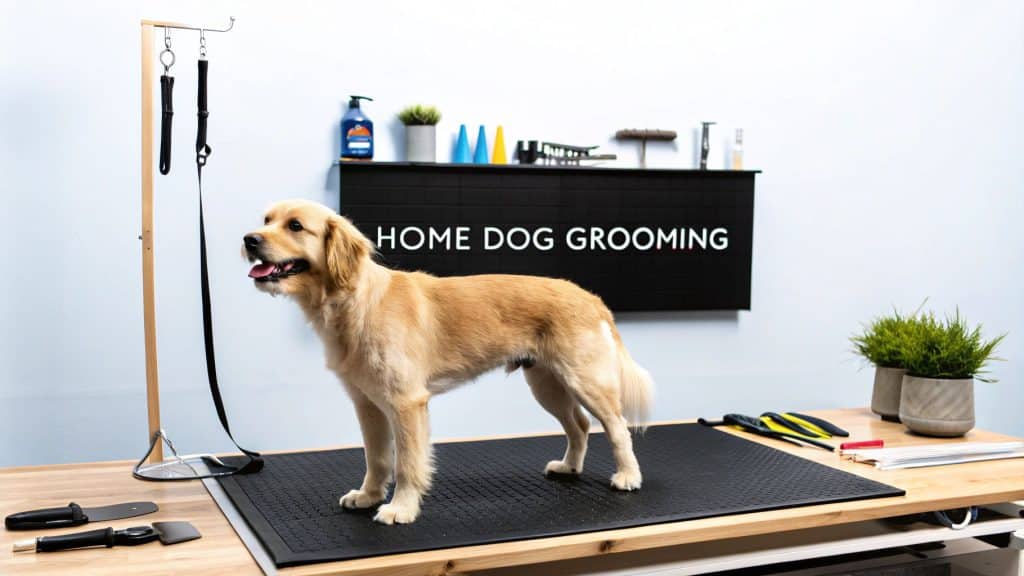
Your First At-Home Grooming Session, Step by Step

Alright, you’ve got your new pet grooming kit for dogs laid out and ready to go. The absolute key to making this a good experience for both of you is patience. Forget about getting it perfect the first time. Your only job is to make your dog feel safe, comfortable, and loved through the whole process.
Before a single tool touches their fur, set the mood. Put on some quiet music, lay down a towel or non-slip mat so they feel secure, and have a little pile of their favorite high-value treats within arm’s reach. Your goal here is to build a positive association with the grooming table right from the start.
Step 1: Prepping the Coat with a Thorough Brushing
Every great groom starts with a solid brush-out. Skipping this is like trying to paint a dirty wall—you’re just setting yourself up for a messy, frustrating job. Brushing gets rid of all that loose fur and dirt, but more importantly, it helps you find and work out any tangles or mats.
You simply can’t run clippers through matted fur; it’s painful for the dog and will jam the blades. Grab a slicker brush or an undercoat rake (whichever suits your dog’s coat) and work through the fur section by section. If you hit a snag, switch to a steel comb to gently tease it apart. Always hold the hair at the skin while you work on a tangle to prevent pulling.
Step 2: The Bathing and Drying Phase
Once your dog’s coat is completely tangle-free, it’s bath time. Stick with a shampoo made specifically for dogs and use lukewarm water. Be extra careful to keep soap and water out of their eyes and ears. Get a good lather going all the way down to the skin, and then rinse, rinse, and rinse again. Any shampoo left behind can really irritate their skin later.
Drying is just as critical as washing. First, towel-dry them as much as you can. Then, grab a pet-safe dryer and use it on a low, cool setting. The trick is to keep the nozzle moving constantly so you don’t heat one spot for too long and risk a burn. You’re aiming to get them 100% dry. Even slightly damp fur is a nightmare to clip and can lead to skin issues.
Step 3: Trimming and Clipping for a Clean Look
This is the part that makes most people nervous, but a little prep makes all the difference. Start with your electric clippers fitted with the longest guard comb you have. You can always take more hair off, but you can’t put it back on.
- Go with the grain. Always move the clippers in the same direction that the hair grows. This gives you a much smoother, more natural finish and avoids irritating the skin.
- Keep the blade flat. Let the clipper blade glide flat against your dog’s body. If you angle it, you risk accidentally nicking their skin.
- Take it slow. Use long, confident strokes instead of short, choppy ones. Let the clippers do the heavy lifting—no need to apply a lot of pressure.
For delicate areas like their face, paws, and sanitary spots, switch to your grooming scissors. Always, always point the scissors away from your dog. A great pro tip is to use your other hand or fingers as a physical barrier between the blades and their skin for an extra layer of safety.
A calm dog is a safe dog. Watch for signs of stress, like excessive yawning, lip licking, or trying to hide. If your dog seems overwhelmed, it’s always better to take a break and finish the groom later.
Step 4: Finishing with Nail and Ear Care
Now for the finishing touches. When it comes to nails, use either a grinder or clippers and just take off the very tips. The goal is to avoid the “quick,” which is the blood supply inside the nail. If you do accidentally nick it, a little styptic powder will stop the bleeding right away.
Last but not least, give their ears a quick check. Wipe out the visible parts of the ear with a cotton ball dampened with a vet-approved cleaning solution. Never stick anything, not even a cotton swab, down into the ear canal. Healthy ears should look clean and have no funky odor.
And that’s it! Step back and admire your handiwork. You’ve just successfully completed your first at-home groom.
Keeping Your Grooming Tools in Top Condition
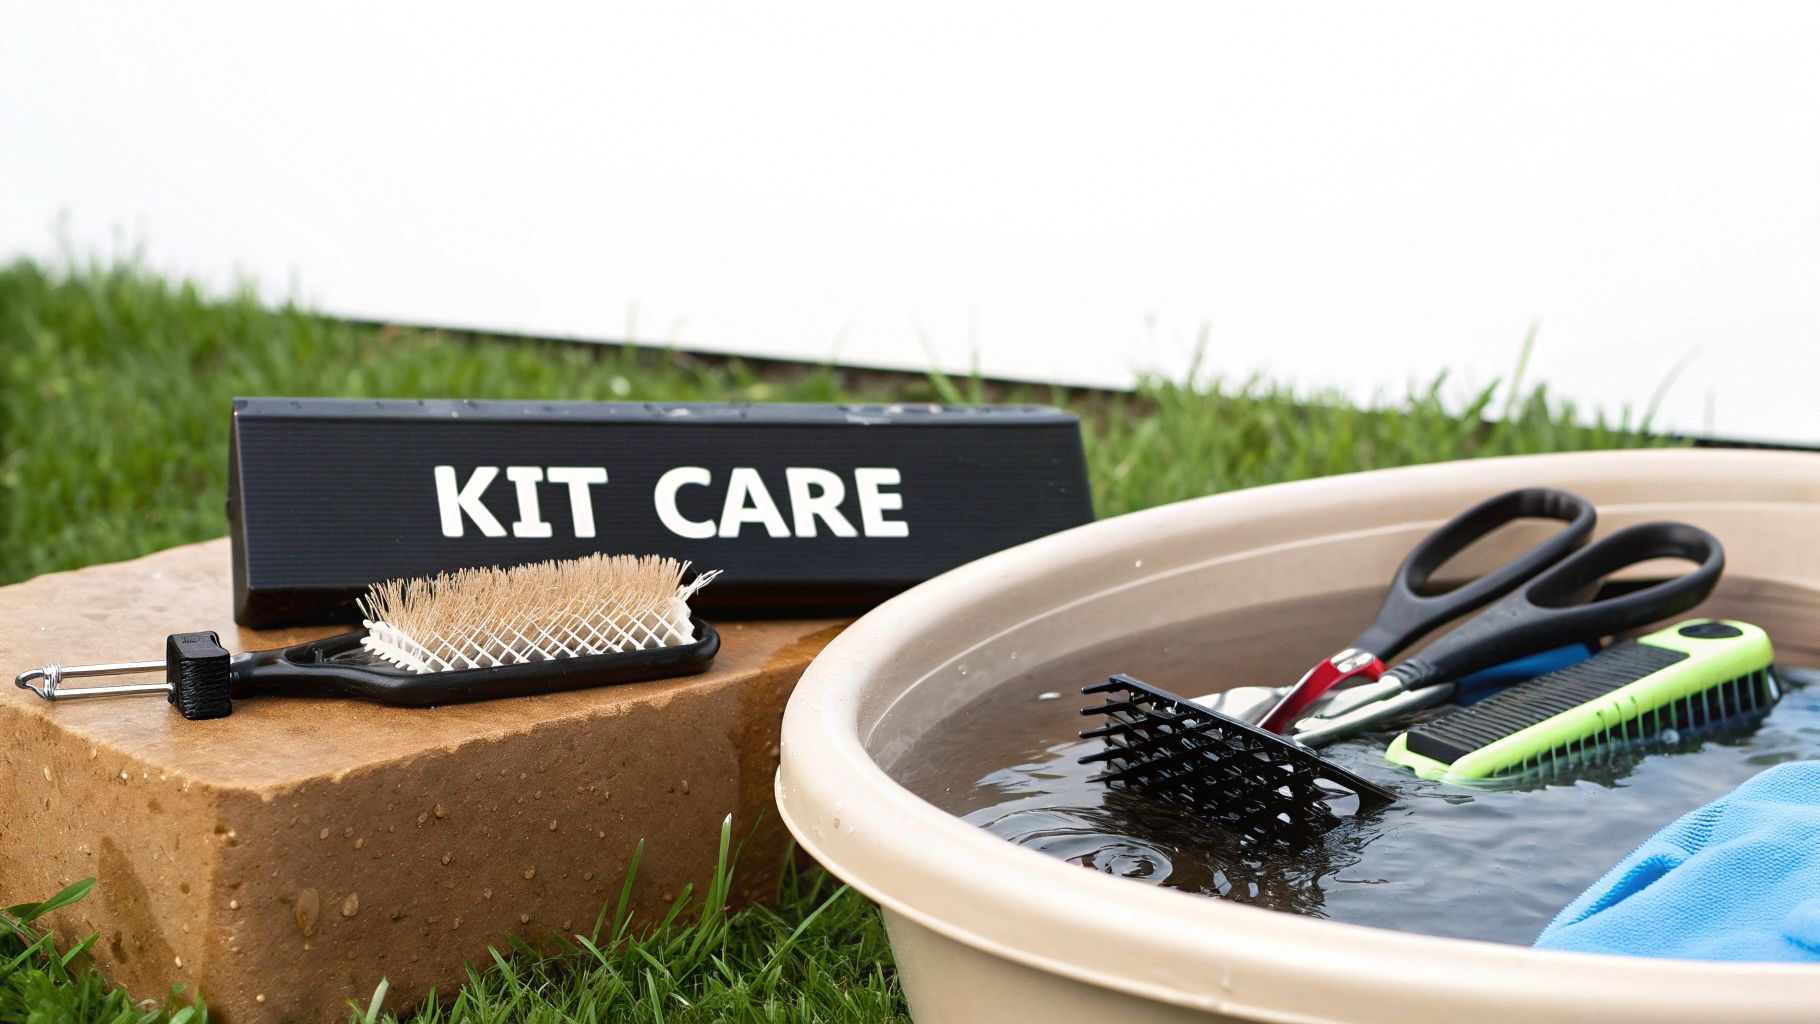
Think of your pet grooming kit for dogs as a long-term investment in your furry friend’s health and happiness. To get the most out of that investment, you need to treat your tools right. Proper maintenance isn’t just about making them last longer; it’s about keeping every groom safe and comfortable for your dog.
Dull or dirty tools can pull at fur, irritate the skin, and just plain don’t work well. It’s like a chef trying to slice a tomato with a butter knife—frustrating and ineffective. The good news is, keeping your gear in prime condition is easy and only takes a few minutes after you’re done grooming.
The trend of at-home grooming has absolutely exploded. The global market for pet grooming services was valued at USD 6.89 billion in 2024 and is expected to soar to USD 134.71 billion by 2030, according to Grand View Research. This massive growth shows just how many pet owners are taking grooming into their own hands, making reliable home kits more important than ever.
Caring for Clippers and Blades
Clippers are the heart of most grooming kits, and their blades demand the most attention. A little bit of care goes a long way in preventing rust, keeping them sharp, and making sure the motor doesn’t burn out.
Make this your post-grooming ritual:
- Brush Them Out: First thing’s first, get all the hair out. Use a small brush to clear fur from the blades and any air vents on the clipper body. Clogged hair is a quick way to an overheated motor.
- Sanitize: Give the blades a quick wipe with a disinfectant made for clippers. This zaps any lingering bacteria and helps prevent skin infections next time.
- Oil, Oil, Oil: With the clippers running, put just two or three drops of blade oil across the teeth. This is the most crucial step for reducing friction and keeping the blades from getting too hot.
If you do only one thing, oil your blades. It’s what keeps them cutting like new and takes the strain off the motor, which can dramatically extend the life of your clippers.
When it’s time to find a replacement blade or maybe upgrade your whole setup, you can browse a complete collection of grooming and cleaning supplies to see what’s available.
Finally, don’t forget about storage. Tossing your kit in a damp bathroom or garage is a recipe for rust. Keep it in a cool, dry place so it’s always ready for a flawless groom.
Got Questions About Grooming Your Dog? We’ve Got Answers
Stepping into the world of at-home grooming can feel a little daunting. Even with the best pet grooming kit for dogs sitting on your counter, you’re bound to have some questions. That’s perfectly normal! Let’s walk through some of the most common worries so you can start grooming like a pro.
The first thing most people wonder is, “How often do I actually need to do this?” There’s no single answer—it really comes down to your dog’s breed, coat, and how much they love rolling in the mud. A fluffy Poodle, for example, will likely need a full trim every 4-6 weeks. On the other hand, a Beagle with a short, slick coat might just need a good bath and brush every couple of months.
Some jobs, however, are on a more frequent schedule. You’ll want to brush your dog a few times a week, no matter the breed, to keep mats at bay and cut down on shedding. And those nails? As soon as you hear that familiar “click-clack” on your hardwood floors, it’s time for a trim.
Is It Okay to Use My Own Clippers or Scissors on My Dog?
I get this question all the time, and the answer is a hard no. It’s tempting to just grab the tools you already have, but they are not built for dogs and can even be dangerous.
Human hair clippers, for instance, can get very hot, very fast, which can easily burn a dog’s sensitive skin. Plus, their blades just aren’t designed for thick canine fur and will pull and snag, making for a miserable experience.
Your scissors are just as risky. The blade angle is all wrong for a dog’s coat, and they aren’t designed with the same safety features as grooming shears. It’s much safer to stick with the tools made specifically for pets—they’re designed for both effectiveness and your dog’s comfort.
My Dog Hates the Clippers. What Can I Do?
This is a big one. That buzzing sound and vibration can be really scary for a lot of dogs. The trick is to slowly and patiently show them that the clippers are nothing to fear. It’s all about building a positive association.
Start with the clippers turned off. Just let your dog sniff them and give them a super tasty treat for being brave. Do this for a few short sessions until they seem relaxed just having the clippers around. Then, you can try turning them on for just a second, tossing a treat, and turning them right back off. Over time, you can gradually leave them on for longer, always pairing the sound with lots of praise and delicious rewards.
The golden rule here is to never force it. You want to build trust, not fear. A little patience goes a long way in turning a stressful situation into a positive one for both of you.
When Should I Leave It to a Professional Groomer?
Having a great pet grooming kit at home is fantastic for routine maintenance, but sometimes, you really do need an expert. If your dog has severe mats that are pulled tight against the skin, trying to get those out yourself can be incredibly painful and even cause injury.
Likewise, if your dog becomes extremely anxious or aggressive about grooming no matter how patiently you work with them, a professional groomer is your best bet. They have the training and specialized equipment to handle difficult situations safely. Don’t think of it as giving up; think of it as having a trusted partner in your dog’s care.
Ready to find the perfect tools to start your at-home grooming journey? Explore our full collection at Ur Pet Store and discover a range of high-quality grooming kits and supplies designed for every breed. Find your ideal grooming kit now