

Blog
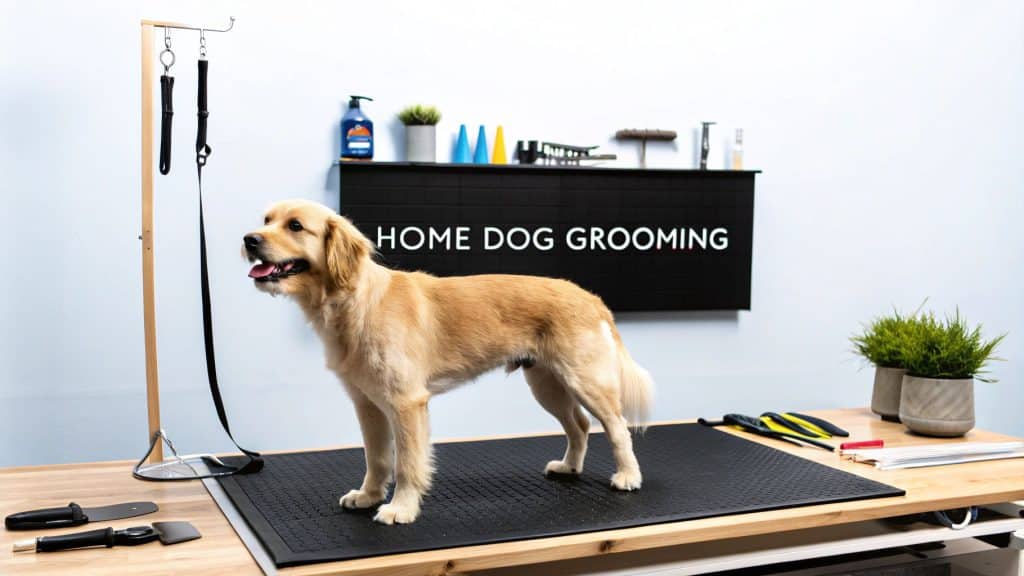
A Guide to Dog Grooming Scissors
Picking the right dog grooming scissors is probably the most critical decision you’ll make before you even think about starting to trim. Seriously, a quality pair of shears is the difference between a smooth, safe grooming session and a choppy, stressful ordeal. Investing in the proper tools from the very beginning will not only make your dog look better but also keep them more comfortable.
Why Your Choice of Scissors Matters
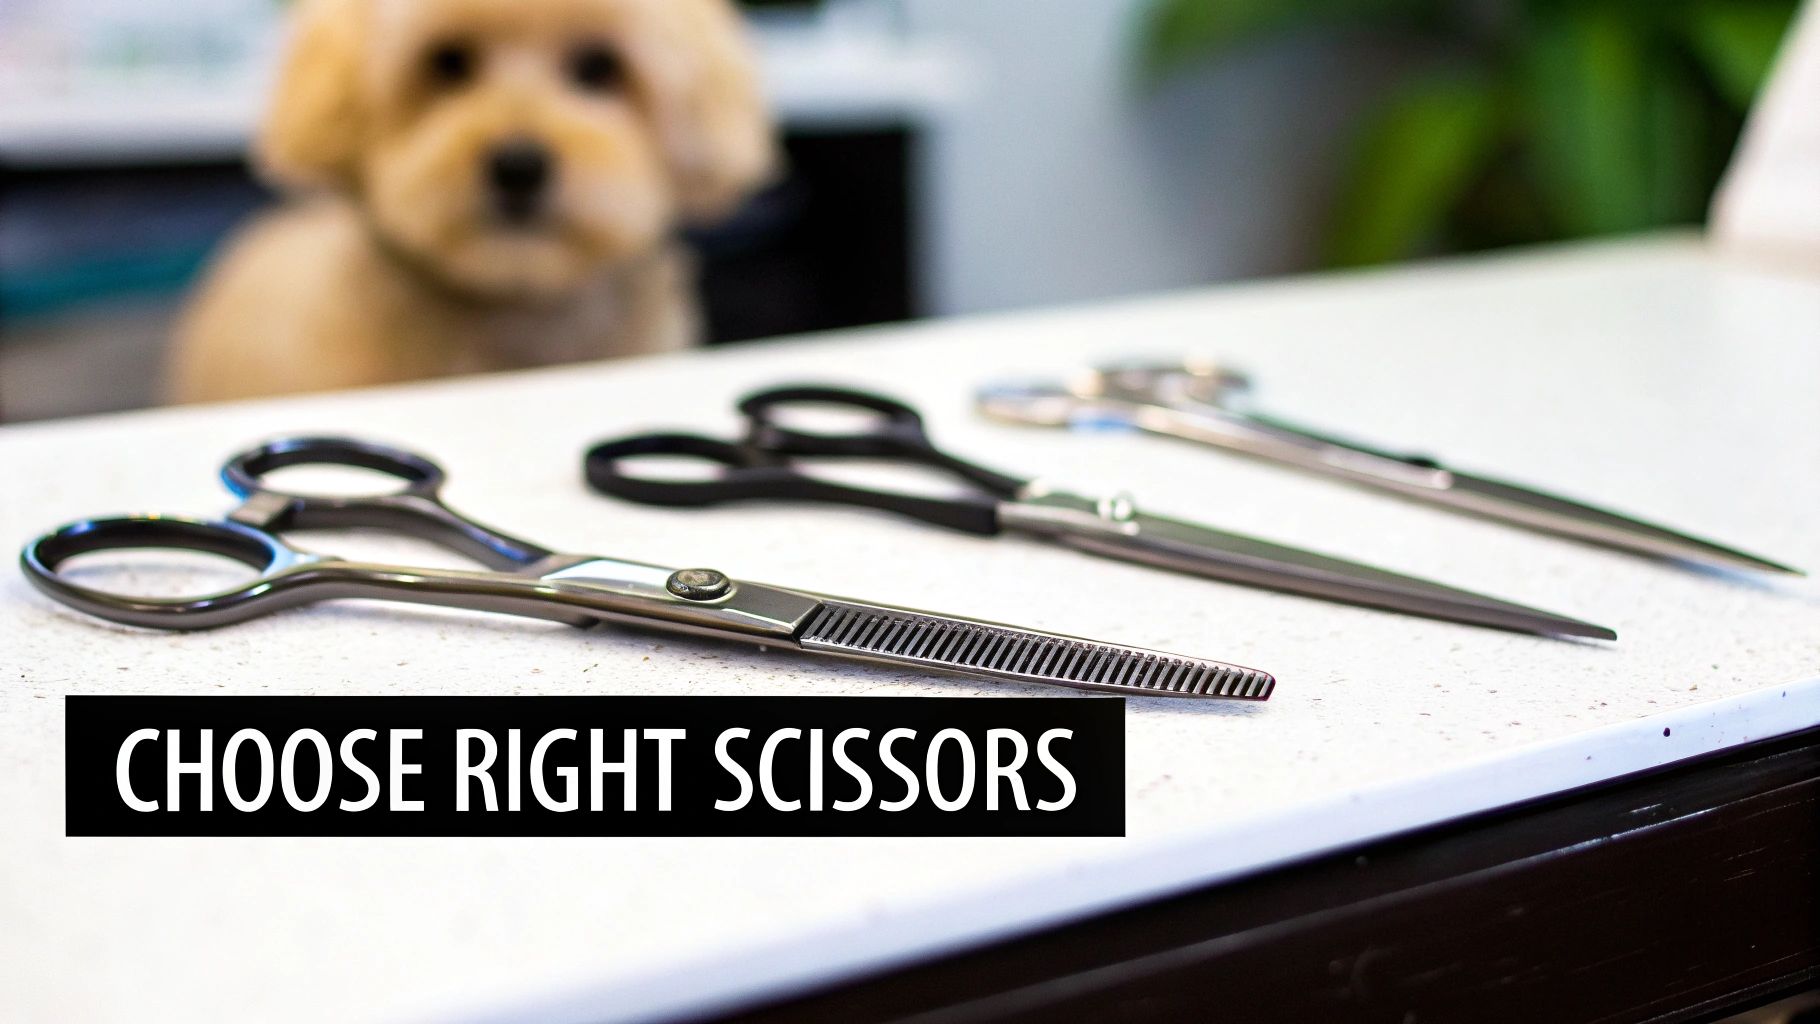
Before you make that first cut, it’s essential to realize that not all scissors are the same. Grabbing any old pair from a drawer can lead to a lot of frustration, an uneven cut, and, worst of all, potential injury to your dog. The goal is to find scissors that feel like they were made for your hand and are designed for your dog’s specific coat and the look you’re trying to achieve.
This isn’t just a niche concern anymore. The focus on specialized grooming tools has exploded. The global dog grooming market, which includes tools like scissors, was valued at $1.53 billion in 2025 and is expected to climb to $2.61 billion by 2034. That huge jump shows just how much owners care about using the right gear for their pets. You can read the full analysis on the dog grooming market to see the trends for yourself.
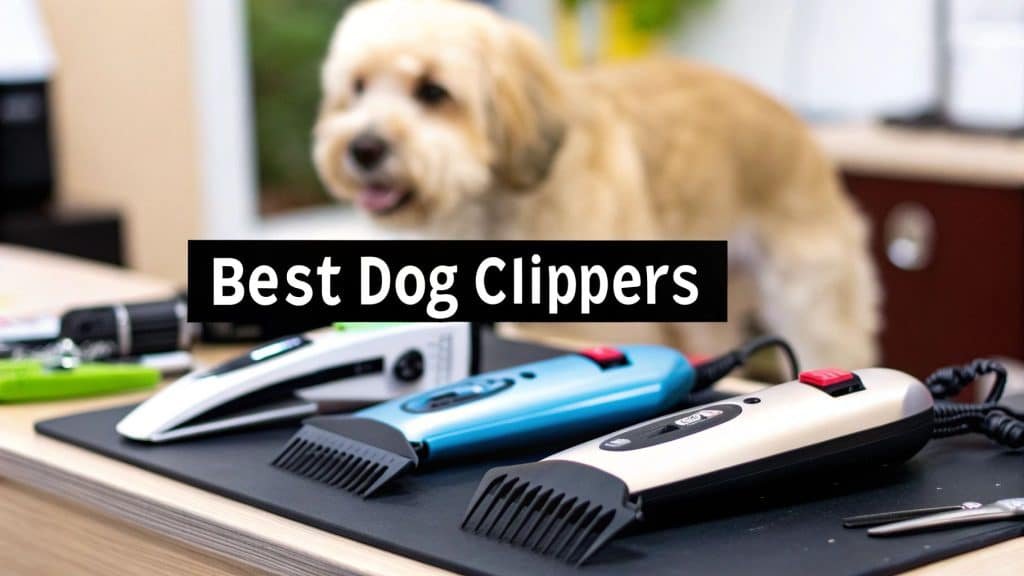
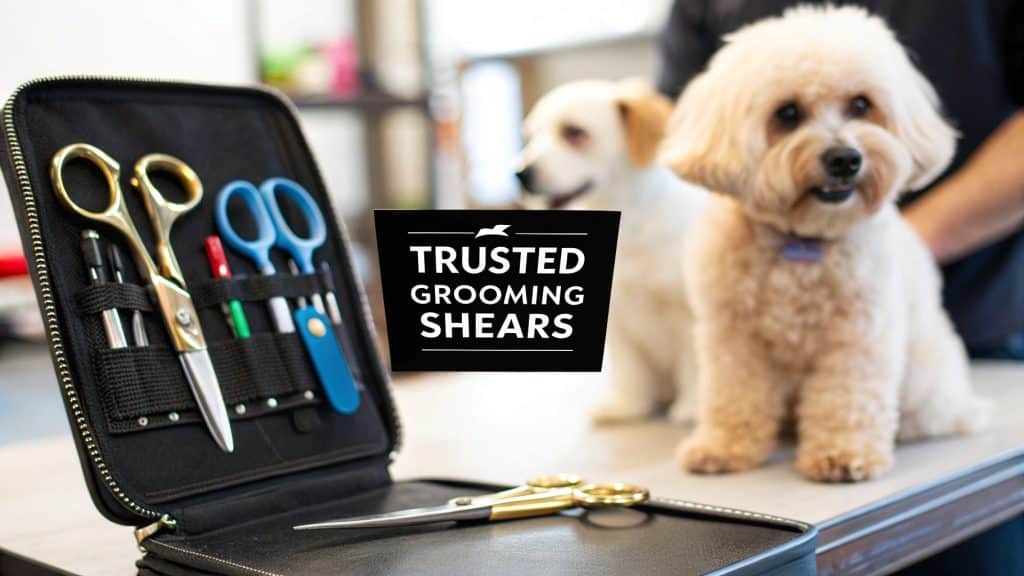
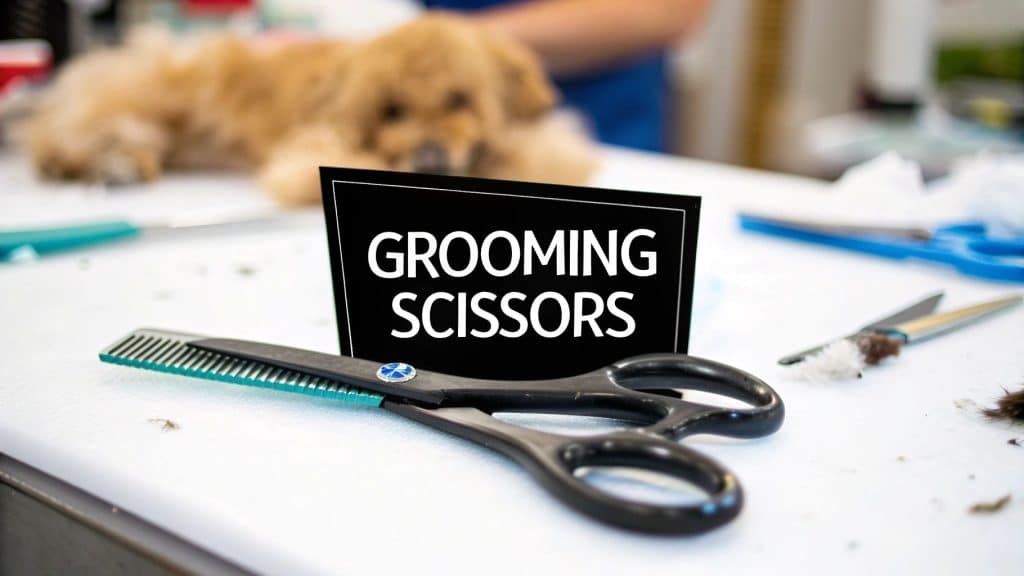
The Main Types of Dog Grooming Scissors
Let’s break down the essential types of scissors you’ll come across. Each one has a specific job, and most good grooming kits will have a few different pairs. Knowing what each one does is the secret to getting that polished, professional look at home.
To make it easier, here’s a quick rundown of the main players and what they’re used for.
Quick Guide to Dog Grooming Scissor Types
| Scissor Type | Best For | Ideal for Breeds Like |
|---|---|---|
| Straight Scissors | Creating straight lines, setting patterns, and general trimming. The all-around workhorse. | Shih Tzu, Maltese, Yorkshire Terrier |
| Curved Scissors | Shaping and contouring rounded areas like paws, faces, and topknots. | Poodles, Bichon Frise, Doodles |
| Thinning Shears | Removing bulk, softening harsh lines, and blending different coat lengths seamlessly. | Golden Retrievers, Collies, Shelties |
| Chunkers | Removing more hair than thinners to create texture and a natural, less-manicured finish. | Schnauzers, Terriers, Doodles |
Having at least a couple of these on hand will make a world of difference in the quality of your grooms.
The biggest mistake I see beginners make is trying to use a single pair of scissors for everything. A small investment in a basic set—at the very least, a straight and a curved pair—will dramatically improve your results and make the whole process feel less intimidating.
Matching Scissors to Your Dog’s Coat
The right scissors aren’t just about the cut; they’re about working with your dog’s coat, not fighting it.
Think about it this way: for a Shih Tzu with a silky, straight coat, a pair of long, straight shears will give you that beautiful, smooth finish. But if you try using those same shears on a Doodle’s curly coat, you’ll end up with a choppy, uneven mess. For that fluffy “teddy bear” look, curved scissors and chunkers are your best friends.
Always consider the specific task. Trimming the hair around a Corgi’s rounded paws is much safer and easier with a small pair of curved shears. If you tried that same job with long, straight scissors, you’d be increasing the risk of accidentally nicking your dog’s skin. When you match the tool to the breed and the body part, you’re setting yourself up for a much more successful and stress-free groom.
Getting Your Dog Ready for a Grooming Session
A great grooming session doesn’t start when you pick up your dog grooming scissors; it begins long before that. The real secret to a safe, calm, and successful trim is all in the prep work. If you set the stage correctly, your dog will feel much more secure, making the whole thing a better experience for both of you.
First things first, you need to create a peaceful environment. Find a quiet room where you won’t be interrupted by the usual household chaos—that means no running kids or a blaring TV in the background. This is especially important for dogs who get a little nervous. A comfy, safe space can make all the difference. If your dog struggles with anxiety, creating a soothing environment is a game-changer, which we talk more about in our guide to the best dog beds for anxiety.
Next, break out the good stuff: high-value treats. You want your dog to associate the grooming tools with something amazing. Let them sniff the closed scissors, then give them a treat. Gently open and close the scissors so they can hear the soft snipping sound, and follow it up with another reward. This is a classic desensitization technique, and it works wonders to show them that these strange metal objects are friends, not foes.
The Prep Work You Absolutely Can’t Skip
Before a single hair gets trimmed, your dog needs a thorough wash, dry, and brush-out. This part is non-negotiable. Trying to cut a dirty or matted coat isn’t just hard—it’s a recipe for disaster. Dirt and grime will dull your scissor blades in a heartbeat, and scissoring through mats will painfully pull your dog’s skin, which can easily lead to nicks or irritation.
Start with a good-quality dog shampoo, rinse every bit of it out, and then get their coat completely dry. A damp coat is impossible to cut evenly, and you’ll end up with a choppy, amateur-looking finish. Once they’re dry, brush out every single tangle. You should be able to glide a comb smoothly through their fur from root to tip before you even think about picking up your scissors.
A clean, tangle-free coat is your canvas. Without it, even the most expensive dog grooming scissors will fail to deliver a smooth, professional-looking cut. This step protects your dog from discomfort and your tools from damage.
Setting Up Your Grooming Station
With your dog clean, fluffy, and hopefully relaxed, it’s time to get your station ready. The key here is to have everything you need within arm’s reach. You don’t want to be scrambling for a comb or leaving your dog unattended on a grooming table while you search for treats. That just adds unnecessary stress.
Here’s a quick checklist of what I always have on hand:
- Your Scissors: Have your main straight or curved shears ready, along with your thinning shears for blending.
- A Comb: You’ll need this constantly to lift the hair as you cut, which is crucial for getting an even length.
- High-Value Treats: Keep them close by to reward your dog for staying calm and cooperative.
- A Non-Slip Mat: If you’re working on a table or elevated surface, a mat is a must-have for secure footing. It makes dogs feel much safer.
Taking a little extra time to prepare both your dog and your workspace can completely change the grooming dynamic. It shifts it from a dreaded chore to a manageable, and sometimes even enjoyable, bonding activity. This thoughtful approach builds trust and sets both of you up for a much better haircut.
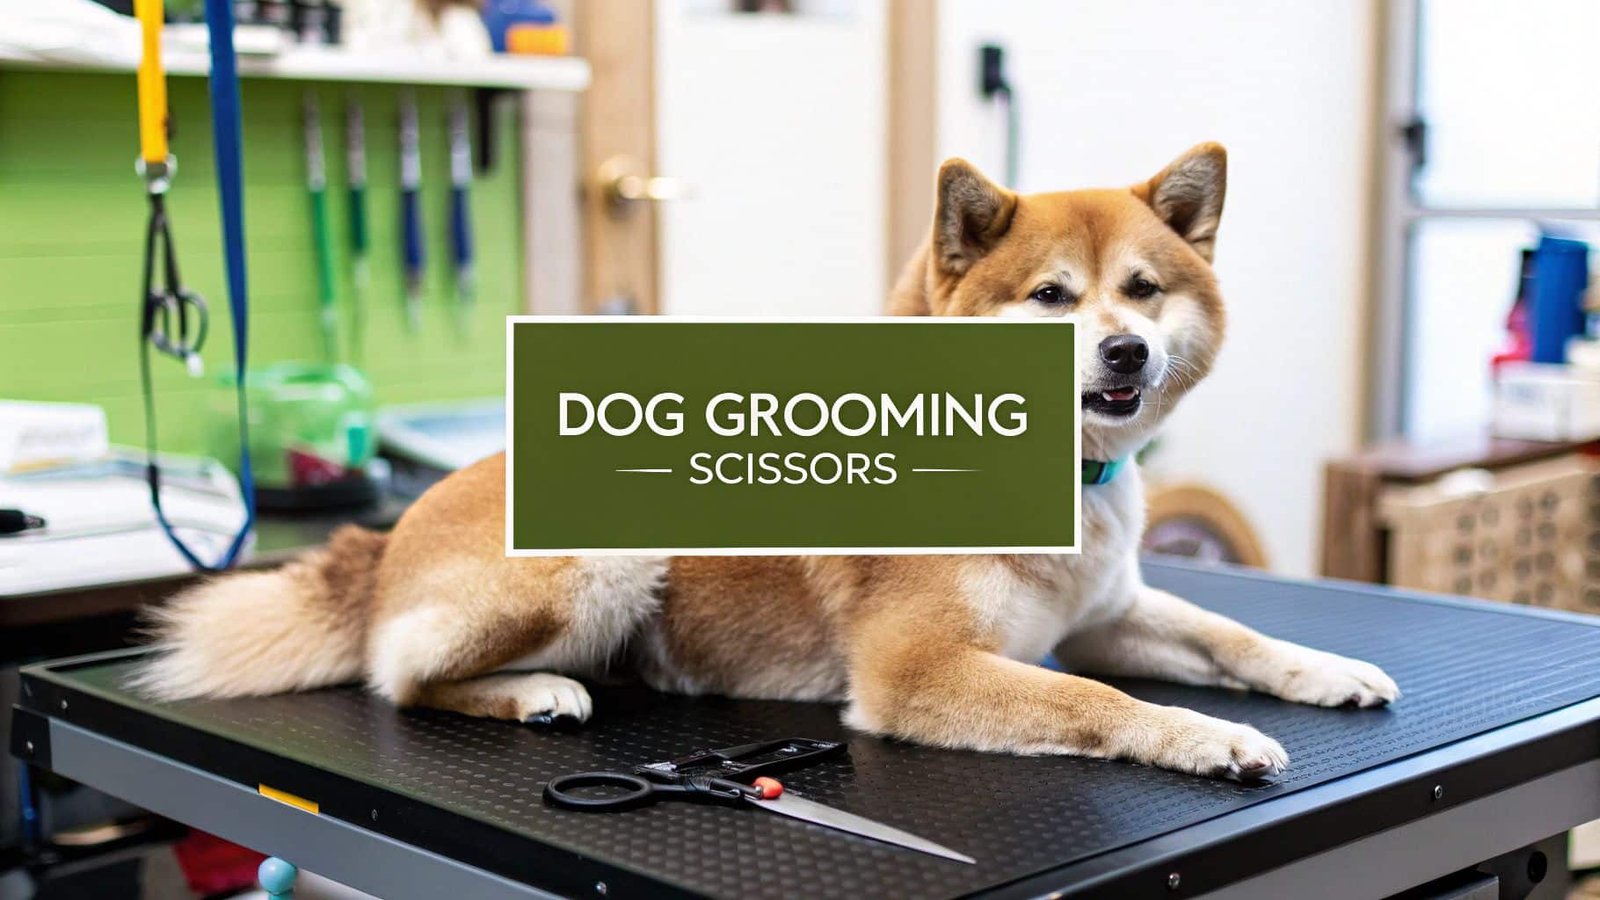
Getting Started with Basic Scissoring Techniques
Alright, you’ve got a clean, brushed dog and your new scissors are ready to go. Now for the first snip. Let’s be clear: mastering the art of scissoring isn’t about speed. It’s all about control, safety, and building your confidence (and your dog’s!). Nail these core movements, and you’ll have a solid foundation for every groom from here on out.
First things first, let’s talk about how you hold the scissors. This might sound trivial, but it’s the key to everything. A proper grip gives you maximum control and stops your hand from cramping up during a long session. Don’t slide your first and second fingers through the rings. Instead, use your thumb and ring finger. Trust me, this grip provides so much more stability and precision.
The Comb and Cut: Your Go-To Method
If you learn only one technique, make it this one. The “comb and cut” is the secret to getting that smooth, even finish that pros make look so easy. It’s exactly what it sounds like: you lift a section of hair with your comb and cut whatever sticks out beyond the teeth. Simple, right?
This method is brilliant for two reasons. First, it acts as a physical barrier, keeping the sharp blades safely away from your dog’s skin. Second, it helps you create a beautifully uniform length. Say you’re trimming the fur on a leg. You’d run the comb up through the coat, against the direction the hair grows, and just snip off the excess. No more choppy, amateur-looking cuts.
Of course, the best scissoring happens long before you even pick them up. The prep work is what makes the final result possible.
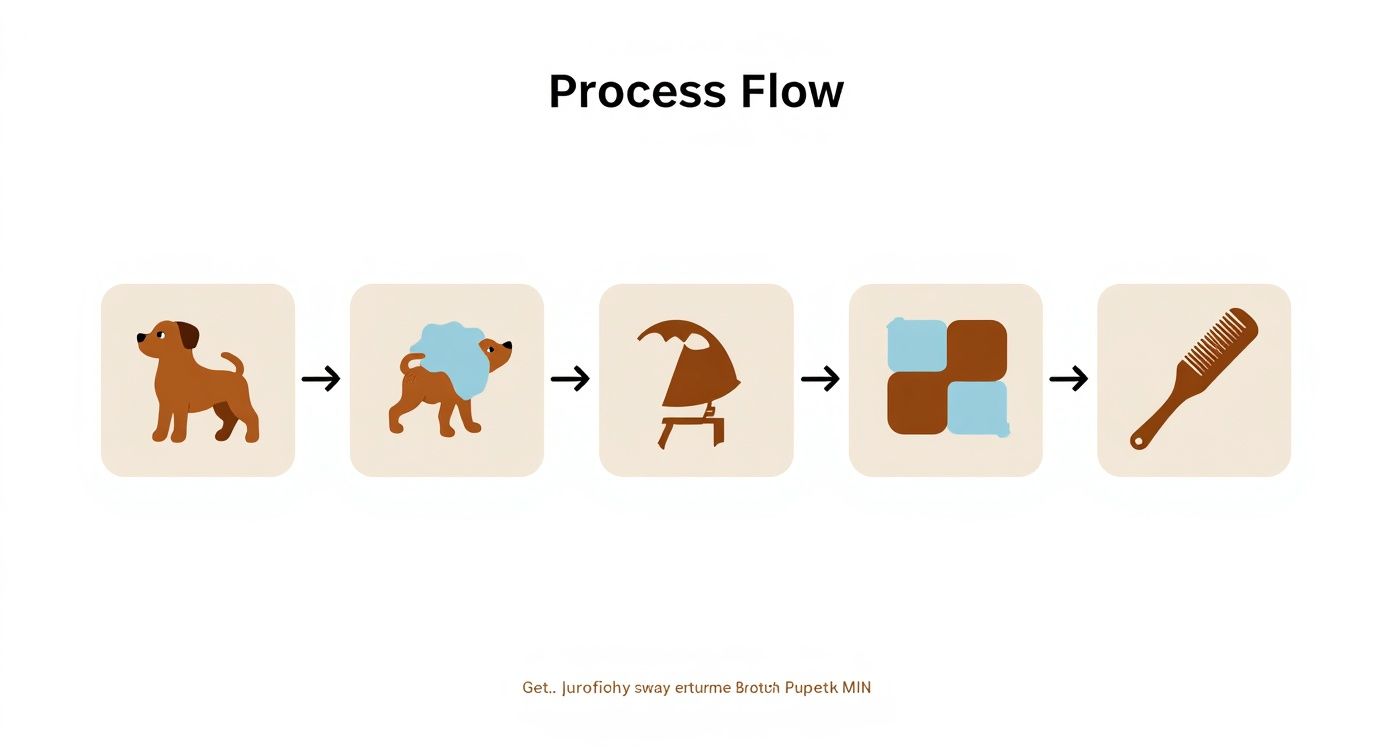
As you can see, a successful trim starts with a calm dog, moves through a good wash and a thorough brush-out, and only then do you get to the scissoring. It’s all about creating the perfect canvas.
Handling the Tricky Spots with Care
Some areas on a dog require extra caution and a different game plan. When you’re working around the face, ears, paws, and tail, using the right tool and technique isn’t just a suggestion—it’s essential for safety.
Trimming Around Paws and Pads
- For in between the paw pads, grab your small, blunt-tipped curved scissors. They give you way better maneuverability and an added layer of safety.
- Gently spread the toes and trim the hair so it’s level with the pads. Always, always point the scissors away from the skin.
- To neaten up the top of the paw, comb the hair upwards and use your curved shears to create a nice, rounded shape that follows the foot’s natural curve.
Shaping the Ears and Face
- Here’s a non-negotiable safety tip: use your non-dominant hand as a guard. Place your fingers or thumb between the scissor blade and the edge of the ear leather. It’s a physical block that makes it impossible to accidentally nick the ear.
- Around the eyes, reach for your thinning shears instead of making sharp, straight cuts. This softens the hair for a much more natural look and is infinitely safer.
A quick but important note: The quality of your tools makes a world of difference in both safety and the final look. A sharp, well-balanced pair of scissors will cut cleanly without pulling hair. That’s more comfortable for your dog and gives you far better control.
The grooming industry has really stepped up in this area. We’re seeing a huge trend towards premium, ergonomic scissors, with some even featuring vibration dampening to reduce hand fatigue. This push for better equipment is making at-home grooming safer and more effective for everyone. If you’re curious, you can discover more insights about premium grooming tools and see how they’re changing the game. Better tools really do help you get professional results with more confidence.
Advanced Techniques for Different Coat Types
Once you’ve got the basics down, you’ll quickly realize that a truly great groom isn’t a one-size-fits-all deal. You just can’t use the same approach on a Poodle that you would on a Golden Retriever and expect the same results. Mastering your scissors is all about understanding the nuances of different coat textures and adapting your tools to get that polished, breed-specific finish.
This kind of specialized care is becoming the new standard. The global pet grooming industry, which covers everything from salon services to top-tier dog grooming scissors, was already valued at around $17.9 billion in 2025 and is on track to hit an incredible $42.9 billion by 2035. This boom shows just how much owners are willing to invest in giving their pets the best. If you’re curious, you can discover more insights about the pet grooming industry’s growth on dojobusiness.com to see the full picture.
To help you get started, here’s a quick reference guide for matching scissors to common coat types.
Coat-Specific Scissor Recommendations
This table breaks down which scissors work best for different coat textures, helping you achieve a professional-looking result every time.
| Coat Type | Primary Scissor | Secondary Scissor | Grooming Goal |
|---|---|---|---|
| Thick Double Coat | Thinning Shears | Straight Shears | Debulk specific areas and neaten guard hairs. |
| Silky & Straight | Long Straight Shears | Thinning Shears | Create clean, sharp lines and a smooth finish. |
| Curly & Wavy | Curved Shears | Chunkers | Shape, round, and add texture for a soft look. |
| Wiry/Terrier Coat | Straight Shears | Thinning Shears | Tidy up furnishings and blend hand-stripped areas. |
Remember, this is a starting point. The real magic happens when you get a feel for how each tool works on your dog’s unique fur.
Working with Thick Double Coats
If you have a Bernese Mountain Dog, Husky, or Lab, you know all about that dense undercoat. Your goal here is never to cut into that fluffy underlayer—it’s essential for keeping them warm in the winter and cool in the summer. Instead, your focus should be on tidying up the longer guard hairs and reducing bulk.
Thinning shears are your go-to tool for this job. They’re perfect for selectively taking out some weight from bulky areas, like the “ruff” around the neck or the feathery “pants” on their hind legs. Always comb the hair out first, then snip in the same direction the hair grows. This creates a beautifully seamless, natural blend. Keep in mind, a healthy double coat needs great brushing more than anything. You can find more on that in our guide to the best brushes for Labrador Retrievers.
Scissoring Silky and Straight Coats
For dogs with fine, silky hair like a Shih Tzu or Maltese, the game is all about achieving a perfectly smooth, straight line. This is where a pair of long, straight shears really proves its worth. The longer blades are your secret weapon against choppiness, helping you create that fluid, elegant silhouette.
The comb-and-cut technique is non-negotiable here. You’ll need to continuously lift the hair with your comb and make very precise cuts to establish those clean lines along the skirt, legs, and face. On this type of coat, every little mistake shows, so slow down and work in small, deliberate sections. Patience pays off.
Don’t fight the coat’s natural fall. For silky coats, scissoring with the grain of the hair is the key to a flawless finish. Trying to force a shape that goes against its natural direction will only lead to frustration and a messy cut.
Shaping Curly and Wavy Coats
This is where a groomer’s artistry really comes to life. Getting that fluffy, rounded “teddy bear” look on a Poodle or Doodle is all about using the right combination of tools: curved scissors, chunkers, and thinning shears.
You’ll want to start by fluff-drying the coat to separate all those curls. Then, grab your curved scissors to start shaping the key areas like the topknot, paws, and the overall body outline. Chunkers are fantastic for removing bulk without leaving harsh lines; they create a soft, textured finish that looks much more natural. Finally, use your thinning shears to blend any transition points, making sure everything flows together for that perfect, plush look.
Safety-First Grooming and Tool Care

When you’re grooming your dog, their safety has to be your number one focus. Period. Using incredibly sharp tools like dog grooming scissors demands your undivided attention and a few hard-and-fast rules to keep everyone safe and happy.
The golden rule is simple: always, always keep the scissor tips pointed away from your dog’s body. This is non-negotiable, especially when you’re working around delicate areas like the face, ears, and paws where the skin is much thinner.
Here’s a trick I learned years ago: use your other hand as a guide and a guard. Let’s say you’re trimming the hair along the edge of an ear. Just place your thumb and index finger along the ear leather, creating a physical barrier right behind where you’re cutting. It’s a simple move that makes it nearly impossible to accidentally nick them.
Handling Those Tricky Spots
Some areas on a dog are just plain awkward to groom. They’re not only sensitive but also have tricky curves and angles that can feel intimidating with a pair of shears.
- Around the Eyes: Never, ever point scissors toward your dog’s eyes. The only safe way is to use a small pair of blunt-nosed scissors, comb the hair down and away from the eye, and make your cuts in that same outward direction.
- Paws and Pads: To trim the fluff between the paw pads, gently spread the toes and only snip the hair that sticks out past the pads themselves. Keep your scissor blades parallel to the pads—never pointing down into them.
- The Tail and Sanitary Area: This spot is extremely sensitive. Stick to trimming only what’s necessary for cleanliness, and make sure you can always see the skin you’re cutting near.
A dog’s trust is everything. One bad snip can create grooming fears that last a lifetime. It’s always better to be cautious and trim a little less than you planned than to rush and risk an injury.
Keeping Your Tools in Top-Notch Condition
Your grooming safety plan doesn’t end with technique; it absolutely includes the condition of your tools. A dull pair of scissors is a dangerous pair. Instead of slicing cleanly, they’ll catch and pull the hair, which is painful for your dog and can cause them to jerk away unexpectedly.
A little bit of maintenance not only protects your dog but also protects the investment you made in a good pair of shears. A simple post-grooming routine will keep them sharp, effective, and rust-free for the long haul.
My Go-To Scissor Care Checklist
I run through these quick steps after every single grooming session. It takes maybe two minutes and makes a world of difference.
- Wipe ‘Em Down: First things first, get all the hair and gunk off the blades using a soft, dry cloth. If you have some sticky buildup, a cloth lightly dampened with rubbing alcohol works wonders.
- Dry, Dry, Dry: Moisture is the mortal enemy of high-carbon steel—it’s how you get rust. Make absolutely sure every part of the scissors is bone dry before you put them away.
- A Drop of Oil: Open the scissors to about a 90-degree angle and put a single drop of scissor oil right on the pivot screw. Open and close the blades a few times to work it in.
- Store Them Safely: Don’t just toss them in a drawer. Keep your scissors in the padded case they came with or a simple leather pouch. This protects the blades from getting nicked, which is what makes them dull.
Consistency is what keeps your tools working like new. When your shears are clean and sharp, every cut is smoother and safer. For other essentials, take a look at our full line of grooming and cleaning products we’ve selected to make your job at home easier.
Got Questions About Dog Grooming Scissors? I’ve Got Answers.
When you start grooming your dog at home, the questions come fast. Trust me, I’ve heard them all over the years from other dog parents just trying to do right by their pups. I’ve pulled together the most common questions I get right here.
My goal is to give you clear, no-nonsense answers that will help you feel more confident every time you pick up your shears. Let’s tackle some of the biggest head-scratchers, from choosing the right size to knowing when it’s time for a professional sharpening.
How Do I Pick the Right Scissor Size?
Finding the right scissor size is all about finding your sweet spot between control and efficiency. The trick is to match the tool to the dog and the specific task at hand.
Here’s a simple breakdown I use:
- Small Dogs & Tricky Spots: For tiny paws, faces, and sanitary areas, you need precision. Grab a shorter scissor, something in the 4.5 to 6.5-inch range. They give you the control you need to work safely around sensitive spots.
- Big Dogs & Body Work: If you’re tackling a larger dog with a long, flowing coat, a longer shear of 7 to 9 inches will be your best friend. It helps you cover more ground quickly and create those beautifully smooth, even lines without leaving behind a choppy finish.
It’s a bit like painting a room. You use a small brush for the detailed trim work and a big roller for the large, open walls. Same logic applies here!
How Often Do My Scissors Need to Be Sharpened?
This is one of the most important questions, and the honest answer is: it depends. How often you’re grooming and the type of coat you’re cutting are the two biggest factors. Just remember, dull scissors are dangerous. They don’t cut cleanly; they pull and snag the hair, which is painful for your dog.
For most at-home groomers, a good benchmark is to get your dog grooming scissors sharpened by a professional every 6 to 12 months. The tell-tale sign it’s time? If you see the blades starting to “fold” or push the hair instead of making a clean snip, they’re too dull.
A sharp blade isn’t just about a pretty haircut—it’s your number one safety tool. It guarantees a comfortable, snag-free groom for your dog and helps you get that clean, professional look you’re after. Never, ever underestimate the power of a perfectly sharp edge.
Is It Okay to Just Use My Own Hair Scissors on My Dog?
That’s a hard no. I know it’s tempting, but human and dog scissors are engineered for completely different jobs. The scissors you use on your own hair are made for, well, fine human hair. Dog grooming shears, on the other hand, are built tough to handle everything from wiry, coarse fur to dense, curly coats.
Even more importantly, professional dog shears often have safety features you won’t find on human scissors, like rounded safety tips. These blunt ends are absolute lifesavers, designed to prevent you from accidentally poking or nicking your dog, especially if they suddenly wiggle. It’s a small investment that makes a huge difference in your dog’s safety and your peace of mind.
Ready to build a grooming kit you can rely on? At Ur Pet Store, we’ve hand-picked a collection of top-notch grooming supplies that prioritize safety, comfort, and a professional finish. Take a look and get the right tools for the job sent straight to your home.