

Blog
A Guide to Dog Grooming Scissors for the Perfect Cut
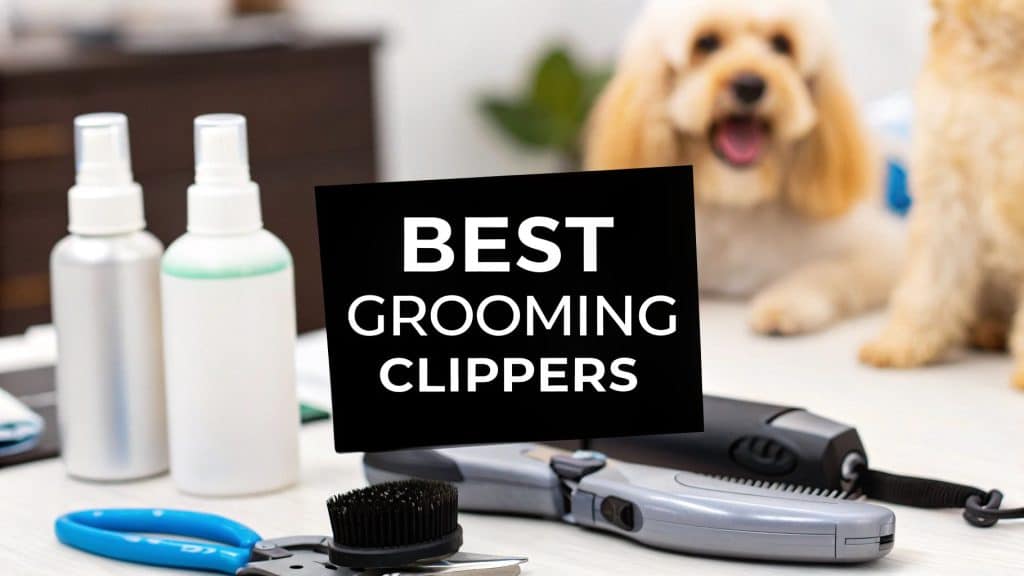
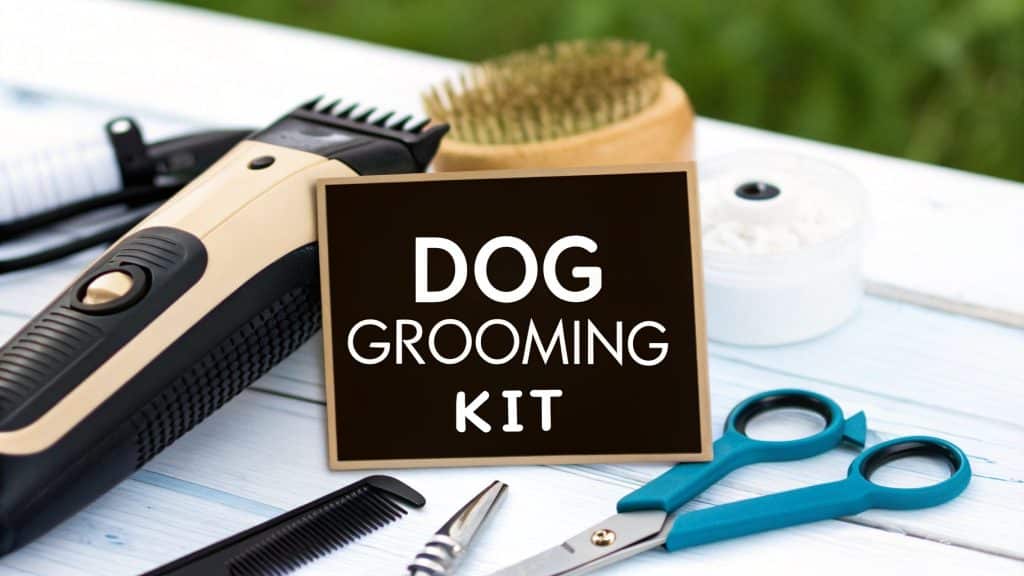
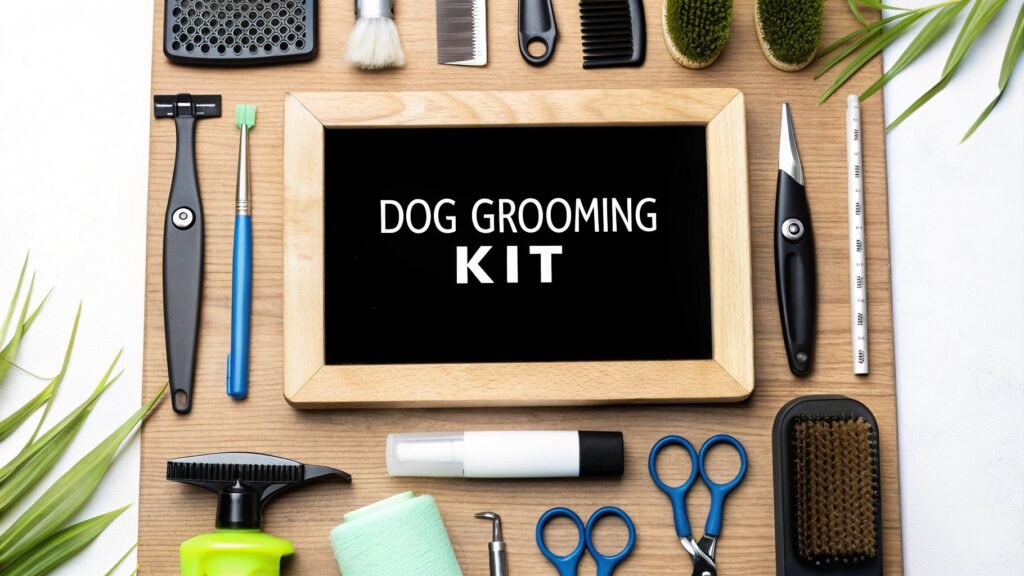
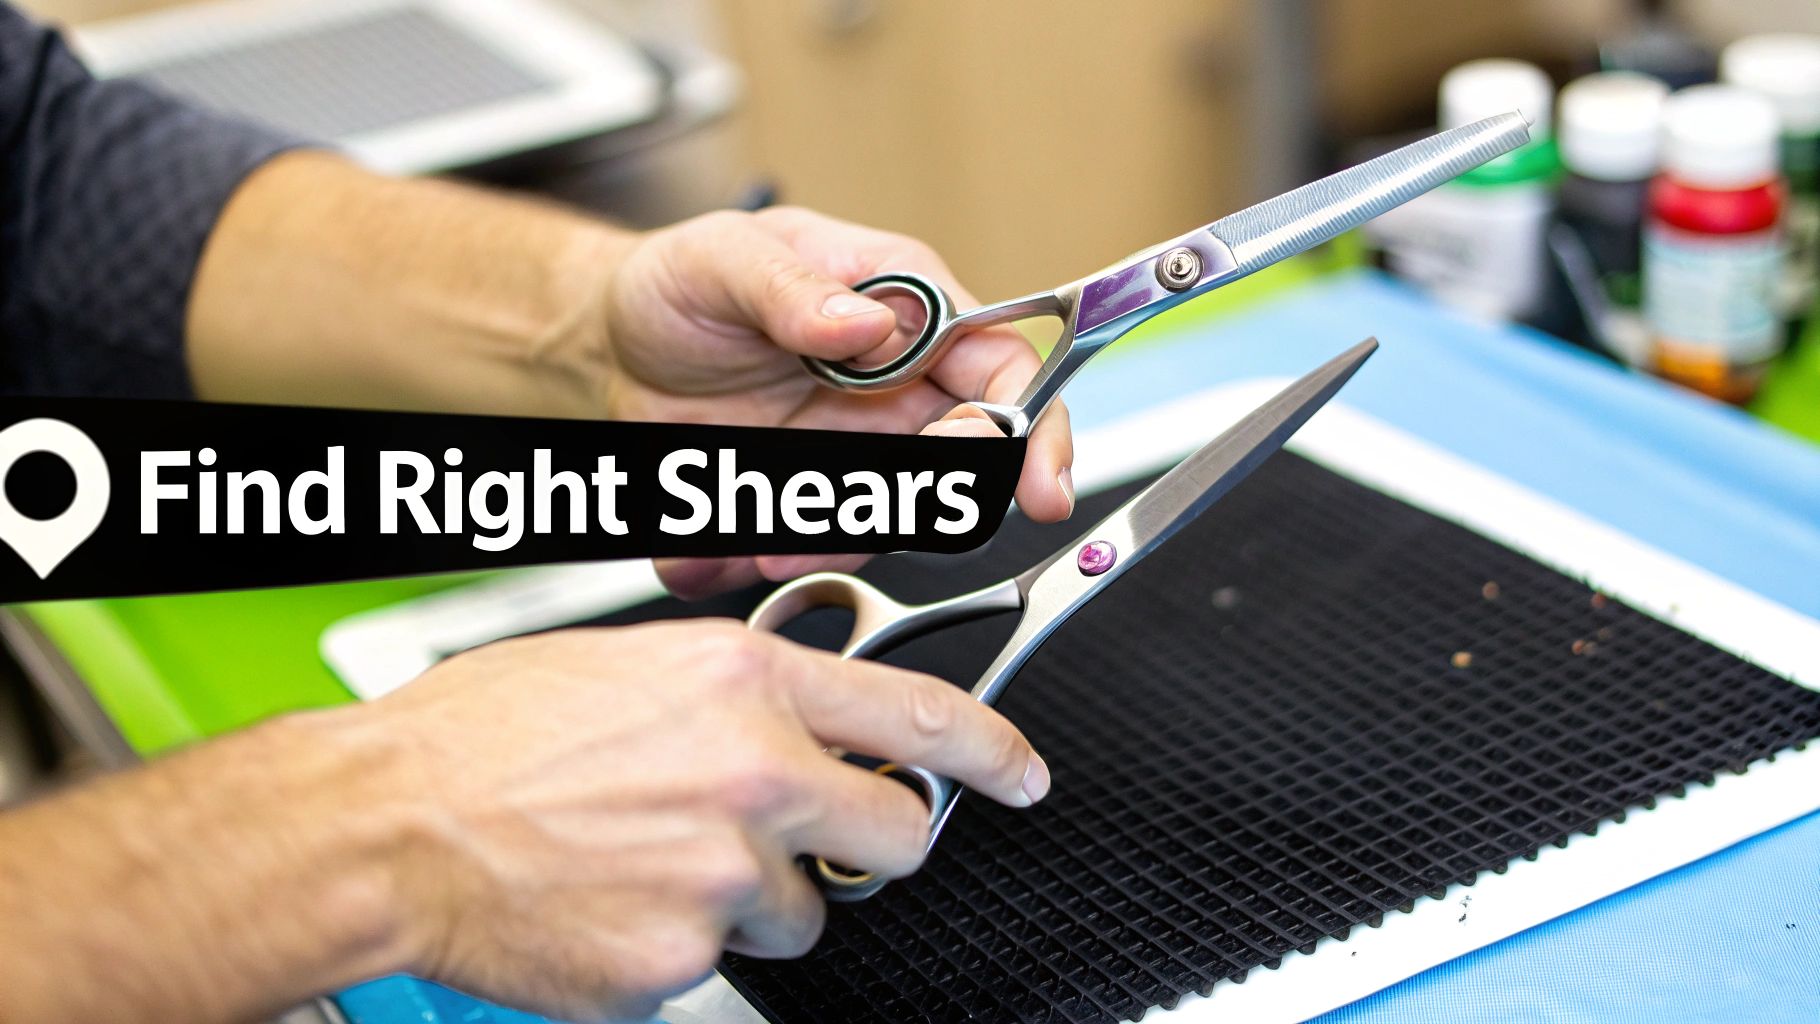
If you’ve ever tried to trim your dog’s fur with a single pair of kitchen scissors, you already know the struggle. It’s like trying to cook a five-star meal with nothing but a butter knife—the result is usually a choppy, uneven mess that’s frustrating for both of you. The real secret to a safe, beautiful groom isn’t just one tool; it’s a small, specialized dog grooming scissor toolkit built for the job.
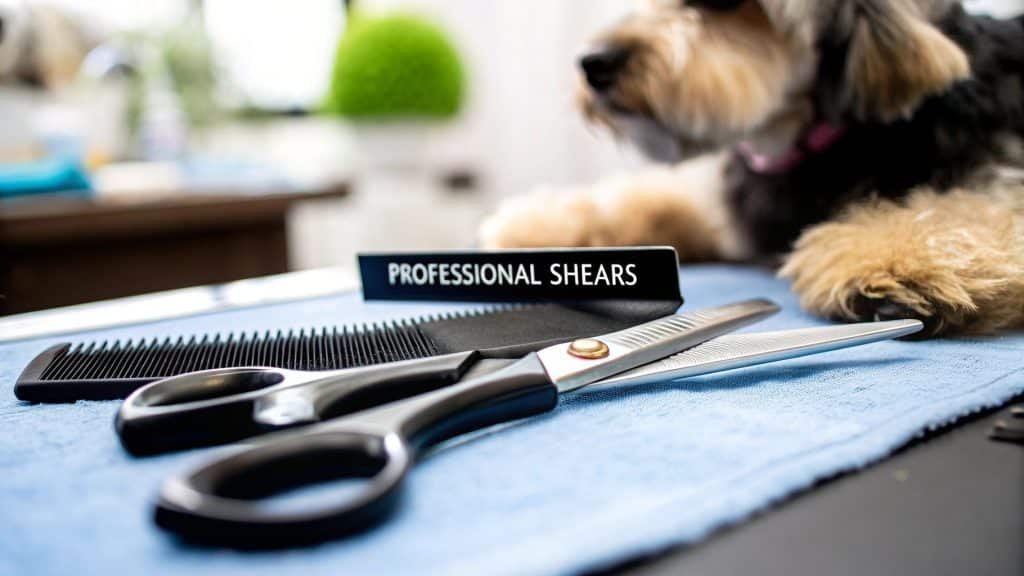
Your Essential Dog Grooming Scissor Toolkit
Think of your grooming scissors the way a chef thinks about their knives. They wouldn’t use a heavy cleaver for a delicate garnish, and they certainly wouldn’t try to slice a roast with a tiny paring knife. Every blade has a purpose, and that’s exactly how you should approach grooming your dog. Using the right scissor for the right part of the coat makes the process faster, safer, and infinitely more comfortable for your pup.
This isn’t just a pro-groomer secret anymore; it’s becoming the standard for at-home care. The market for pet grooming products is booming, and while shampoos still claim a 40.21% share of the $5.9 billion market, the real growth is in precision tools like shears. This segment is a major driver in the market’s projected climb to $21.1 billion by 2030. It just goes to show how much pet owners are starting to value having the right equipment. You can see more details on this trend over at MarketSizeAndTrends.com.
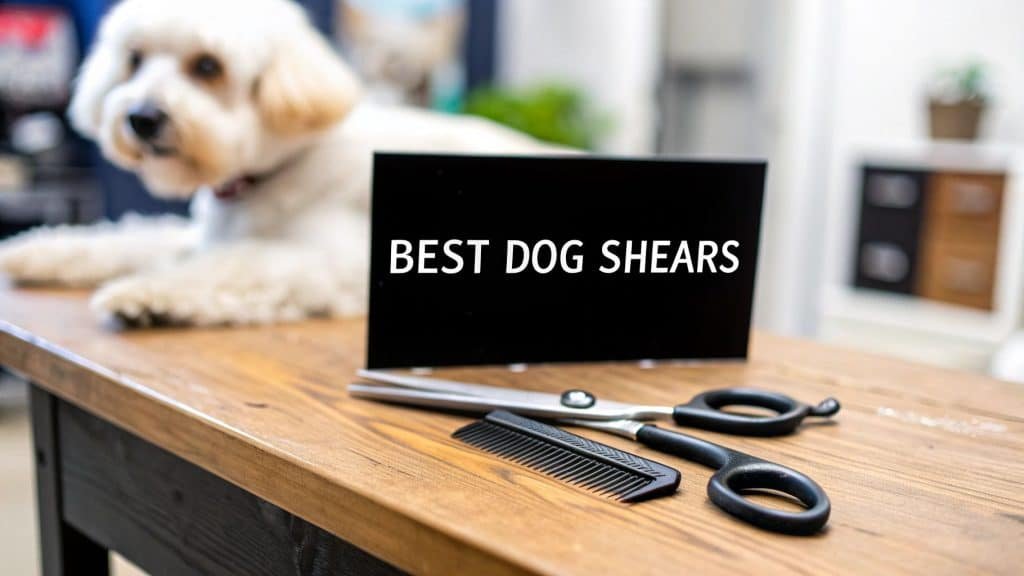
The Four Pillars of a Grooming Kit
A truly effective grooming kit is built on four core types of scissors. Each one has a distinct role in shaping, blending, and finishing your dog’s coat. A good haircut starts long before the scissors come out, of course—you’ll want to brush out any tangles with something like a double-sided pet grooming brush. Once the coat is prepped, these four tools will do the rest of the work.
- Straight Scissors: These are the workhorses. They’re your go-to for establishing clean, straight lines and removing bulk fur.
- Curved Scissors: Essential for shaping all those rounded areas. Think of a Poodle’s topknot or the contouring needed around the legs and paws.
- Thinning Shears: This is your magic eraser. It softens harsh scissor lines, removes weight without losing length, and gives the coat a beautiful, natural texture.
- Safety Scissors: With their blunt, rounded tips, these are non-negotiable for trimming delicate spots like around the eyes, ears, and between paw pads.
Getting to know what each of these scissors does is the first real step toward getting that “just-from-the-groomer” look at home. It turns a simple trim into a craft, where every snip is precise, intentional, and safe for your dog.
Before we get into the nitty-gritty of scissor types, it can be helpful to see how grooming fits into the bigger picture of your dog’s health. You can explore some broader pet care topics to get a well-rounded view. Once you’re comfortable with these four basic tools, you’ll have the confidence to handle almost any grooming task your dog’s coat throws at you.
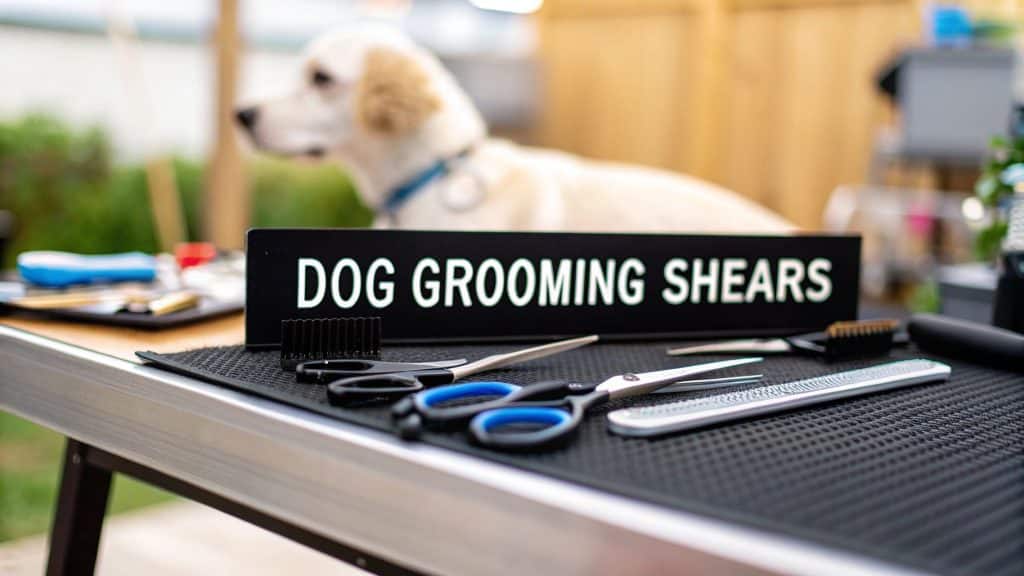
Decoding the Four Main Types of Grooming Shears
Getting into dog grooming scissors can feel like you’re learning a whole new language. Every tool has a very specific job, and knowing which one to grab is what separates a quick trim from a truly polished, professional-looking haircut. When you understand what each pair is for, you can create the look you want while keeping your dog safe and comfortable.
This diagram shows the four fundamental types of scissors you’ll find in any groomer’s toolkit.
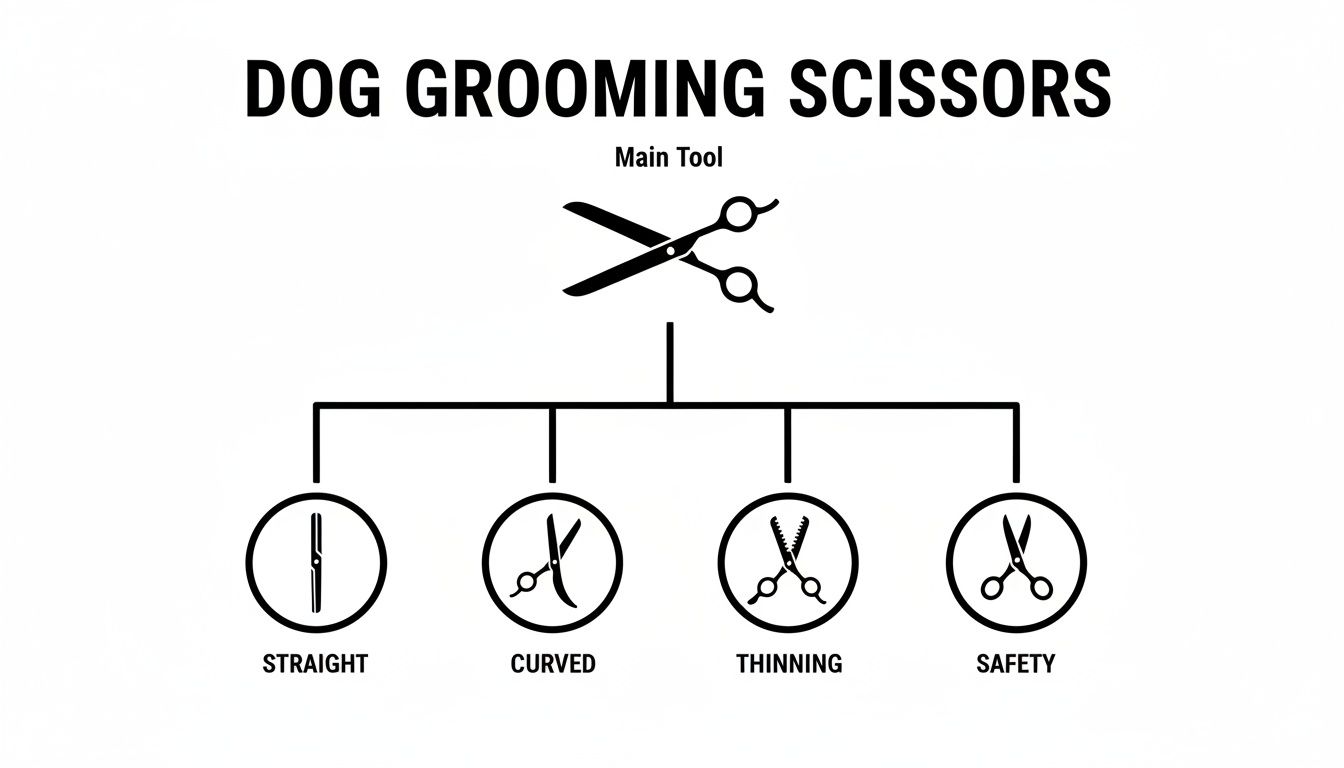
As you can see, each scissor type—straight, curved, thinning, and safety—has its own unique and essential role in the grooming process. Let’s break down what each one does.
Quick Guide to Dog Grooming Scissor Types
To make things simple, here’s a quick cheat sheet that breaks down the four main types of grooming shears. This table will help you quickly see which tool is right for the job at hand.
| Scissor Type | Primary Function | Best For Breeds Like |
|---|---|---|
| Straight Shears | Setting clean, straight lines and removing bulk | Yorkshire Terriers, Shih Tzus, Schnauzers |
| Curved Shears | Shaping and contouring curved areas like paws and heads | Poodles, Bichon Frises, Cocker Spaniels |
| Thinning Shears | Blending, texturizing, and softening harsh lines | Golden Retrievers, Pomeranians, Collies |
| Safety Shears | Safely trimming sensitive areas like the face, ears, and paw pads | All breeds, especially for beginners |
Think of this as your starting point. Now, let’s get into the specifics of what makes each of these scissors a must-have in your grooming kit.
Straight Scissors: The Workhorse of Grooming
If you’re building a grooming kit, straight scissors are the first thing you need. Think of them as your primary shaping tool—the one you’ll use to set the main lines of the haircut and get rid of excess fluff. They’re absolutely essential for creating those clean, sharp edges, especially on dogs with long, straight, or “drop” coats.
For example, when you’re grooming a Maltese or a Shih Tzu, straight shears are what give you those perfectly straight lines along the skirt (the long hair on the body) and the furnishings on their legs. They offer the precision you need for a really crisp, neat finish.
- Primary Function: Establishing straight lines, bulk fur removal, and overall shaping.
- Best For Coats: Long, straight, or wiry coats that require defined lines.
- Ideal Breeds: Yorkshire Terriers, Shih Tzus, Schnauzers, and other breeds with similar coat textures.
Without a good pair of straight scissors, getting that tidy, uniform look is almost impossible. They’re the tool you’ll reach for first when starting a full-body trim.
Curved Scissors: For Perfect Contours
While straight shears set the foundation, curved scissors add the artistry. Their blades are gently arced to follow the natural curves of a dog’s body, which makes them perfect for shaping and contouring. They are the secret weapon behind those beautifully rounded heads, paws, and topknots that define so many breed-specific styles.
Just imagine trying to shape a Poodle’s fluffy topknot with a straight blade—you’d end up with a mess of choppy, angular lines. Curved scissors, on the other hand, make this job feel totally natural, letting you create smooth, flowing shapes with ease. Their specialized design has truly become a cornerstone of the industry.
The global market for curved dog grooming scissors alone was valued at $148 million and is expected to reach $247 million by 2033. This growth really shows how vital they are for pros and dedicated home groomers alike. You can dig deeper into this market trend in this detailed report from MarketIntelo.com.
And they aren’t just for Poodles. Curved shears are incredibly handy for rounding the chest on a Cocker Spaniel, shaping a fluffy tail, or blending the hair from the body to the legs on almost any breed.
Thinning and Blending Shears: The Magic Eraser
Thinning shears, which are also called blending shears, are the ultimate finishing tool. One blade is solid and the other has teeth, a design that lets them snip away just a small amount of fur with each cut. This means they don’t create hard lines; instead, they soften, blend, and add texture to the coat.
Think of them as a magic eraser for any scissor marks you might have left behind. After using straight or curved shears, you might notice some faint lines. A few passes with thinning shears over those spots will make the lines disappear, leaving a seamless, natural-looking finish.
They’re also perfect for:
- Reducing Bulk: On double-coated breeds like Golden Retrievers, thinning shears can lighten a heavy coat without having to sacrifice length.
- Blending Transitions: They’re amazing at seamlessly blending short hair into long hair, like around the neck and shoulders.
- Softening Edges: They’re ideal for delicate work around the face and ears to create a soft, feathery look.
Learning how to use thinning shears correctly is a skill that takes a good groom and makes it a great one. They deliver that professional polish that’s so often missing from at-home haircuts.
Safety Scissors: For Delicate and Sensitive Areas
Last, but definitely not least, are the safety scissors. You can spot these immediately by their blunt, rounded tips. Their design isn’t about creating a specific look—it’s all about ensuring maximum safety when you’re trimming around your dog’s most sensitive areas.
These are the only scissors you should ever be using around:
- The Eyes and Face: Preventing an accidental poke to the eye is non-negotiable.
- The Ears: The delicate skin on the ear flap can be nicked so easily.
- Paw Pads: Trimming fur between the pads requires precision in a very tight space.
- Sanitary Areas: The rounded tips give you peace of mind when grooming around the groin and rear.
Even the calmest dog can jerk its head unexpectedly. A pair of sharp-pointed scissors near a sensitive area can cause a serious injury in a split second. Owning a dedicated pair of safety scissors is a non-negotiable part of responsible grooming and is an essential tool for every single pet owner, no matter their skill level.
How to Choose the Right Grooming Scissors
Picking out the right pair of dog grooming scissors is about more than just finding something that cuts. It’s an investment in your craft, your comfort, and your dog’s final look. A truly great pair of shears feels like a natural extension of your hand, gliding through fur without snagging or forcing your way through. That perfect feel boils down to two things: the quality of the steel and the ergonomics of the design.
Nailing these two aspects means you’ll get a tool that not only gives you a beautiful, professional-looking cut but also saves your hand from cramping up. When you’re comfortable, the whole grooming process is better for everyone involved.
Material and Blade Quality Matter
The soul of any good scissor is the steel. It dictates how sharp the blades can get, how long they’ll hold that sharpness (what pros call edge retention), and how well they’ll stand up to rust. Better steel means fewer trips to the sharpener and a cleaner snip every single time.
You’ll often see Japanese 440C stainless steel mentioned, and for good reason. It’s a top-tier alloy known for its incredible hardness and durability, which allows it to keep a razor-sharp edge for ages. It’s the go-to for professional groomers who need shears they can count on day in and day out.
But the steel is only half the story. The shape of the blade edge is just as critical. You’ll generally run into two types:
- Beveled Edge: This is your durable, all-purpose workhorse. Often found on entry-level shears, this sturdy edge is fantastic for bulk work and powering through thicker coats.
- Convex Edge: Also called a Japanese or “clamshell” edge, this blade is incredibly sharp and fine. It’s designed for an unbelievably smooth, whisper-quiet cut, making it the top choice for precision finishing and sculpting.
Think of it this way: a beveled edge is your trusty chef’s knife, capable of handling almost any job in the kitchen. A convex edge is more like a surgeon’s scalpel, built for ultimate precision and finesse.
Ergonomics for Comfortable Grooming
While the blade determines the quality of the cut, the ergonomics determine the quality of your grooming experience. How a pair of scissors fits your hand can be the difference between a quick, easy trim and an afternoon that ends with a sore wrist, thumb, and shoulder.
Grooming involves a lot of repetitive motion. Using poorly designed handles can lead to painful strain injuries over time. An ergonomic design helps keep your hand and wrist in a more natural, neutral position, which cuts down on stress and lets you work longer without discomfort.
The right handle design isn’t a luxury; it’s a necessity for anyone serious about grooming. It promotes a better technique, reduces physical strain, and ultimately leads to a safer and more precise cut for your dog.
Let’s break down the three most common handle designs so you can find the one that fits you like a glove.
Comparing Handle Designs
Each handle style changes how your hand and thumb are positioned, which can make a huge difference depending on your grip and how you cut.
| Handle Type | Description | Best For |
|---|---|---|
| Symmetrical (Opposing) | The most traditional design, with finger rings placed directly opposite each other on a straight handle. | Groomers who use their middle finger and thumb. This grip often requires you to keep your elbow raised. |
| Offset | The thumb ring is set shorter than the finger ring, letting your hand stay in a more open, relaxed posture. | Reducing hand and thumb fatigue. It’s an incredibly popular design that offers a great mix of comfort and control. |
| Crane | An even more ergonomic version of the offset, where the top finger handle is angled downward, allowing you to drop your elbow. | Maximum comfort. This design dramatically reduces strain on the wrist, arm, shoulder, and even your back during long sessions. |
For most people grooming at home, an offset handle is a fantastic upgrade from the old-school symmetrical style. But if you groom frequently or for long stretches, investing in a crane handle will give you the highest level of comfort and help protect you from strain in the long run.
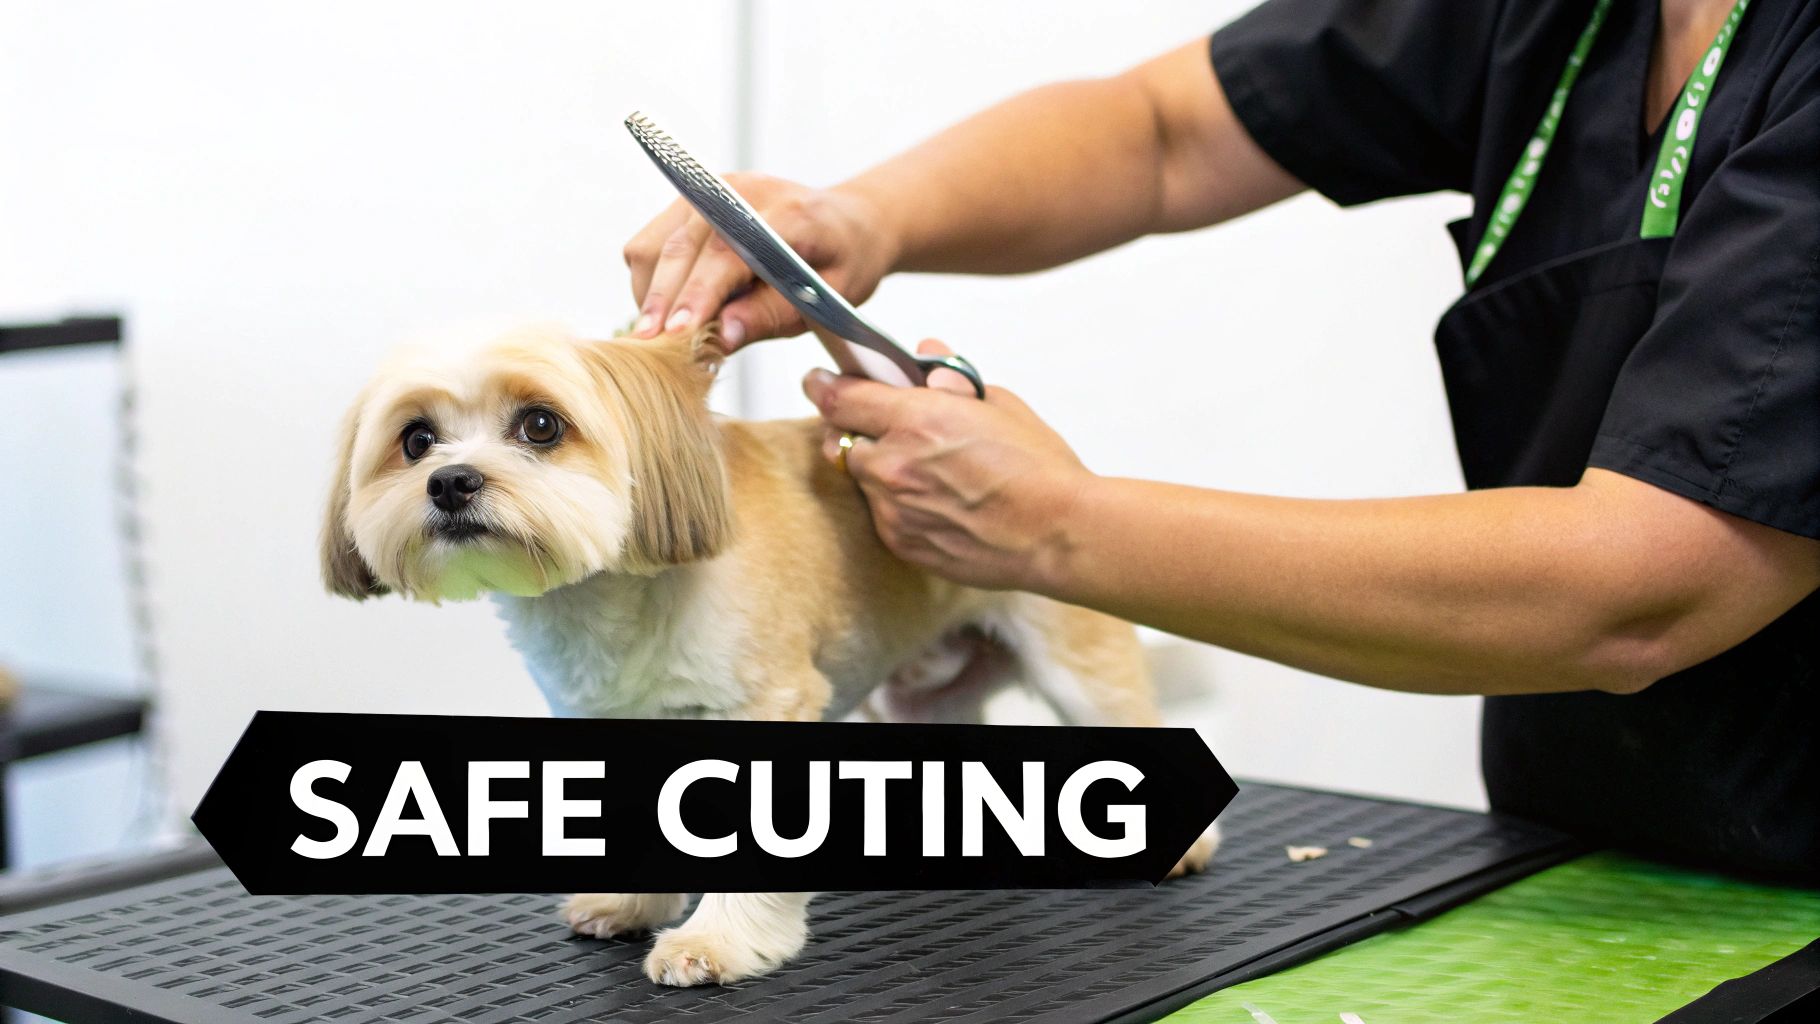
Mastering Basic and Safe Cutting Techniques
Having the right pair of dog grooming scissors is a great start, but knowing how to use them safely is what really matters. Even the best tools in the world can’t make up for a nervous dog or an unsteady hand. It all comes down to technique, and once you master a few basics, you’ll have the confidence to give a beautiful trim while keeping your dog completely safe.
Before you even think about making that first snip, focus on creating a calm, positive space. A stressed dog is a wiggly dog, and that’s a recipe for accidents. Try to start your grooming session when your dog is already relaxed, maybe after a good walk. Make sure you’re working on a non-slip surface so they feel secure on their feet.
The Foundation of Control: Your Grip and Your Dog
Your control over the scissors starts with your grip. The right way to hold them is with your thumb and ring finger in the loops. Your index and middle fingers should rest on the shank to give you extra stability. It might feel weird at first, but this grip gives you far more control and prevents your hand from getting tired, which is when cuts get sloppy.
Just as crucial is how you hold your dog. Always keep a gentle but firm hand on their body. This isn’t just for restraint; it’s so you can feel any sudden twitches or movements. That physical connection is your early warning system, letting you pull the scissors away in a split second. And a golden rule: never cut towards your hand holding the dog. Always direct your snips away from yourself and your pet.
Fundamental Cutting Methods for a Polished Look
Ready to start trimming? There are two foundational techniques that pros rely on to get that smooth, even finish. Think of these as the building blocks for any great haircut.
- The Comb and Cut Method: This is your go-to for setting length and getting a nice, even trim. Just lift a section of hair with your comb to the length you want. Then, using your straight or curved shears, cut the hair that’s just above the comb’s teeth. The comb acts as your guide, guaranteeing a consistent length with every snip.
- Scissoring Over a Comb: This is the secret to blending. It’s perfect for smoothing out the transition between different coat lengths. Lay the comb flat against the coat and angle it out just a bit. Now, open and close your thinning shears over the teeth of the comb as you move it smoothly through the fur. This technique expertly removes bulk and erases any harsh lines your other scissors might have left behind.
Here’s a simple rule that should be your top priority: always keep the scissor tips pointed away from your dog’s skin. Angle the blades so they are parallel to their body, never pointing directly at them. This simple habit drastically reduces the risk of poking or nicking them.
Safeguarding Sensitive Areas
Some spots on a dog require extra, extra caution. The face, ears, paws, and sanitary areas are where most grooming accidents happen. For these parts, your blunt-tip or safety-tipped scissors are absolutely non-negotiable.
When you’re working around these delicate zones, use your free hand to create a physical barrier between the scissors and your dog’s skin. For example, when trimming around the ears, place your fingers flat along the ear leather. This way, you can feel exactly where the edge of the ear is, creating a foolproof buffer that prevents you from accidentally snipping the skin.
Critical Safety Rules to Remember
Drill these safety rules into your head until they become second nature. These are the habits that separate a responsible home groomer from a risky one.
- Always Use a Finger Buffer: Near skin flaps like armpits, leg pits, or ears? Always place your finger or a comb between the skin and the blade.
- Cut in Well-Lit Areas: Bad lighting creates shadows that can hide what you’re doing. Good light is non-negotiable for safety.
- Know When to Stop: If your dog gets too stressed, anxious, or starts thrashing around, it’s time to call it a day. Pushing a stressed dog only makes them hate grooming more.
- Never Cut Out Mats: This is incredibly dangerous. The skin is often pulled up tightly into a matted tangle, and it’s almost impossible to cut the mat without cutting the skin. Mats should be carefully split with scissors (with the tips pointing away from the skin) or, much more safely, shaved out with clippers.
By prioritizing a calm atmosphere and sticking to these techniques and safety rules, you can turn grooming into a positive bonding experience. Mastering your scissors isn’t just about a good-looking haircut—it’s about making sure every trim is a safe one for your best friend.
Keeping Your Tools Sharp with Proper Maintenance
Buying a great pair of dog grooming scissors is the first step. But the real secret to making that investment last? Good old-fashioned maintenance.
Think of your shears like a chef’s knife or a performance car—they need regular care to do their job right. If you neglect them, the blades get dull and start pulling hair instead of cutting it. Rust can build up, making the action sticky. Before you know it, your expensive tool is ready for the junk drawer.
The good news is that a simple daily habit can prevent most problems. After you finish grooming, just take a minute to wipe the blades clean with a soft, dry cloth. This gets rid of all the hair, dander, and bits of product that trap moisture and lead to rust. It’s a tiny step that saves you from major headaches later on.
This focus on quality tool care is part of a much bigger picture. The global pet grooming market, which includes essential dog grooming scissors, recently topped $77.12 billion. It’s projected to climb to an incredible $135.2 billion by 2032, which tells you that people are serious about investing in quality gear for their pets. North America accounts for 41.09% of that market, and trimming tools represent a solid 15-20% of all product sales. You can dig deeper into these trends over at CustomMarketInsights.com.
Creating a Simple Maintenance Schedule
Consistency is everything when it comes to keeping your scissors in pristine condition. A simple, repeatable routine is your best friend.
- Daily: A quick wipe-down after every use is non-negotiable. Get all that fur and gunk off the blades.
- Weekly: Add a single drop of high-quality scissor oil right at the pivot screw where the blades meet. Open and close them a few times to work the oil into the joint, then wipe off the excess. This keeps the cutting action silky smooth.
- Monthly: Do a quick check on the blade tension. Properly adjusted scissors should feel effortless, not too stiff and not too floppy.
Here’s an easy way to check the tension: hold one handle with the tip pointing up and lift the other handle until the blade is horizontal. Now, let it go. It should fall smoothly and close about two-thirds of the way. If it slams shut, the tension is too loose. If it barely moves, it’s way too tight. Most pro-level shears have a small dial or screw you can turn to get it just right.
The Importance of Professional Sharpening
No matter how well you care for them, your scissors will eventually need a professional sharpening. Please, don’t try to do this yourself or take them to someone who sharpens kitchen knives. Grooming shears have a very specific, precision-ground edge—either convex or beveled—that requires specialized equipment and a skilled hand to restore.
Key Takeaway: A bad sharpening job can completely ruin your scissors forever. Always find a sharpener who specializes in high-end grooming shears. It’s worth every penny.
So, how can you tell it’s time to call in a pro?
- Hair Folding: The blades start pushing or folding the hair over instead of snipping cleanly through it.
- Hand Strain: You feel like you have to force the scissors to cut, leaving your hand tired and sore.
- Gritty Action: The blades feel rough or make a grinding sound as you open and close them.
Finally, proper storage is just as crucial. Never, ever toss your scissors into a drawer with other tools where the blades can get nicked and knocked out of alignment. Keep them safe in the case they came with or in a padded scissor pouch. By making these simple maintenance steps a habit, you’re not just protecting your wallet—you’re ensuring every groom is safer, more comfortable, and looks a whole lot better.
For more essential tools, take a look at our full lineup of grooming and cleaning products.
A Few Common Questions
Getting started with at-home grooming can feel a little daunting, and it’s natural to have questions. Whether you’re trying to pick out your very first pair of dog grooming scissors or just wondering how to keep them in good shape, getting the right answers is the first step. It builds your confidence and, most importantly, keeps your dog safe.
Let’s walk through some of the most common questions I hear from new and aspiring groomers. These are the practical, need-to-know details that will help you make smarter choices with your tools.
What Size Dog Grooming Scissors Should I Buy?
This is a great question, and the answer is all about balance—balancing your dog’s size with your own comfort. There’s no magic number here. Think of it like a painter’s toolkit; you wouldn’t use a tiny detail brush to paint a whole wall. The same logic applies to grooming.
For smaller dogs like Yorkies or for delicate work around the face and paws of any dog, you’ll want shorter scissors. Something in the 4.5 to 6.5-inch range gives you fantastic control for those tight, tricky spots. On the flip side, if you’re working on a larger dog like a Golden Retriever, longer shears between 7 and 9 inches will be your best friend. They’re far more efficient and cover more ground with each snip, saving you a ton of time.
Pro Tip: If you have a medium-sized dog and just want one versatile pair to start with, a 7-inch scissor is an excellent all-rounder. It’s long enough for body work but still gives you enough control for most detail trimming.
But here’s the other crucial piece of the puzzle: your own hand. The finger and thumb rings should feel secure, but not tight. If your hand is cramping up, you won’t be able to groom safely or effectively, no matter how perfect the scissor size is for your dog.
Can I Use Human Hair Scissors on My Dog?
I get this one a lot, and the answer is a hard no. While they might look the same at a glance, scissors for human hair and dog fur are built for completely different jobs. Using human scissors on your dog isn’t just a bad idea—it’s genuinely unsafe.
Human hair scissors have incredibly fine, sharp points designed for precision hairstyling. A person sits still in a salon chair, but a dog can jerk its head in a split second. Those needle-like tips can cause a serious puncture wound before you can even react.
Beyond the safety issue, the blades themselves are fundamentally different.
- Blade Tension: Dog shears are built to power through thick, coarse fur that would destroy a pair of human scissors.
- Blade Edge: The cutting edge on dog grooming scissors is designed to grip and cut fur without snagging or pulling, which can be really painful for your dog.
- Safety First: Many professional dog scissors have blunt or rounded tips for this very reason. They’re designed to prevent accidents when you’re working near the eyes, ears, and other sensitive spots.
Trying to use the wrong tool will give you a choppy, uneven result at best and could injure your pet at worst. Investing in the right gear is part of being a responsible groomer. For a great selection of pet-safe tools, you can browse the full catalog at Ur Pet Store.
How Often Should I Sharpen My Grooming Scissors?
There’s no set calendar for sharpening. It really comes down to how much you use them and what kind of coats you’re working on. Instead of marking a date, learn to read the signs that your blades are getting dull. A professional groomer working on multiple dogs a day might get their shears sharpened every 3 to 6 months.
For most pet owners grooming their one dog every month or so, you might only need a professional sharpening every 1 to 2 years. The trick is to pay attention to how they feel in your hand.
Your scissors are asking for a tune-up when you notice these signs:
- Folding or Pushing Hair: This is the number one giveaway. Instead of a clean snip, the blades start bending the hair over.
- You’re Working Harder: You find yourself having to squeeze harder to make a cut. A sharp pair of scissors should feel almost effortless.
- A Gritty Feel: When you open and close the blades, you feel a rough, grinding sensation instead of that smooth, buttery glide.
When that time comes, find a professional who specializes in grooming shears. The beveled or convex edges on your scissors require specific equipment and skill. Taking them to a standard knife sharpener can permanently ruin the blades, turning your investment into junk.
At Ur Pet Store, we are committed to providing top-quality supplies that enhance the health and happiness of your pets. Explore our curated collections of grooming tools, health products, and accessories designed for the modern pet owner. Enjoy fast, free shipping on all orders and discover why pet lovers trust us for their needs at https://urpetstore.com.