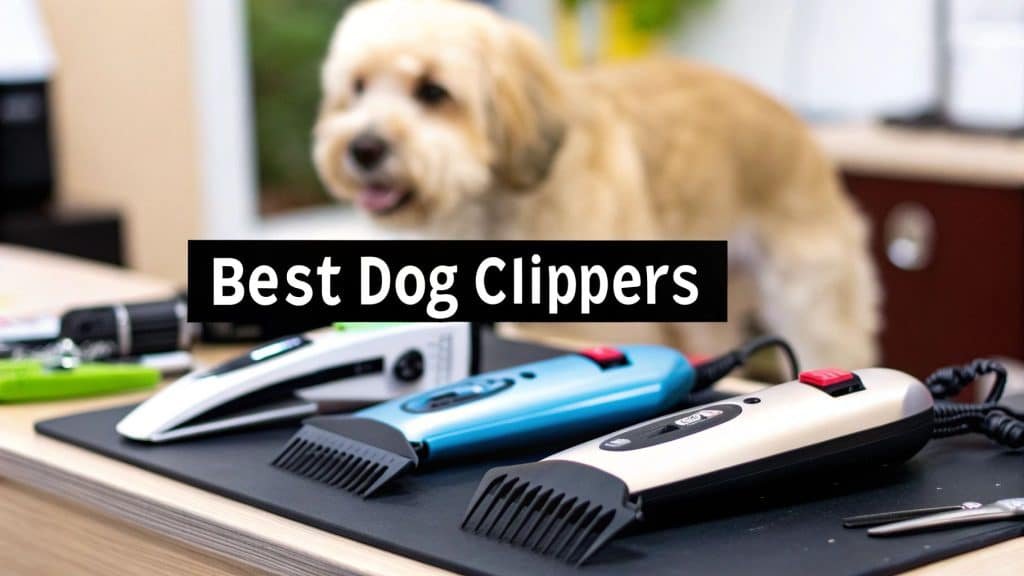


Blog
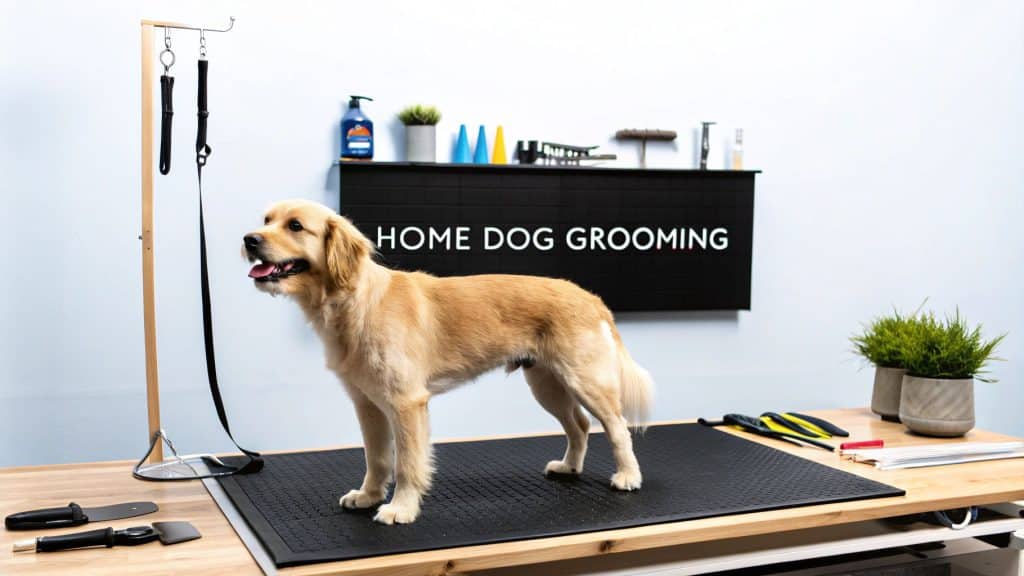
A Groomer’s Guide to Shears for Dog Grooming
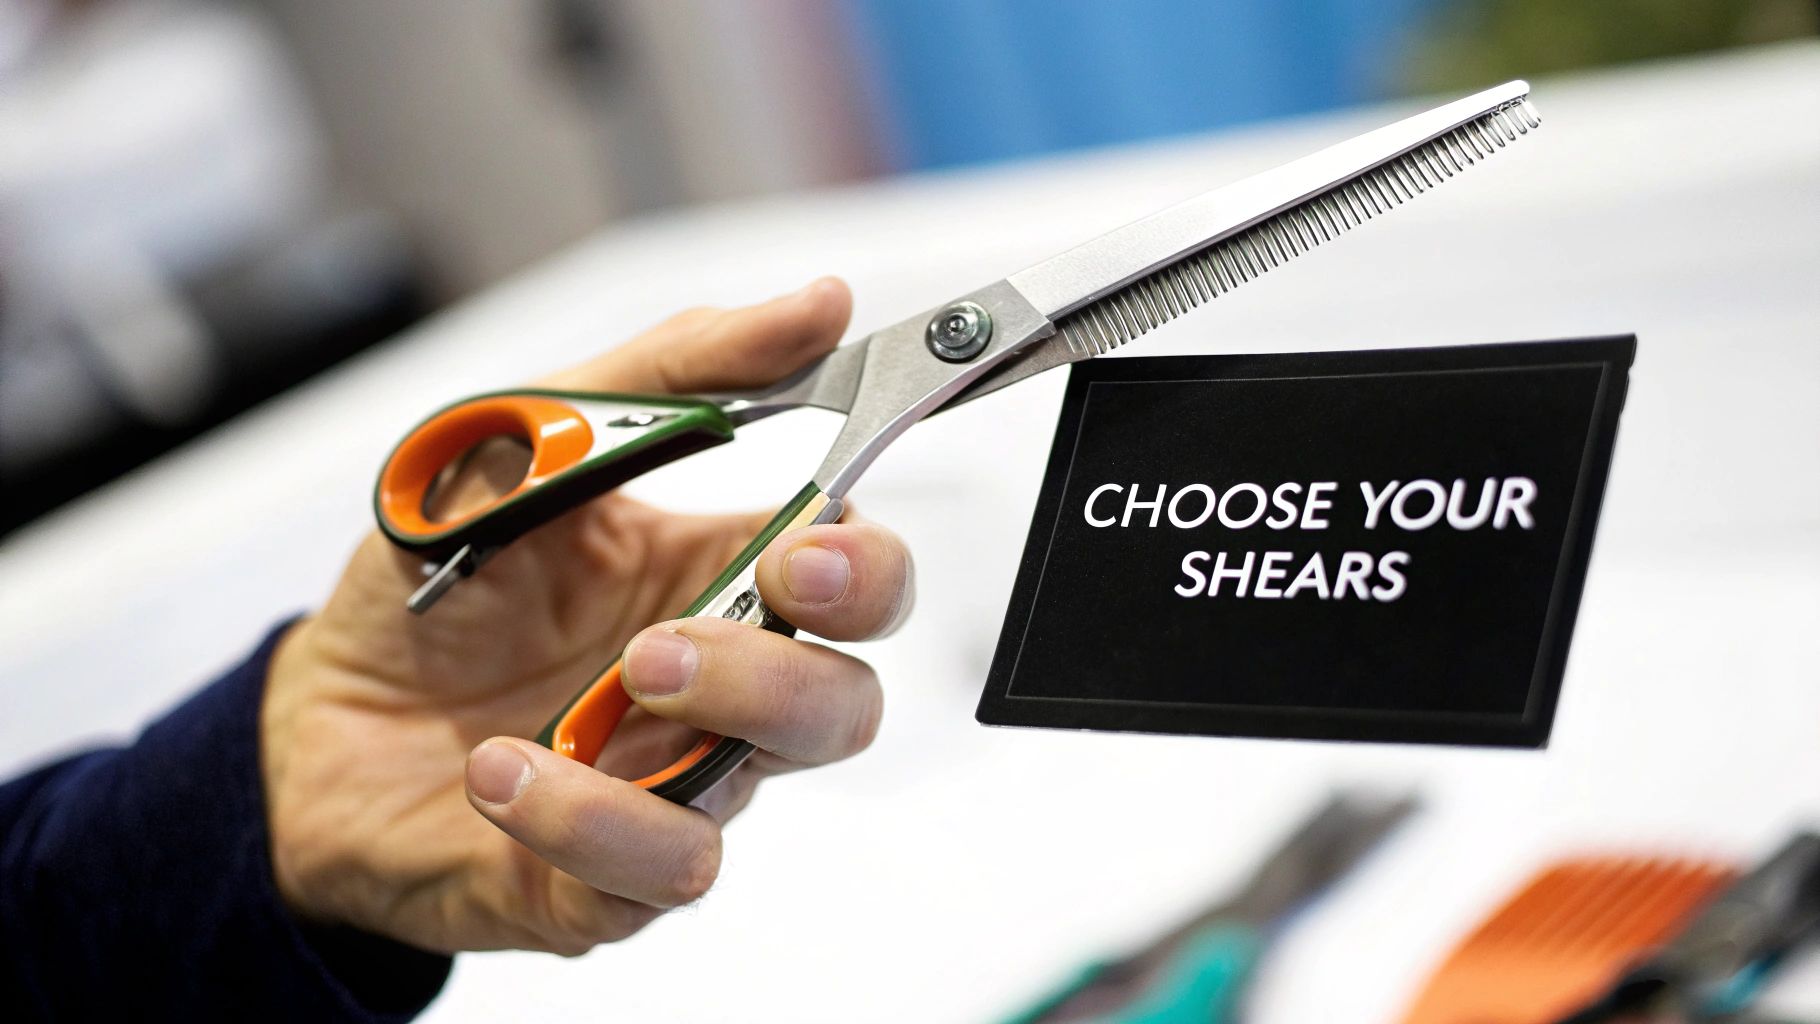
Picking the right dog grooming shears isn’t just about getting the job done—it’s about safety, your dog’s comfort, and getting that polished, professional look. Think of them less like a pair of scissors and more like an artist’s brushes. They’re the tools you’ll use to create a masterpiece.
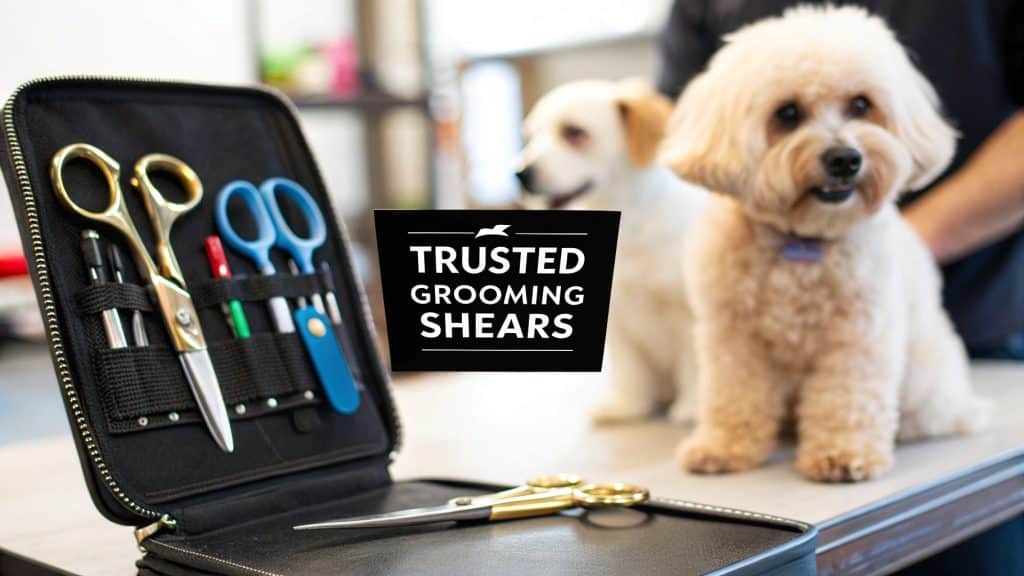
Why the Right Shears Matter for Every Groom
Choosing the right shears is the first and most important step in turning a simple trim into a beautiful groom. Grabbing a cheap or incorrect pair can quickly turn a grooming session into a stressful mess for both you and your dog. Shears that aren’t up to the task will pull hair, create choppy, uneven cuts, and can even be dangerous if they’re dull or hard to control.
On the flip side, a great pair of shears built for a specific job feels like a natural extension of your own hand. It’ll glide right through the coat, making clean, precise cuts every time. This not only saves you a ton of time but also prevents the hand and wrist fatigue that plagues so many groomers, whether they’re pros or just grooming at home.
The Impact of Quality Tools
The moment you switch to proper dog grooming shears, you’ll see a world of difference.
- Enhanced Safety: A sharp, well-balanced pair of shears cuts cleanly without snagging. This drastically lowers the risk of accidentally nicking your dog’s skin, especially around those tricky, sensitive spots.
- Superior Comfort: For your dog, this means a grooming session free from painful pulling. For you, ergonomic handles mean you can work longer without your hand cramping up.
- Professional Results: The right tool gives you the control to blend, shape, and finish the coat with real precision. The result is a much smoother, more attractive cut that looks like it was done by a pro.
It’s no secret that people are more invested in their pets’ care than ever before. This is reflected in the market for quality tools. The global pet grooming shears market was valued at around USD 275 million in 2023 and is expected to climb to nearly USD 450 million by 2032. This shows just how seriously owners are taking their pets’ health and appearance. You can read more about this growing market over at Verified Market Reports.
Investing in good shears isn’t just another expense; it’s an investment in your dog’s comfort and your own grooming confidence. It’s as fundamental to loving pet care as choosing the right walking gear. Speaking of which, you can check out our guide on finding the perfect collars, leashes, and harnesses to make sure every part of your pet’s routine is top-notch.
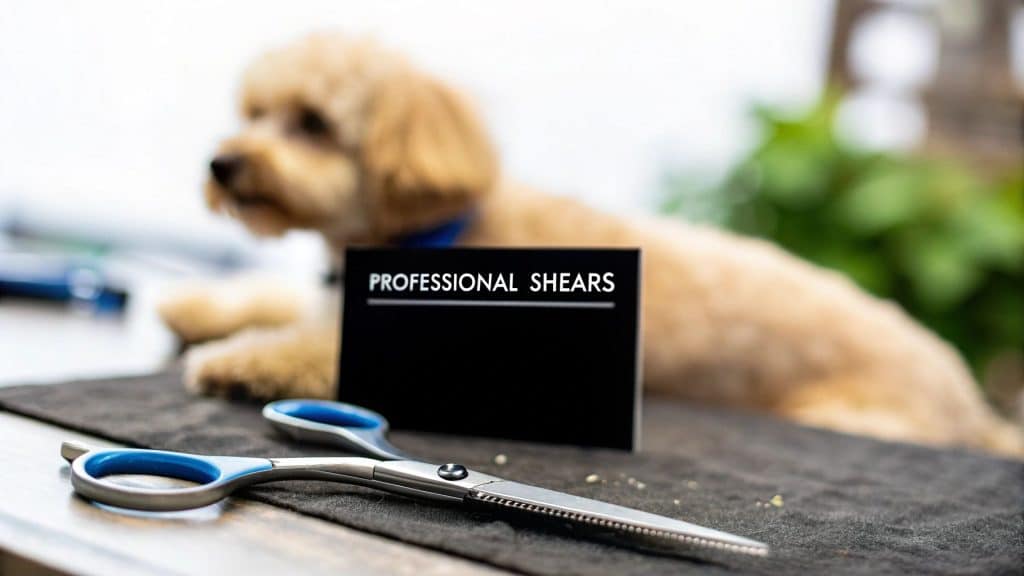
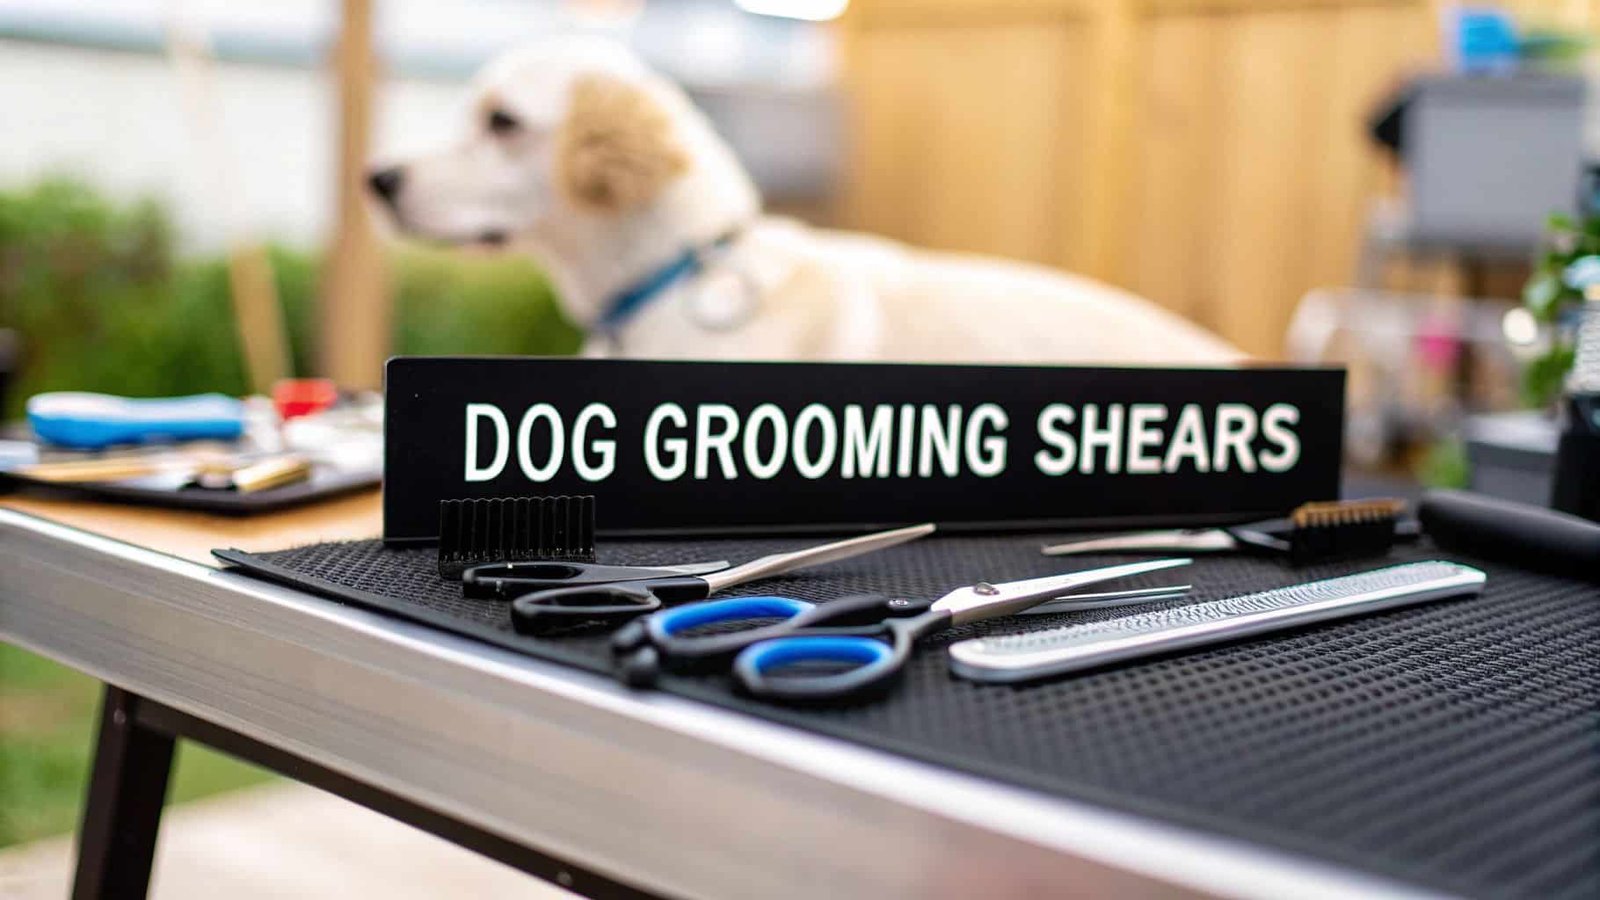
Decoding the Different Types of Grooming Shears
Stepping into the world of dog grooming shears can feel a lot like walking into a professional chef’s kitchen. You’re surrounded by specialized tools, and each one has a very specific, very important job. Using the right shear for the right task isn’t just about getting a better-looking haircut—it’s about making the entire grooming process safer, faster, and less stressful for the dog. Getting to know the main types is your first real step toward mastering the craft.
You wouldn’t use a giant butcher knife to peel a grape, right? The same logic applies here. You can’t expect to use a heavy-duty shear designed for bulk cutting to do the delicate trim work around a dog’s eyes. Each design is engineered for a particular type of fur, a specific cutting motion, and a unique part of the dog’s body. Once you get a feel for these differences, your confidence and your skills will soar.
This infographic breaks down why picking the right tool is so critical, zeroing in on safety, comfort, and the quality of the final groom.
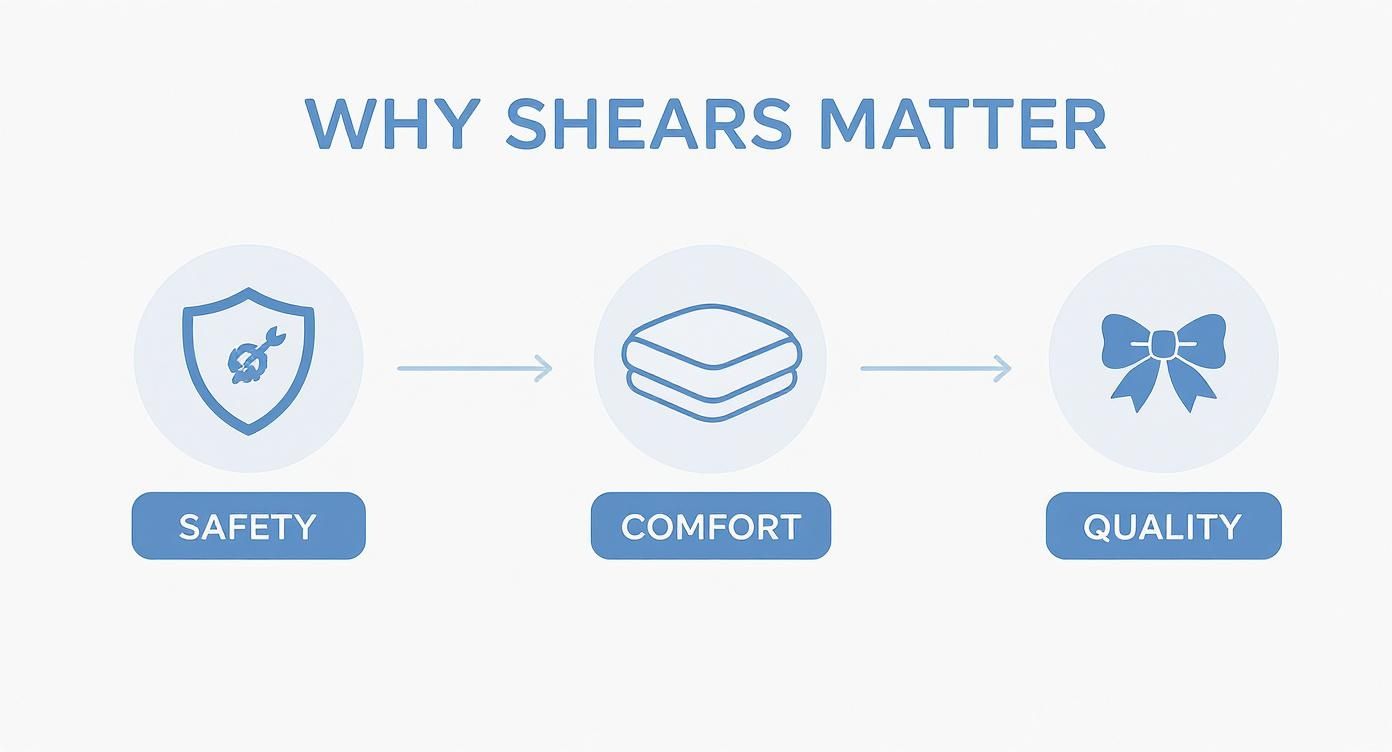
As you can see, the best grooming results happen when you find that sweet spot, balancing all three of these core elements in your tool selection.
To make things a bit clearer, here’s a quick-glance table breaking down the four main types of shears and what they do best.
Quick Guide to Dog Grooming Shear Types
| Shear Type | Primary Use | Best For Coat Types |
|---|---|---|
| Straight Shears | Creating clean lines and setting the overall shape. | All coat types, especially wiry or straight coats. |
| Curved Shears | Shaping rounded areas like paws, heads, and ribcages. | Curly, wavy, or fluffy coats that require contouring. |
| Thinning Shears | Blending, softening harsh lines, and removing minimal bulk. | Fine to medium coats; double coats for softening. |
| Chunker Shears | Removing bulk quickly and adding texture. | Thick, dense, and double coats. |
This table is a great starting point, but let’s dive a little deeper into how each of these shears works in the real world.
Straight Shears: The Foundation of Your Toolkit
Think of your straight shears as the workhorse of your grooming kit. They’re designed for one thing: creating crisp, straight lines. These are absolutely essential for setting patterns on a dog, trimming the main body panels, and shaping areas like the legs and tail. For most groomers, this is the very first pair of shears they buy, and for good reason.
For instance, when you’re grooming a Schnauzer, you’ll rely on your straight shears to carve out those sharp, classic angles that define the breed’s look. They’re also what you’ll use to establish a perfectly level topline on many different breeds, giving you a clean foundation for the rest of the groom. The demand for these precision tools is booming; the global market was valued between USD 412 to 425 million in 2024. Projections show it could nearly double to around USD 700 million by 2033, a testament to their importance. You can discover more insights about the straight shears market to see just how fast it’s growing.
Curved Shears: For Shaping and Contouring
While straight shears create lines, curved shears create circles and arcs. It’s as simple as that. Their blades have a distinct curve, specifically designed to follow the natural contours of a dog’s body. This makes them indispensable for shaping all the rounded parts of a dog.
You’ll find yourself reaching for curved shears when you’re sculpting a Poodle’s topknot, rounding off fluffy paws, or shaping the curve of the ribcage. Their unique design allows you to create soft, natural-looking curves with an ease that would be clunky and almost impossible to achieve with a straight shear.
Using curved shears is like sculpting. It allows you to add flow and artistry to your groom, turning a standard trim into a beautifully tailored style that complements the dog’s anatomy.
Thinning Shears: The Blending Experts
Thinning shears, often called “blenders,” are the secret weapon behind a flawless, natural-looking finish. These shears are unique—they have one solid blade and one blade with teeth. This design means they only remove a small amount of hair with each snip, which is exactly what you want for blending. Their primary job is to erase harsh scissor lines and seamlessly blend different lengths of hair together.
They are perfect for a few key tasks:
- Softening edges: Use them around the face and ears to get a soft, feathery look without any obvious cut marks.
- Blending coat layers: They are ideal for creating a smooth transition from a shorter, clippered area to a longer, hand-scissored section.
- Reducing bulk: On double-coated breeds, thinning shears can lighten the feel of the coat without sacrificing length.
Chunker Shears: For Bulk Removal and Texture
Think of chunkers as the more aggressive cousin of thinning shears. Their teeth are much wider and have bigger gaps between them, allowing them to remove larger “chunks” of hair with every cut. This makes them fantastic for two things: removing bulk quickly and adding a ton of texture.
Imagine you’re working on a Golden Retriever with a really dense coat. Instead of painstakingly thinning it out with regular blenders, you can grab your chunkers to rapidly remove excess fur. The result is a more natural, less “manicured” look. They’re a groomer’s best friend for speeding up work on thick coats while still achieving a soft, beautifully textured finish.
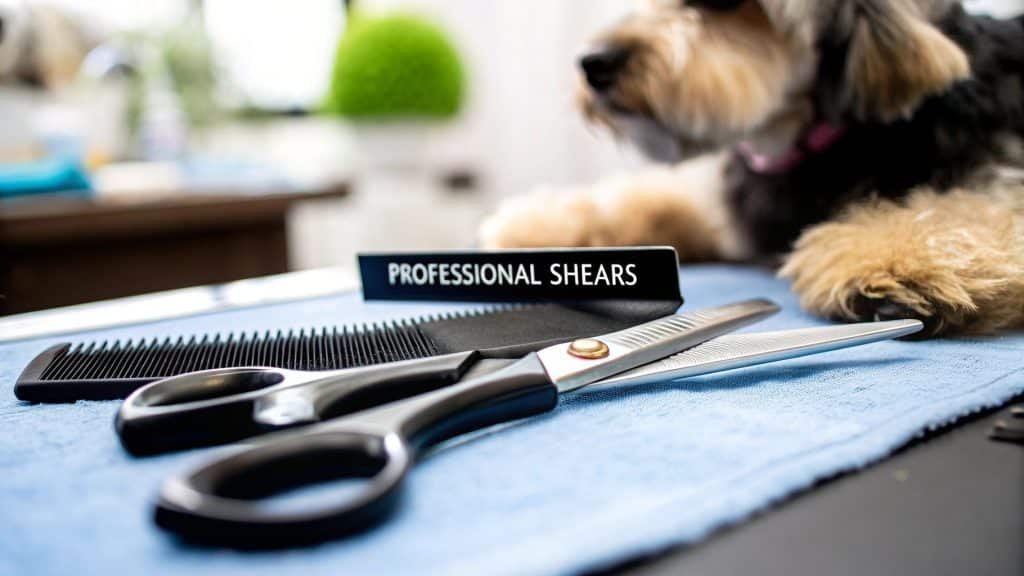
How to Choose Your Ideal Grooming Shears
Picking out the right shears for dog grooming can feel like a massive decision—and honestly, it is. A good pair is a serious investment in your craft, one that will directly shape your comfort, your control, and the quality of every single groom you do.
To find the perfect fit, you need to understand three core components: the blade material, the handle design, and the type of blade edge. Getting a handle on these will help you choose a tool that feels less like something you bought and more like an extension of your own hand.
It’s a lot like how a professional chef picks their knives. You wouldn’t use a thick cleaver for delicate, paper-thin slices of sashimi, right? The same logic applies here. Every feature of a grooming shear is designed for a specific purpose, whether it’s powering through a thick coat or adding the final, flawless touches.
Blade Material: The Heart of the Shear
The steel is the soul of your shears. It’s the single biggest factor determining how sharp they can get, how long they’ll stay that way, and how well they resist rust and wear. While there are tons of alloys out there, the grooming world really leans on two main types.
- German Stainless Steel: Think of this as the reliable workhorse. German steel is incredibly tough and durable, making it more forgiving if you accidentally drop it (it happens!). These shears hold their edge for a good while and are built to handle the daily grind of a busy salon.
- Japanese 440C Stainless Steel: This is the high-performance option, widely seen as the gold standard for premium shears. Its higher carbon content allows for an unbelievably sharp, fine edge that glides through fur like butter. While they are more brittle and need a gentler touch, that superior sharpness gives you a cleaner cut with far less effort.
So, what’s the takeaway? If you need a tough, dependable pair for bulk work, German steel is a fantastic choice. But for those finishing touches where you need absolute precision and a silky-smooth finish, nothing beats Japanese steel.
Handle Ergonomics: Comfort Is Control
How shears feel in your hand is just as crucial as how they cut. The wrong grip can quickly lead to a tired hand, a sore wrist, and even long-term problems like carpal tunnel. On the flip side, a comfortable, ergonomic handle gives you better control, more confidence, and a much safer grooming experience for both you and the dog.
You’ll generally come across three main handle styles:
- Symmetrical (Even-Handle): The classic, old-school design where both handles and finger rings are identical. This style is still loved by groomers who use a lot of different scissoring techniques, including flipping the shears to cut at different angles.
- Offset: Here, one handle is shorter than the other, which lets you keep your hand in a more open, natural position. This simple change reduces how much your thumb has to move and helps you keep your elbow down, taking a ton of stress off your wrist and shoulder. In fact, over 70% of professional groomers now opt for offset or crane handles for this very reason.
- Crane: This is basically an extreme version of the offset handle. The top handle is almost completely straight, which puts your hand and arm in the most relaxed, neutral position possible. It offers the biggest ergonomic benefit, hands down.
When you hold a pair of shears, your hand should feel relaxed, not tight or strained. The right fit means you can groom longer, with more precision, and walk away with less physical fatigue.
The Decisive Factor: Blade Edges
Last but not least, we have the blade edge. This is the part that does the actual cutting, and its design has a huge impact on performance. The two you’ll see most often are the beveled edge and the convex edge.
Think of a beveled edge as the sturdy, all-purpose option. It’s strong and often has tiny micro-serrations on one blade to gently grip the hair as the other blade slices. This makes them fantastic for general-purpose scissoring and a great starting point for new groomers.
A convex edge, on the other hand, is all about finesse. Honed to an exquisitely sharp, fine point, this edge slices through hair with zero resistance, leaving the smoothest finish imaginable. It’s the go-to for stylists who do intricate work and want that perfect, show-quality look. Just remember, that delicate edge needs professional sharpening to stay in top condition.
To help you visualize the differences, let’s break down how these features stack up against each other.
Comparing Key Features of Grooming Shears
Choosing between premium and standard features often comes down to balancing your budget with your specific grooming needs. This table compares how high-end and standard options perform.
| Feature | High-End Option (e.g., Japanese Steel, Convex Edge) | Standard Option (e.g., German Steel, Beveled Edge) | Impact on Performance |
|---|---|---|---|
| Blade Steel | Japanese 440C or Cobalt Steel | German or 420 Stainless Steel | Higher carbon content in Japanese steel allows for a sharper, finer edge that cuts effortlessly and stays sharp longer. |
| Blade Edge | Convex Edge | Beveled Edge (often with micro-serrations) | A convex edge provides a much smoother, cleaner cut ideal for finishing. A beveled edge is more durable for bulk work. |
| Handle Design | Ergonomic Offset or Crane | Symmetrical (Even-Handle) | Offset and crane designs reduce hand, wrist, and shoulder strain, allowing for longer, more comfortable grooming sessions. |
| Durability | More brittle; requires careful handling | Highly durable and more forgiving to drops | German steel is a workhorse. Japanese steel is a precision instrument that needs more care. |
| Best For | Finishing, detail work, scissoring fine coats, experienced groomers. | Bulk trimming, coarse coats, student or beginner groomers, everyday salon use. | Your choice depends on the primary tasks you perform and your level of experience. |
Ultimately, the “best” shears are the ones that fit your hand, your style, and the type of coats you work on most often. High-end shears deliver incredible performance for precision work, while standard options provide the durability needed for the daily grind.
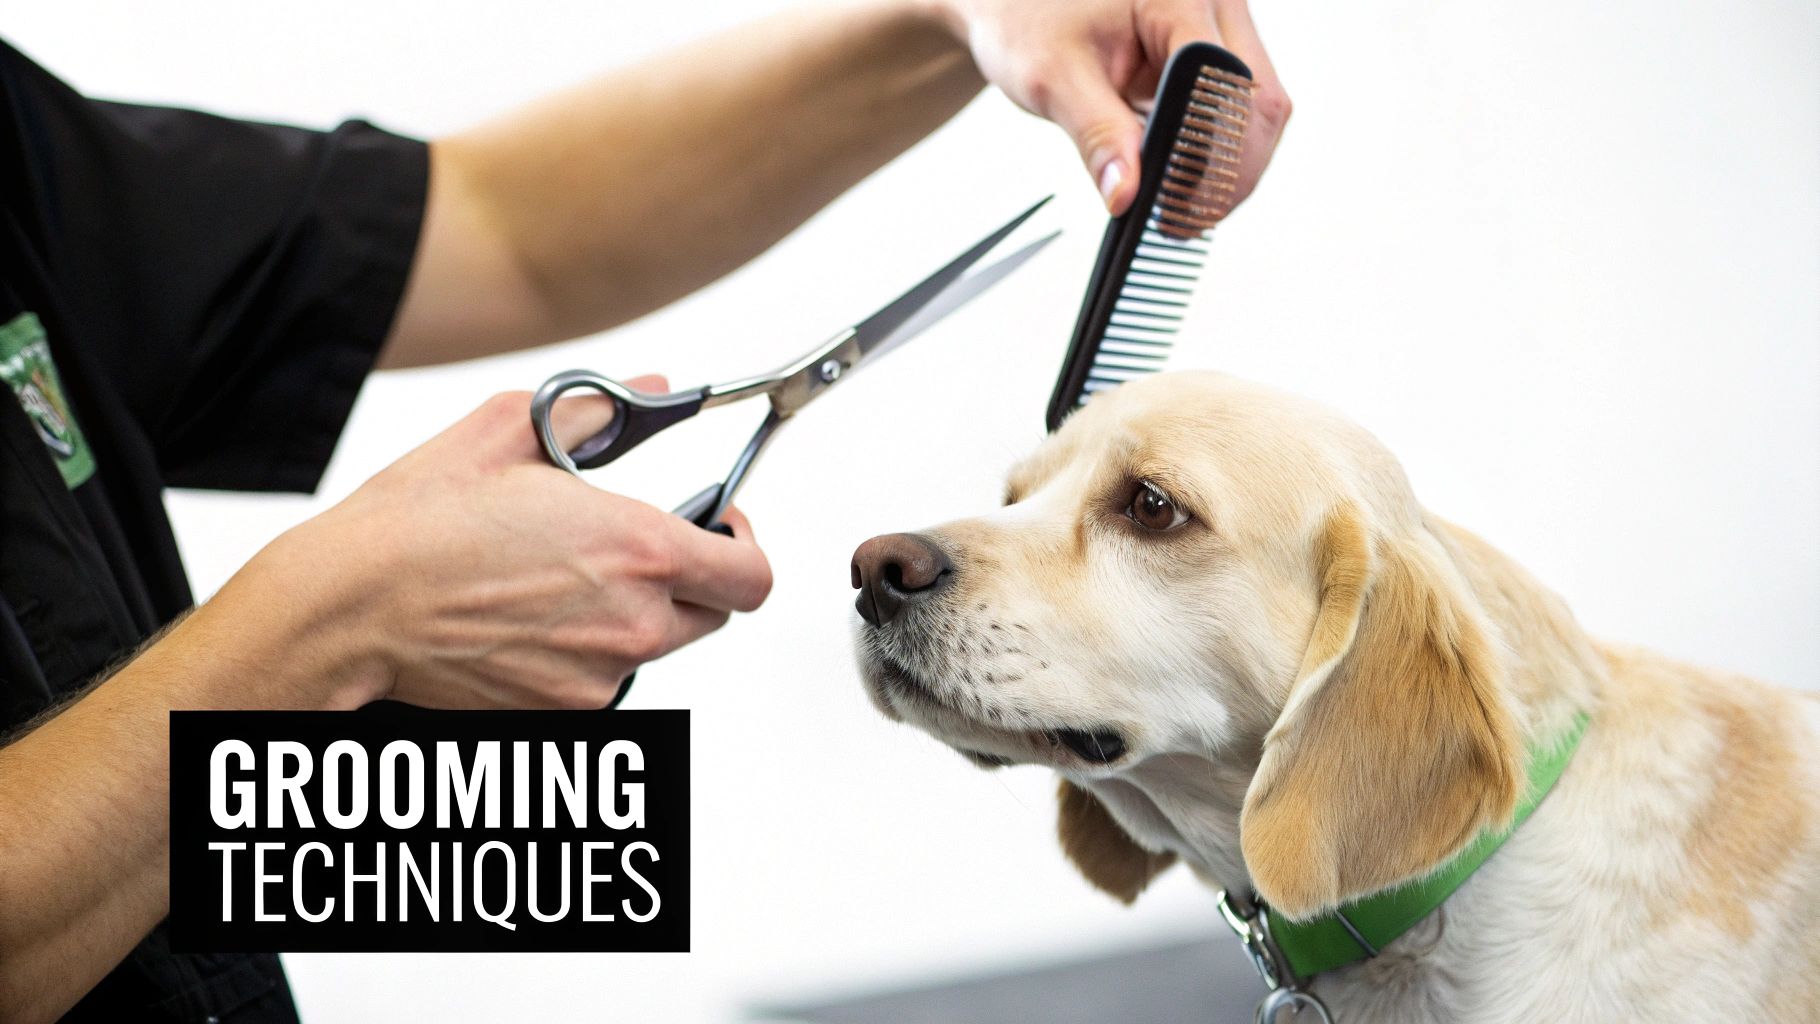
Mastering Essential Grooming Techniques
Having the right shears for dog grooming is only half the battle. Think of it like having the best ingredients for a gourmet meal—the final result really comes down to your skill and technique. So, let’s bridge that gap from theory to practice. I’ll walk you through the fundamental scissoring skills you need to achieve a beautiful, safe, and stress-free groom for any dog.
Getting these methods down will do wonders for your confidence and take your grooming results to the next level.
The very first thing to master is simply holding your shears correctly. A proper grip isn’t just about being comfortable; it’s the bedrock of control, precision, and safety. If you hold them wrong, you’re setting yourself up for hand fatigue, shaky lines, and even accidents.
Proper Shear Handling and Control
For maximum control and minimum strain, slide your thumb into the bottom finger ring and your ring finger into the top one. The rest of the shear can then rest comfortably on your other fingers, which adds a ton of stability. This specific grip lets you move only your thumb to make a cut, keeping the rest of your hand perfectly steady for those crisp, clean lines.
Here’s a good way to think about it: your ring finger is the anchor, holding everything in place, while your thumb is the engine that drives the blades. This technique cuts out all that extra, unnecessary hand movement, which is the secret to gaining pinpoint control.
Pro Tip: Always keep the wrist of your scissoring hand straight. Bending your wrist puts a ton of strain on your tendons and is a fast track to repetitive stress injuries like carpal tunnel.
The Comb and Scissor Method
One of the most foundational skills you’ll ever learn is the comb-and-scissor technique. This is how you get that smooth, even, blended finish without leaving choppy marks all over the coat. It’s a simple process, but it’s a total game-changer.
- Lift the Hair: Start by using your comb to lift a section of the coat up and away from the dog’s body.
- Position the Shears: Place your shears parallel to the comb. The comb now acts as your guide, setting the exact length you want to cut.
- Make the Cut: Simply snip the hair that’s sticking up just above the comb’s teeth.
By repeating this motion across the coat, you create a beautifully uniform surface, effectively erasing any uneven spots. This is especially important for tidying up after initial clipper work or for shaping the coats on breeds that require a more sculpted look. And of course, before you even think about scissoring, make sure the coat is completely brushed out—our guide on the best brushes for Labrador Retrievers has tips that are useful for tons of different double-coated breeds.
Safety in Sensitive Areas
Grooming around tricky spots like the face, ears, and paws demands extra care and the right tools for the job. Always switch to shorter shears for this kind of detail work, preferably ones with a blunt or rounded ball tip to prevent pokes. A non-negotiable rule: always place your non-dominant hand between the shears and the dog’s skin. It acts as a physical barrier and a buffer.
The entire pet grooming market, valued at a massive USD 13.88 billion in 2023, is built on the trust between groomers and pet owners. It’s telling that over 76% of grooming product sales still happen in physical stores, where people can get hands-on advice about using tools safely. With a bit of patience and the right technique, you can tackle even the most sensitive areas with confidence.
Maintaining Your Shears for a Lifetime of Grooms
https://www.youtube.com/embed/KD8BVZ15C6E
A great pair of grooming shears is a real investment in your craft. When you find that perfect pair, you want them to last, and with the right care, they absolutely can. Think of them like a chef’s favorite knife—a little bit of daily attention goes a long way. Let them go, and you’re in for a world of frustrating, choppy grooms.
The single most important habit you can build is to clean and dry your shears the moment you’re done using them. Little bits of hair, dander, and styling products are notorious for trapping moisture against the steel, which is a fast track to rust and pitting. A quick, thorough wipe with a soft cloth is all it takes to keep them pristine.
Daily Care and Adjustments
Once they’re clean, get a small drop of shear oil right on the pivot point. Open and close the blades a few times to work it in, then simply wipe off the excess. This little ritual keeps the cutting action buttery smooth and prevents the most important part of your shears from grinding down.
Tension is another piece of the puzzle. If your shears are too loose, they’ll just fold the hair over instead of cutting it cleanly. Too tight, and you’ll wear out the blades in no time and give yourself some serious hand fatigue. It’s a delicate balance.
Here’s a quick way to check the tension: Hold one handle with the blade tips pointing to the ceiling. Lift the other handle to a 90-degree angle and let it drop. A perfectly tensioned shear will close about two-thirds of the way on its own. If it slams shut or barely budges, it’s time to tweak that tension dial.
Finally, where you store them matters. Please, don’t just toss your expensive shears into a drawer to get dinged and nicked by other tools. A padded case is ideal, but even a dedicated spot on a magnetic strip will protect those finely honed edges. We have some great storage options in our full collection of grooming and cleaning supplies.
The Importance of Professional Sharpening
No matter how meticulously you care for them, your shears will eventually need a professional sharpening. This is one job you don’t want to DIY. Improper sharpening can permanently ruin a good pair of shears, as it takes specialized equipment to restore that perfect, razor-sharp edge.
So, how often do you need to send them in? It really depends on your workload. A busy professional groomer might need their shears sharpened every 3-4 months. If you’re grooming your own dog at home, you might only need it done every 12-18 months.
The tell-tale sign is simple: the moment you feel the blades pushing or folding hair instead of slicing through it, it’s time to find a pro.
Got Questions About Grooming Shears? We’ve Got Answers.
When you’re getting into dog grooming, it’s natural to have a ton of questions about the tools. Even seasoned pros run into new situations. Let’s break down some of the most common questions we hear, so you can feel more confident picking up your shears.
Getting these basics right is the key to using your tools safely and getting those great-looking results.
Hand Orientation and Shear Size
First things first, let’s talk about fit. It might seem like a minor detail, but getting the right hand orientation and size is absolutely critical for control, comfort, and a clean cut.
What’s the real difference between right-handed and left-handed shears?
It’s all about how the blades are set. A true pair of left-handed shears is an exact mirror image of a right-handed pair. This means the top blade sits on the left side, which is crucial for a lefty. It allows you to see your cutting line perfectly and lets the natural closing motion of your hand push the blades together for a crisp, clean snip.
If a lefty tries to use right-handed shears, their hand’s natural movement will actually force the blades apart. This doesn’t cut the hair—it bends and folds it, leaving you with a choppy mess and a seriously sore hand.
How do I figure out what size shears to buy?
Shear size is measured from the very tip down to the end of the finger ring, and it really depends on the dog and the job in front of you.
- Longer shears (8-10 inches) are your workhorses for big jobs. They let you cover a lot of ground quickly on large dogs, making it easier to get those long, smooth, straight lines.
- Shorter shears (4-6.5 inches) are all about precision and safety. They give you far more control for tricky spots like faces, paws, and sanitary trims, especially on smaller dogs.
If you’re just starting out, a good all-around shear in the 7 to 8-inch range is a fantastic choice. It hits that sweet spot between being efficient on the body but still manageable for more detailed work.
Choosing the right size isn’t just about what’s fastest—it’s about what’s safest. You never want to use a huge pair of shears around a dog’s eyes or paws. It’s just not worth the risk.
Tool Selection and Maintenance
Once you’ve got the fit figured out, the next big questions are usually about the tools themselves and how to care for them. A little know-how here will protect your dog, your investment, and your sanity.
Can I just use my own hair scissors on my dog?
Please don’t. While it’s a tempting thought, human hair scissors and dog grooming shears are built for completely different jobs. Shears for dog grooming are designed to handle fur that is often much thicker, coarser, or denser than human hair. The blades are typically more robust, and many have micro-serrations to grip the hair and prevent it from slipping.
Using your nice hair scissors on a dog will likely ruin the delicate blades, and worse, it can pull and snag your dog’s coat, making for a very unpleasant experience.
How often do my shears need to be sharpened?
This completely comes down to how much you use them. A pro who’s grooming multiple dogs a day might need their favorite pair sharpened every 3-4 months. But if you’re just grooming your own dog at home, you might only need a professional sharpening every 12-18 months.
The real test is how they perform. If you notice your shears are starting to fold or push the hair instead of cutting it cleanly, that’s your sign. Pushing through a groom with dull shears is a recipe for a sloppy finish and a very tired hand.
At Ur Pet Store, we know that great grooming starts with great tools. We’ve put together a collection of high-quality grooming supplies to help you find exactly what you need.