

Blog
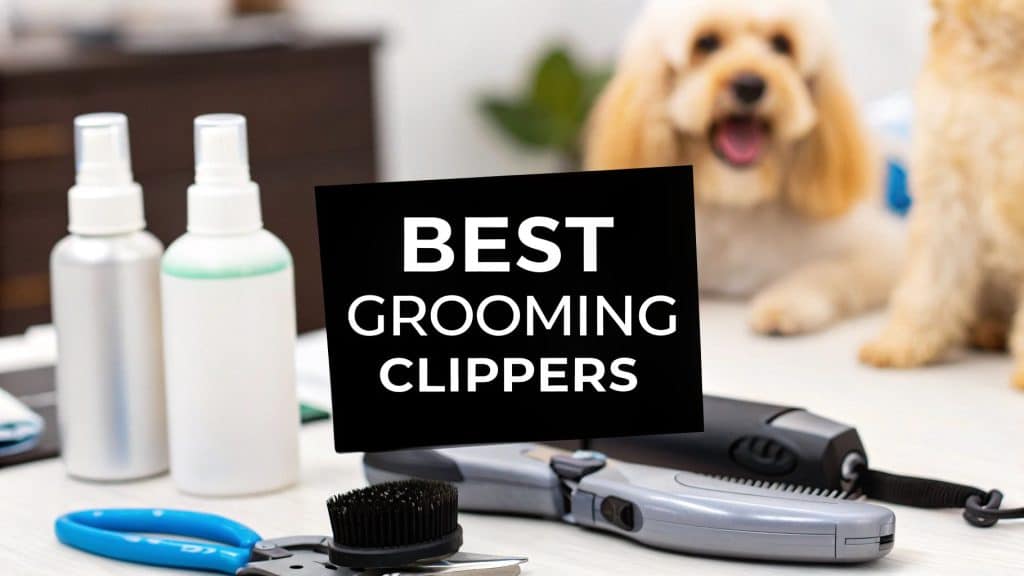
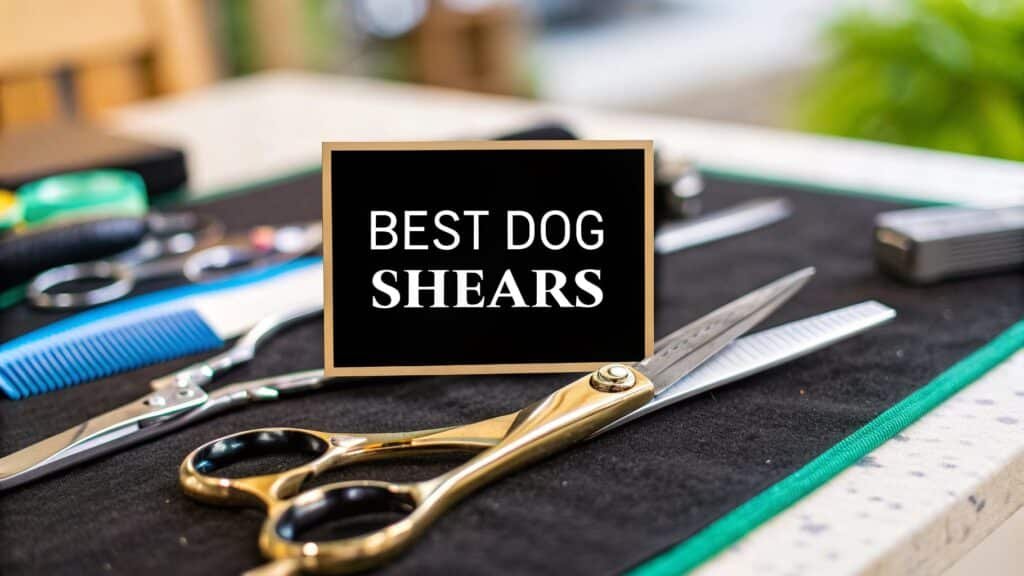
Top picks for best dog shears grooming: Groom your pet with confidence
Picking the best dog shears for grooming isn’t just about finding one all-purpose tool. It’s about building a small arsenal where each shear has a specific job. Your go-to will always be a high-quality pair of straight shears, ideally made from Japanese 440C stainless steel, but for that truly professional finish, you’ll need curved and thinning shears to handle blending and shaping.
How to Select the Perfect Dog Grooming Shears
Choosing the right dog grooming shears is easily the most important decision you’ll make for achieving a safe, clean, and beautiful groom. It’s tempting to just look at the price, but what really matters is what makes a pair of shears work well. Materials are everything here. High-quality metals like Japanese 440C stainless steel are a groomer’s best friend because they hold a razor-sharp edge for ages and fight off corrosion, meaning they’ll last.
The demand for these tools is exploding. The global dog grooming market was valued at around USD 1.53 billion in 2025 and is on track to hit about USD 2.61 billion by 2034. This boom shows just how many professionals and home groomers are looking for quality gear. You can discover more about the growing dog grooming market and see the trends for yourself.
Understanding the Main Shear Types
To choose with confidence, you have to know what each tool is actually for. Whether you groom at home or have been doing it for years, your toolkit should have the right shears for the jobs you do most.
- Straight Shears: These are the backbone of any grooming kit. You’ll use them for setting patterns and creating those clean, straight lines, especially on breeds like Poodles and Bichons.
- Curved Shears: Absolutely essential for shaping rounded areas like a dog’s head, ribcage, and paws. They let you follow the natural curves of the body for a smooth, polished look that flows.
- Thinning Shears: These are for finesse. Use them to take out some bulk without sacrificing length, blend different coat lengths together seamlessly, and get rid of any scissor marks for a soft, natural finish.
- Chunker Shears: Think of these as heavy-duty thinners. Their teeth are wider, making them perfect for quickly removing bulk from thick, heavy coats and adding a bit of texture.
Your choice of shears has a huge impact on the final look, how efficiently you work, and how comfortable your dog is during the process. It’s like having different knives in a kitchen—each one has a specific purpose that makes the whole job go smoother.
A Quick Guide for Common Tasks
To help you match the right tool to the task, here’s a quick reference table. It breaks down which shear to grab for common grooming jobs. You can find excellent options for every task in our curated collection of grooming and cleaning supplies.
Quick Guide to Dog Shear Types and Their Uses
| Shear Type | Primary Use | Best For Coat Types |
|---|---|---|
| Straight Shears | General scissoring, shaping body | Drop coats, curly coats |
| Curved Shears | Rounding feet, topknots, faces | All coat types needing contour |
| Thinning Shears | Blending, softening harsh lines | Double coats, wire coats |
| Chunker Shears | Bulk removal, texturizing | Thick or dense coats |
Having this basic lineup ensures you’re prepared for pretty much any coat type or style that comes your way.
Getting to Know Your Blades and Edges
When you get right down to it, the soul of any great grooming shear isn’t the fancy handle or even the type of steel—it’s the microscopic edge on the blade. The specific way that edge is ground dictates everything from how smoothly it cuts to how long it stays sharp. Once you understand this one detail, you’ll look at shears in a whole new light.
In the grooming world, you’ll constantly run into two main styles: the convex edge and the beveled edge. Sure, they both cut hair, but they go about it in completely different ways. It’s kind of like the difference between a surgeon’s scalpel and a heavy-duty utility knife. Both are sharp, but you’d never swap them for the same job.
Here’s a look at the two different edge profiles side-by-side.
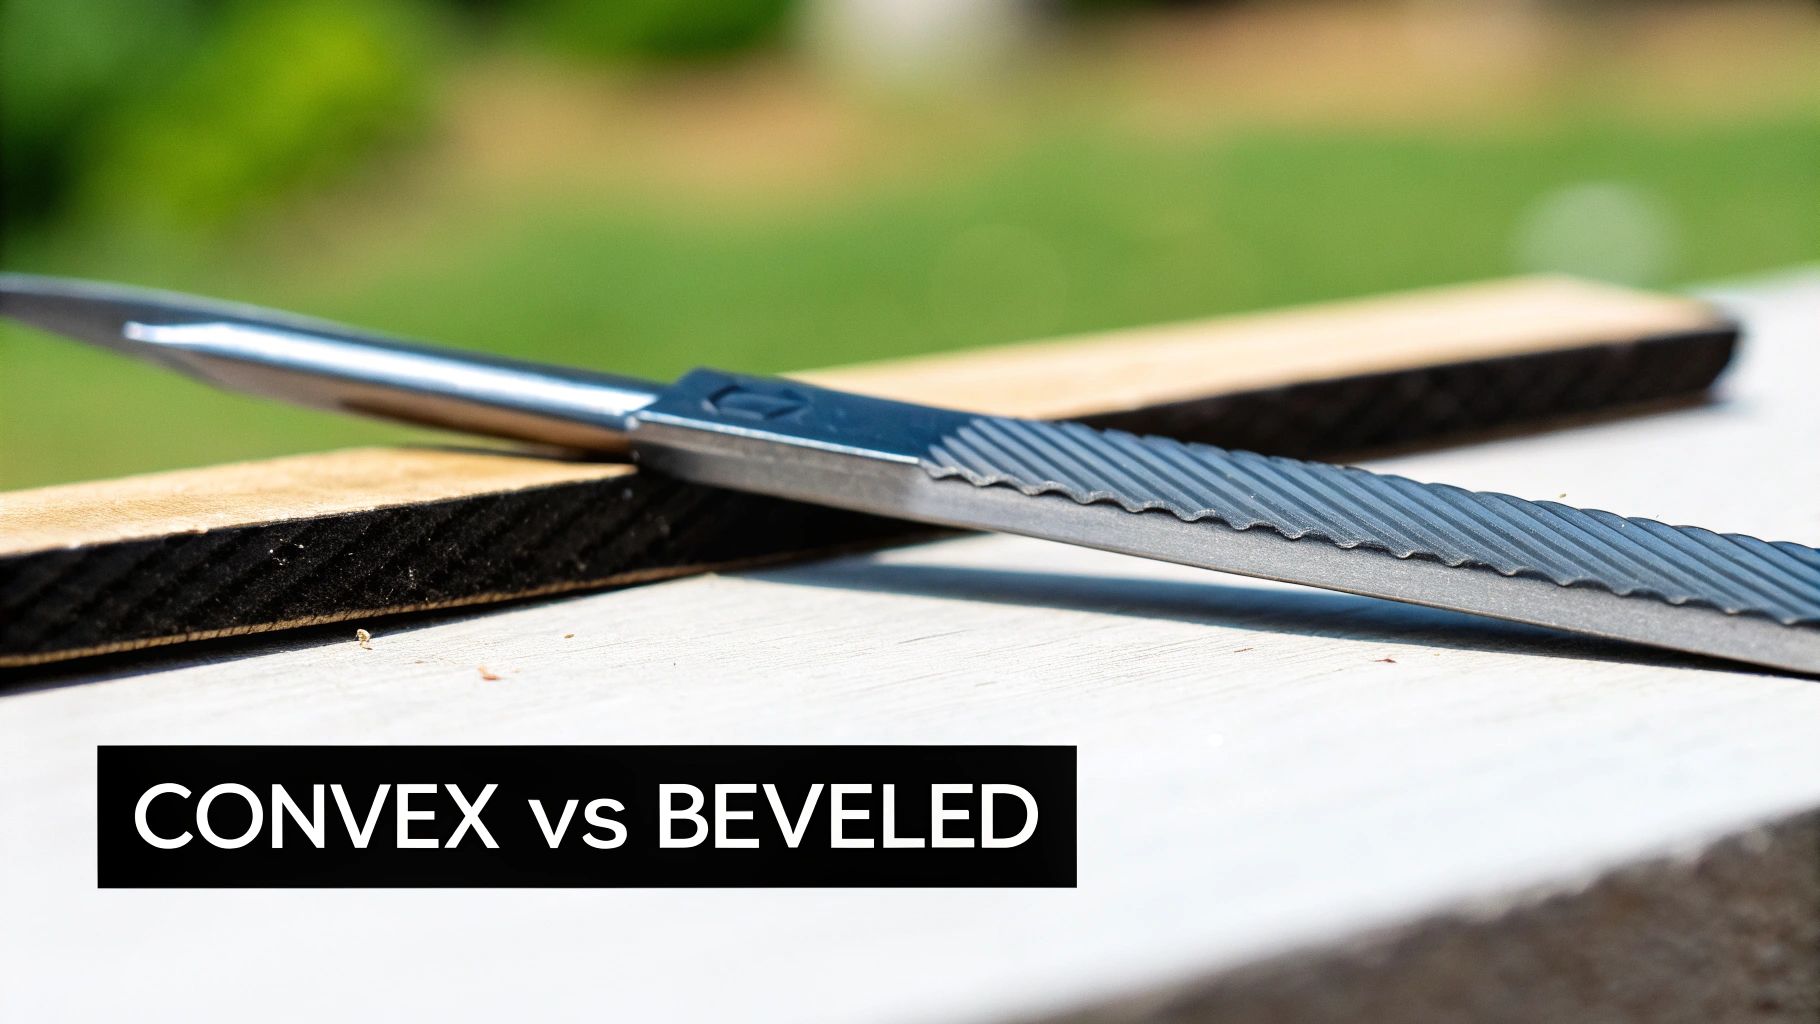
You can see how the convex edge curves to a super-fine point, while the beveled one has a much more distinct, flatter angle. That simple difference in geometry is everything when it comes to performance.
The Precision of Convex Edges
A convex edge—you’ll also hear it called a Japanese or clamshell edge—is what most pro groomers swear by for finishing work. These blades are hollowed out on the inside and then arc gracefully to an incredibly fine, razor-sharp point. The result is a cutting action that’s whisper-quiet and unbelievably smooth.
Instead of just chopping hair, a convex shear slices through it like butter. This is exactly what you need for those flawless finishing touches, like shaping a Poodle’s topknot or getting perfectly straight, silky lines on a drop-coated breed like a Yorkie. The cut is so clean, you can barely see where you’ve been.
Heads up: That razor-sharp edge is also quite delicate. Drop a pair of convex shears on the floor, and you can almost guarantee you’ve nicked the blade. They also need a special kind of sharpening to maintain that unique curve. Think of them as a high-performance investment that demands respect and care.
The Durability of Beveled Edges
Beveled-edge shears are the trusty workhorses of the grooming table. On these, one or both blades will have a very obvious, flat-ground angle on the edge. It’s common for one of those edges to be micro-serrated, too, meaning it has tiny little grooves that help grab the hair while the other blade cuts.
This design makes beveled shears incredibly tough. They can take a bit more of a beating, are less likely to be ruined by an accidental drop, and have the muscle to power through thick, wiry, or matted coats without just pushing the hair around.
They’re a fantastic choice for:
- New Groomers who are still getting the hang of things.
- Bulk Work when your main goal is to remove a lot of dense coat quickly.
- Everyday Trims where a flawless, show-ring finish isn’t the top priority.
While a beveled edge gives you a solid, reliable cut, it’s definitely more of a “crunching” action than the silent slice you get from a convex blade. You might notice a slightly less polished look. That’s why many experienced groomers use their beveled shears for the initial rough-in and then grab their convex pair to put on the final, perfect touches.
Why Ergonomics and Handle Design Matter
If you’ve ever finished a long grooming session with an aching hand, wrist, or even a sore shoulder, you already know why this is so important. Finding the best dog shears grooming set goes way beyond just how sharp the blades are. It’s all about how the tool feels in your hand, hour after hour. The right handle design is your best defense against fatigue and repetitive strain, turning a grueling task into a comfortable craft.
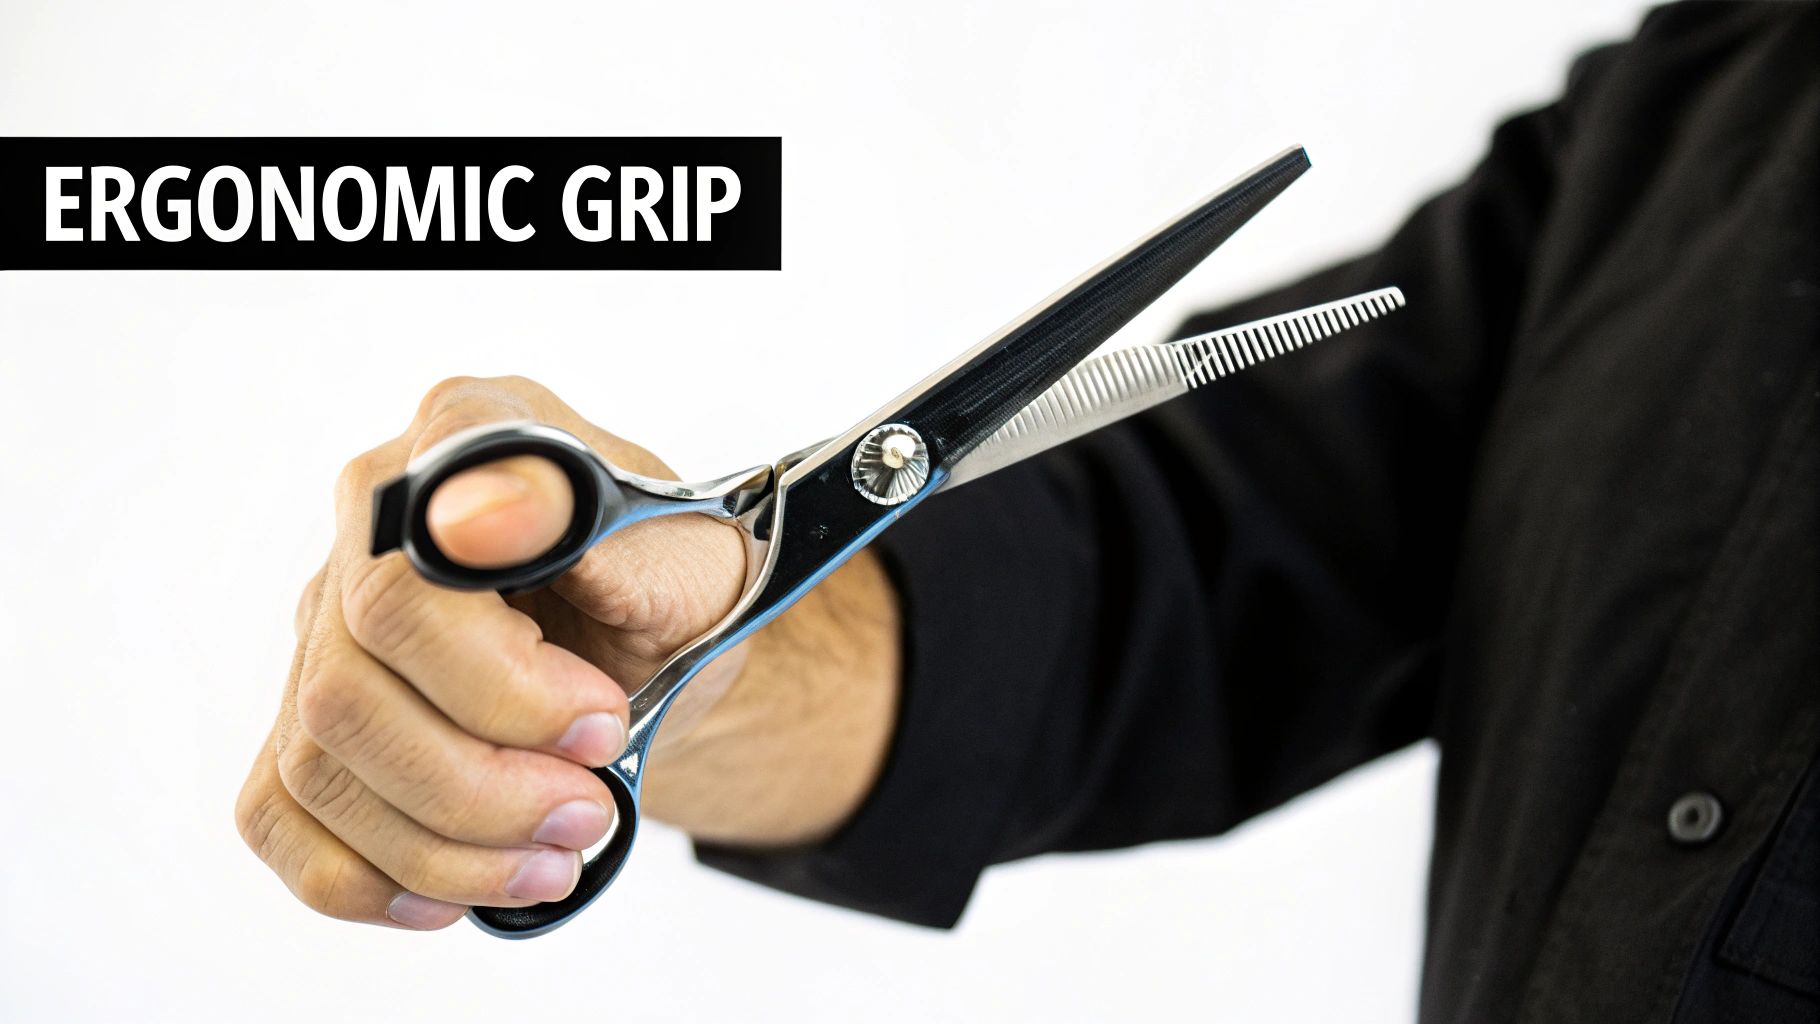
Think of it this way: a shear that fits you well becomes a natural extension of your hand. It’s not just about comfort—it’s about control. A proper fit leads to steadier, more precise cuts, which means a safer experience for the dog and a much more professional finish. When your hand isn’t cramping up, you can really focus on the details.
Comparing Common Handle Styles
As you start shopping, you’ll notice three main handle designs. Each one changes how your hand is positioned, and knowing the difference is the key to finding a pair you’ll love using.
- Symmetrical Handles: Just like they sound, both shanks are straight and identical. This classic, old-school design forces your thumb back and your ring finger forward, which makes you raise your elbow into an awkward position. Honestly, it’s the least ergonomic option out there and a recipe for strain.
- Offset Handles: Here, one handle shank is shorter than the other. This simple change allows your thumb to rest in a more natural, forward position. The result? You can drop your elbow and relax your shoulder. It’s a huge step up in comfort and a favorite among groomers at all levels.
- Crane Handles: This style takes ergonomics to another level. The top handle is straight, but the bottom handle is angled sharply downward. This design gives you the most relaxed hand position possible, dramatically cutting down on stress to your wrist and arm.
My advice? If you groom more than just one dog every now and then, steer clear of symmetrical handles. The vastly superior comfort of offset and crane designs is worth it, as they actively help prevent long-term issues like carpal tunnel.
Customizing Your Fit and Control
Beyond the basic shape, a few small details can make a world of difference in personalizing the fit and maximizing your control. These features are easy to overlook but are crucial for day-to-day comfort.
A well-fitted shear reduces hand fatigue by over 30% during prolonged use. This allows you to maintain precision from the first dog of the day to the last, preventing sloppy mistakes caused by tired hands.
Keep an eye out for shears that come with removable finger inserts. These are little plastic or rubber rings that pop into the finger holes to create a snugger fit, which is a lifesaver if you have smaller hands. They stop the shears from slipping around and give you much better tip control for those tricky, detailed spots.
Another small but mighty feature is a removable finger rest (also called a tang). It’s that little hook where you can rest your pinky, giving you extra stability and leverage. Being able to customize these elements ensures your tool is working with you, not against you.
Getting That Polished, Natural Finish with Thinning and Chunker Shears
So, you’ve done the heavy lifting with your straight or curved shears, but the groom still looks a little… choppy. A bit homemade. This is the moment when thinning and chunker shears step in to take your work from pretty good to genuinely professional. These are the tools that create that soft, blended, salon-quality finish that seems so elusive at home. They aren’t about removing length; they’re all about perfecting the texture.
The secret is in the teeth. A thinning shear has a lot of them, usually 30 to 45 teeth, and they’re designed to snip away only about 10-15% of the hair. On the other hand, a chunker shear has fewer, wider-spaced teeth—think 15 to 25—and takes out a much bigger bite, removing 40-60% of the hair to add texture or break up bulk in a hurry.
Getting this right is critical. Grabbing the wrong one can leave you with unintentional holes in the coat. With more people grooming their dogs at home than ever before—some statistics show that around 41% of dog owners now handle grooming themselves—knowing how to use these pro tools is key. If you’re curious about the numbers, you can learn more about pet grooming industry statistics and see just how big this trend has become.
When to Reach for Thinning Shears
I like to think of thinning shears as the magic eraser for scissor marks. Their fine teeth are just what you need for delicate jobs where you want to soften an edge without messing up the shape you’ve worked so hard to create. They make any harsh lines from your other shears simply disappear.
I grab my thinning shears for jobs like these:
- Softening the hair around the eyes and face, where a sharp, blunt line just looks wrong.
- Blending short hair into longer hair, like on the back of the neck or where the body meets the leg furnishings.
- Fading clipper lines on a shorter trim to make the transition look seamless.
Here’s a perfect real-world example: after trimming the body of a terrier mix, you might see a hard line where the clipped hair meets the longer hair on the legs. A few light snips with thinning shears along that line, and that choppy “shelf” look is gone. It just melts away.
Mastering the Art of Chunkers
Chunkers are what you use when you want to add texture, character, and a bit of style. Since they take out more hair, they’re much faster than thinners for breaking up dense, bulky areas. They help you create a more stylized, piecey look instead of a perfectly smooth one.
One of the biggest mistakes I see people make is using chunkers like regular scissors. Don’t do it! A much better approach is the “scissor over comb” technique. Or, make just one or two snips in an area, then comb it out and see how it looks before you cut again. This will save you from creating obvious gaps in the coat.
Chunkers are absolute lifesavers on:
- Thick, double-coated breeds like Golden Retrievers. They help you lighten the undercoat without butchering the top layer.
- Shaping the legs and feet on breeds like Schnauzers to get that classic, uniform column shape.
- Adding texture to a curly coat, like on a Doodle, to break up that “poodle puff” look and encourage a more natural, shaggy style.
Once you get a feel for the specific job each of these shears does, you’ll add a whole new layer of polish to your grooms. They’re the difference-makers that turn a basic haircut into a beautifully finished style.
Essential Techniques for Safe and Effective Grooming
Having the best dog grooming shears is a great start, but it’s the skill and confidence you bring to the table that really matters. Mastering a few key techniques will completely change your grooming game, making every session a positive and safe experience for you and your pup.
Let’s start with the basics: your grip. How you hold the shears is the foundation of every cut you make. For the best control and stability, slip your thumb into the bottom finger hole and your ring finger into the top one. Let your pinky rest on the finger rest (that little metal tang sticking out). This grip is a game-changer for reducing hand fatigue and giving you the steady hand needed for precise work.
Navigating Sensitive Areas Safely
Grooming around the face, paws, and sanitary areas can be nerve-wracking, but it just requires a bit more patience and a careful approach. Here’s a pro tip: always use your non-dominant hand as a physical barrier between the tips of the shears and your dog’s skin. For instance, when trimming around paw pads, gently spread the toes and place your finger right under the pad you’re working on. It gives you a safe buffer.
When you’re near the eyes or ears, always keep the point of the shears angled away from your dog. And remember, healthy fur is easier to work with. Taking steps toward maintaining a healthy skin and coat can make a huge difference, as a well-conditioned coat is less likely to have tangles that make these delicate jobs tougher.
The golden rule of grooming is to always be aware of your blade tips. Never point them directly at your dog’s skin, especially with a pup that might wiggle unexpectedly. If you’re nervous, shears with rounded safety tips can give you some extra peace of mind.
It’s no surprise that these skills are in high demand. The U.S. pet grooming market hit a value of USD 2.06 billion in 2024, and with dogs accounting for 83.8% of that revenue, millions of pet owners are learning the importance of proper tool use.
The Scissor-Over-Comb Method
If you want to achieve that smooth, uniform look and avoid a choppy, uneven finish, the “scissor-over-comb” technique is your best friend. It’s perfect for blending different lengths together seamlessly.
Here’s how it works:
- Brush It Out: Before you do anything else, give the area a thorough brushing to get rid of any knots or tangles. A good double-sided pet grooming brush works wonders for this prep step.
- Lift the Hair: Lay a grooming comb flat against your dog’s body, then lift the hair up to the length you want to cut.
- Cut Above the Comb: Now, use your straight or curved shears to snip the hair that’s sticking up through the comb’s teeth. The comb acts as both a guide for an even cut and a protective barrier for the skin.
This simple workflow is the secret behind a beautifully blended, professional-looking groom.

As you can see, the process moves from de-bulking the coat to softening the lines, all leading to that polished final look. By putting these techniques into practice, you’ll be creating beautiful grooms right from your own home.
Common Questions About Dog Grooming Shears
Even with the best gear, you’re bound to have questions. Getting solid answers from someone who’s been there helps you cut through the noise, solve problems on the fly, and truly get the most out of your shears. Here are some of the questions I hear all the time from groomers just starting out and even from seasoned pros.
How Often Should I Sharpen My Dog Grooming Shears?
Honestly, it all comes down to how much you use them. If you’re a professional grooming dogs all day, every day, you’ll probably need to get your shears sharpened every 3-6 months to keep that perfect edge. For at-home groomers, you can stretch that out a lot longer—maybe once a year, or just whenever you feel them start to lose their bite.
You’ll know it’s time when the shears begin to fold or bend the hair instead of slicing cleanly through it. That’s your cue. When you do send them in, make sure it’s to a specialist who knows grooming shears. Your average knife sharpener can completely destroy a fine convex blade if they don’t have the right touch and the right equipment.
What Is the Difference Between Left-Handed and Right-Handed Shears?
This isn’t just about what feels comfortable—it’s about how the tool actually works. A true left-handed shear is a mirror image of a right-handed one. The blades are flipped, the handles are molded for the left hand, everything. This is so important because it lets a left-handed groomer see their cutting line and apply pressure correctly to get that clean, slicing action.
If you try to use the wrong pair, you’ll be fighting the tool the whole time. It forces your hand into a weird position that leads to fatigue and strain, and it makes the blades push away from each other. The result? Bent hair and a choppy, awful finish.
Key Takeaway: If you’re a lefty, don’t even think about trying to make right-handed shears work. Investing in a true left-handed pair is a game-changer for your comfort, your control, and the quality of your grooms.
Can I Use Human Hair Scissors on My Dog?
I really wouldn’t recommend it, and here’s why. Dog hair is a completely different beast than human hair—it’s often thicker, coarser, and more dense. The best dog shears grooming pros rely on are built for that, with harder steel and specific blade designs, sometimes with micro-serrations, to grip and cut fur properly.
The biggest issue, though, is safety. Most dog grooming shears have rounded or blunt safety tips for a reason. Dogs wiggle! A sharp-pointed pair of human scissors is just an accident waiting to happen. If you’re passionate about animal safety and want to deepen your knowledge, you can find a variety of Animal Care courses to build on your skills.
A calm dog is always a safer dog to groom. When a pup is anxious, they’re more likely to make sudden moves. Creating a relaxing space can make a huge difference. Something as simple as a comfortable, supportive spot to relax, like a calming dog bed, can help ease their stress before you even pick up the shears.
At Ur Pet Store, we’re committed to providing the best tools and accessories to keep your pet looking and feeling great. Explore our full range of high-quality grooming supplies and more at https://urpetstore.com.